How To Install ISPConfig on Fedora 40

ISPConfig is a powerful open-source web hosting control panel that simplifies the management of websites, email, and DNS on Linux servers. With its user-friendly interface and extensive features, ISPConfig has become a popular choice for system administrators and web hosting providers. In this comprehensive guide, we will walk you through the step-by-step process of installing ISPConfig on Fedora 40, a stable and secure Linux distribution.
Prerequisites
Before we begin the installation, ensure that your Fedora 40 server meets the following requirements:
- A fresh installation of Fedora 40 with a minimal setup
- A static IP address configured on your server
- A fully qualified domain name (FQDN) pointing to your server’s IP address
- Root access to your server
Step 1: Update the System
To ensure your Fedora 40 server is up to date, run the following command:
sudo dnf update -yThis command will update all the installed packages to their latest versions, providing you with a stable and secure foundation for installing ISPConfig.
Step 2: Install Required Packages
ISPConfig requires several packages to function properly. Install them by running the following command:
sudo dnf install wget curl net-tools tar unzip -yThese packages will allow you to download and extract the ISPConfig installation files and provide essential networking tools.
Step 3: Download ISPConfig
Visit the official ISPConfig website and copy the download link for the latest stable release. Then, use the wget command to download the ISPConfig installation files:
wget https://ispconfig.org/downloads/ISPConfig-3.2.12p1.tar.gzReplace ISPConfig-3.2.x.tar.gz with the actual filename of the latest release.
Step 4: Extract ISPConfig
Extract the downloaded ISPConfig archive using the following command:
tar xzf ISPConfig-3.2.x.tar.gzThis will create a new directory containing the ISPConfig installation files.
Step 5: Start the Installation
Navigate to the ISPConfig installation directory:
cd ispconfig3_install/install/Then, start the installation process by running the following command:
sudo php install.phpThis will launch the ISPConfig installation wizard, guiding you through the configuration process.
Step 6: Configure ISPConfig
The ISPConfig installation wizard will prompt you to configure various settings. Follow these guidelines:
- Select the services you want to install (web server, mail server, DNS server, etc.)
- Choose the MySQL root password and create a new database for ISPConfig
- Set the hostname and fully qualified domain name (FQDN) for your server
- Configure the SSL/TLS settings for secure connections
- Create an admin user account for accessing the ISPConfig web interface
Review your settings carefully before proceeding with the installation.
Step 7: Complete the Installation
Once you have configured all the settings, the installation wizard will begin installing ISPConfig and its dependencies. This process may take several minutes to complete.
Upon successful installation, you will see a message confirming that ISPConfig has been installed on your Fedora 40 server.
Accessing ISPConfig Web Interface
To access the ISPConfig web interface, open a web browser and navigate to:
https://your-server-ip:8080
Replace your-server-ip with the actual IP address of your Fedora 40 server.
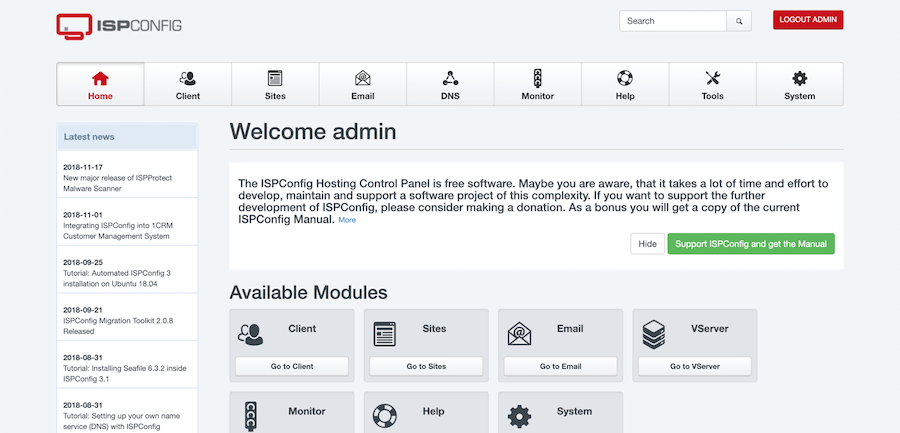
Log in using the admin username and password you created during the installation process. You can now start managing your websites, email accounts, and DNS records through the intuitive ISPConfig interface.

Troubleshooting Tips
If you encounter any issues during the installation process or while using ISPConfig, consider the following troubleshooting tips:
- Ensure that your server meets the system requirements and has a stable internet connection
- Double-check the configuration settings you entered during the installation wizard
- Consult the ISPConfig documentation and community forums for specific error messages or issues
- Verify that your server’s firewall allows incoming connections on the necessary ports (e.g., 80, 443, 8080)
- Check the ISPConfig log files located in
/var/log/ispconfig/for any error messages or warnings
Congratulations! You have successfully installed ISPConfig. Thanks for using this tutorial for installing the ISPConfig on your Fedora 40 system. For additional help or useful information, we recommend you check the official ISPConfig website.