How To Install ISPConfig on Ubuntu 20.04 LTS

In this tutorial, we will show you how to install ISPConfig on Ubuntu 20.04 LTS. For those of you who didn’t know, ISPConfig is a well-known open-source web hosting control panel that allows us to manage services through a web browser. We can easily add Apache virtual host or Nginx server blocks, create/edit/delete databases, configure cron jobs, create email accounts, and many more.
This article assumes you have at least basic knowledge of Linux, know how to use the shell, and most importantly, you host your site on your own VPS. The installation is quite simple and assumes you are running in the root account, if not you may need to add ‘sudo‘ to the commands to get root privileges. I will show you the step-by-step installation of the ISPConfig 3 open-source web hosting control panel on Ubuntu 20.04 (Focal Fossa). You can follow the same instructions for Ubuntu 18.04, 16.04, and any other Debian-based distribution like Linux Mint.
Prerequisites
- A server running one of the following operating systems: Ubuntu 20.04, 18.04, 16.04, and any other Debian-based distribution like Linux Mint.
- It’s recommended that you use a fresh OS install to prevent any potential issues.
- A
non-root sudo useror access to theroot user. We recommend acting as anon-root sudo user, however, as you can harm your system if you’re not careful when acting as the root.
Install ISPConfig on Ubuntu 20.04 LTS Focal Fossa
Step 1. First, make sure that all your system packages are up-to-date by running the following apt commands in the terminal.
sudo apt update
sudo apt upgrade
Step 2. Setup Hostname.
Now we check the hostname in /etc/hosts and change it when necessary:
nano /etc/hosts
Add the following line:
127.0.0.1 localhost.localdomain   localhost
# This line should be changed to the correct servername:
127.0.1.1 server1.idroot.us server1

# The following lines are desirable for IPv6 capable hosts
::1     localhost ip6-localhost ip6-loopback
ff02::1 ip6-allnodes
ff02::2 ip6-allrouters
Then, edit the /etc/hostname file:
nano /etc/hostname
Add the following line:
server1
Finally, reboot the server to apply the change:
reboot
Log in again and use the following command to check if the hostname is now correct:
hostname
hostname -f
Output:
root@idroot:~$ hostname
server1
root@idroot:~$ hostname -f
server1.idroot.us
Step 3. Installing ISPConfig 3 on Ubuntu 20.04.
Now we download auto-installer ISPConfig using the following commands and execute the script installer:
wget -O - https://get.ispconfig.org | sh -s -- --help
The installer automatically configures all underlying services, so there is no manual configuration needed.
When the installer is finished it will show you the ISPConfig admin and MySQL root password like this:
[INFO] Your ISPConfig admin password is: rantyratna123
[INFO] Your MySQL root password is: kgodet82d!bmwe46
Step 4. Accessing ISPConfig Web Interface.
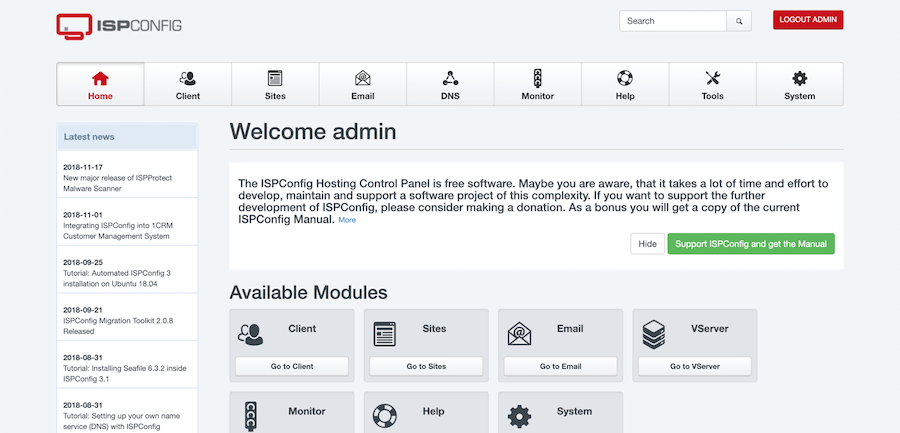
Once successfully installed, you can access ISPConfig under https://server1.idroot.us:8080/. Log in with the username admin and the password admin (you should change the default password after your first login):

Step 5. Configure Firewall.
Now we log in to the ISPConfig web interface and go to System -> Firewall. Then click “Add new firewall record”:
For the panel server, we must open the following ports:
TCP
22,80,443,8080,8081
UDP
53
Congratulations! You have successfully installed ISPConfig. Thanks for using this tutorial for installing the ISPConfig 3 on your Ubuntu 20.04 LTS Focal Fossa system. For additional help or useful information, we recommend you check the official ISPConfig website.