How To Install Joplin on Ubuntu 24.04 LTS

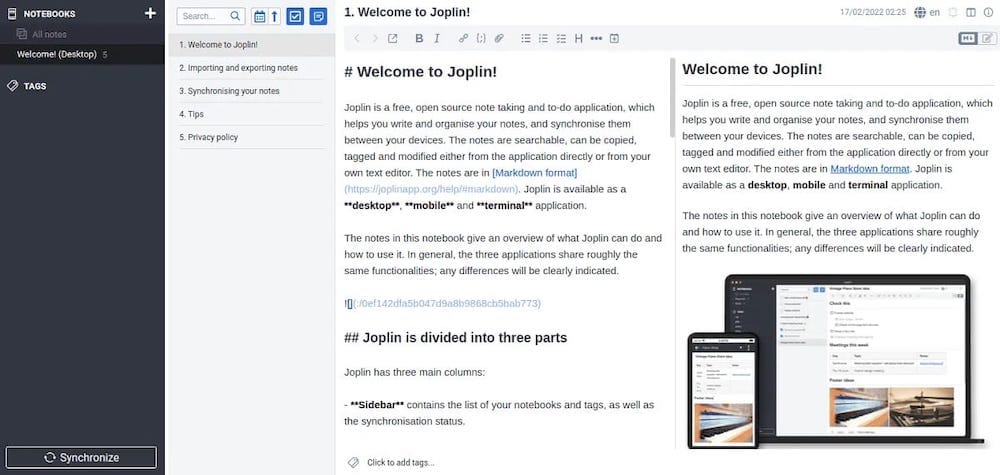
In this tutorial, we will show you how to install Joplin on Ubuntu 24.04 LTS. Joplin is a versatile and open-source note-taking application that offers a robust alternative to proprietary software. It supports Markdown, enabling users to format their notes efficiently, and provides synchronization capabilities with cloud services like Dropbox, OneDrive, and Nextcloud. Ubuntu 24.04, with its user-friendly interface and enhanced security features, makes for an excellent environment to run Joplin.
This article assumes you have at least basic knowledge of Linux, know how to use the shell, and most importantly, you host your site on your own VPS. The installation is quite simple and assumes you are running in the root account, if not you may need to add ‘sudo‘ to the commands to get root privileges. I will show you the step-by-step installation of the Joplin on Ubuntu 24.04 (Noble Numbat). You can follow the same instructions for Ubuntu 22.04 and any other Debian-based distribution like Linux Mint, Elementary OS, Pop!_OS, and more as well.
Prerequisites
- A server running one of the following operating systems: Ubuntu and any other Debian-based distribution like Linux Mint.
- It’s recommended that you use a fresh OS install to prevent any potential issues.
- SSH access to the server (or just open Terminal if you’re on a desktop).
- An active internet connection. You’ll need an internet connection to download the necessary packages and dependencies.
- An Ubuntu 24.04 system with root access or a user with sudo privileges.
Install Joplin on Ubuntu 24.04 LTS Noble Numbat
Step 1. Updating the Package Repository.
Start by updating your system to ensure all existing packages are up-to-date. Open a terminal and execute the following commands:
sudo apt update
sudo apt upgrade
This will refresh the package lists and upgrade any outdated packages, which is essential for maintaining system stability and security.
Step 2. Installing Dependencies.
Joplin requires a few dependencies to function correctly. Install them by running:
sudo apt install wget gnupg2 software-properties-common
These tools ensure that you can fetch Joplin’s installation script and handle the software repositories efficiently.
Step 3. Installing Joplin on Ubuntu 24.04.
To get the latest version of Joplin, you need to add its official repository. Execute the following command:
wget -O - https://raw.githubusercontent.com/laurent22/joplin/master/Joplin_install_and_update.sh | bash
This command downloads and runs the Joplin installation script directly from the official GitHub repository. The script automates the installation process, ensuring that you receive the latest updates and features.
With the repository added, proceed to install Joplin:
sudo apt install joplin
To ensure Joplin is installed correctly, check the version with:
joplin --version
This command displays the installed version of Joplin, ensuring that the installation process was completed successfully.
Step 4. Accessing Joplin on Ubuntu.
Once the installation is complete, you can launch Joplin by searching for it in the application launcher or by running the following command in the terminal:
joplin

Congratulations! You have successfully installed Joplin. Thanks for using this tutorial for installing the Joplin on the Ubuntu 24.04 LTS system. For additional help or useful information, we recommend you check the Joplin website.