How To Install Jupyter Notebook on Fedora 41

Jupyter Notebook is an open-source web application that allows you to create and share documents containing live code, equations, visualizations, and narrative text. It is widely used in data science, machine learning, and scientific computing. This article provides a comprehensive guide on how to install Jupyter Notebook on Fedora 41, ensuring that you have a powerful tool to enhance your programming and data analysis capabilities.
Introduction
As data science continues to grow in popularity, tools like Jupyter Notebook have become essential for developers and researchers alike. Installing Jupyter Notebook on Fedora 41 can seem daunting at first, but with the right steps, it becomes a straightforward process. This guide will walk you through the prerequisites, installation steps, configuration options, and troubleshooting tips to ensure a smooth setup.
Prerequisites
System Requirements
Before installing Jupyter Notebook, it’s crucial to ensure that your system meets the necessary requirements:
- Operating System: Fedora 41 or later
- RAM: Minimum of 4 GB recommended
- Disk Space: At least 1 GB of free space for installation
- Python: Version 3.6 or higher
Installing Python
Jupyter Notebook requires Python to run. Most Fedora installations come with Python pre-installed. To check if Python is installed, open your terminal and run:
python3 --versionIf Python is not installed or if you need to update it, you can install it using the following command:
sudo dnf install python3Setting Up the Environment
Updating Fedora
Keeping your system updated is essential for security and compatibility. To update your Fedora system, use the following command:
sudo dnf updateInstalling Required Packages
You will need some additional packages to facilitate the installation of Jupyter Notebook. These include pip (Python package installer) and virtualenv (to create isolated Python environments). Install them using:
sudo dnf install python3-pip python3-virtualenvInstalling Jupyter Notebook
Using pip for Installation
Pip is the recommended way to install Jupyter Notebook. To install it globally on your system, run:
pip3 install jupyterThis command will download and install Jupyter Notebook along with its dependencies.
Verifying Installation
After installation, verify that Jupyter Notebook has been installed correctly by running:
jupyter --versionThis should return the version number of Jupyter Notebook installed on your system.
Configuring Jupyter Notebook
Creating a Configuration File
A configuration file allows you to customize various settings for Jupyter Notebook. To generate this file, run:
jupyter notebook --generate-configThis command creates a configuration file located at ~/.jupyter/jupyter_notebook_config.py.
Setting Up a Password
For security reasons, it’s advisable to set a password for accessing your Jupyter Notebook server. You can do this by running the following command:
jupyter notebook passwordYou will be prompted to enter and verify your password.
Choosing a Default Browser
If you prefer to use a specific web browser when launching Jupyter Notebook, you can specify it in the configuration file. Open the configuration file in a text editor:
nano ~/.jupyter/jupyter_notebook_config.pyAdd the following line (replace 'firefox' with your preferred browser):
c.NotebookApp.browser = 'firefox'Launching Jupyter Notebook
Starting the Server
You can start the Jupyter Notebook server by executing:
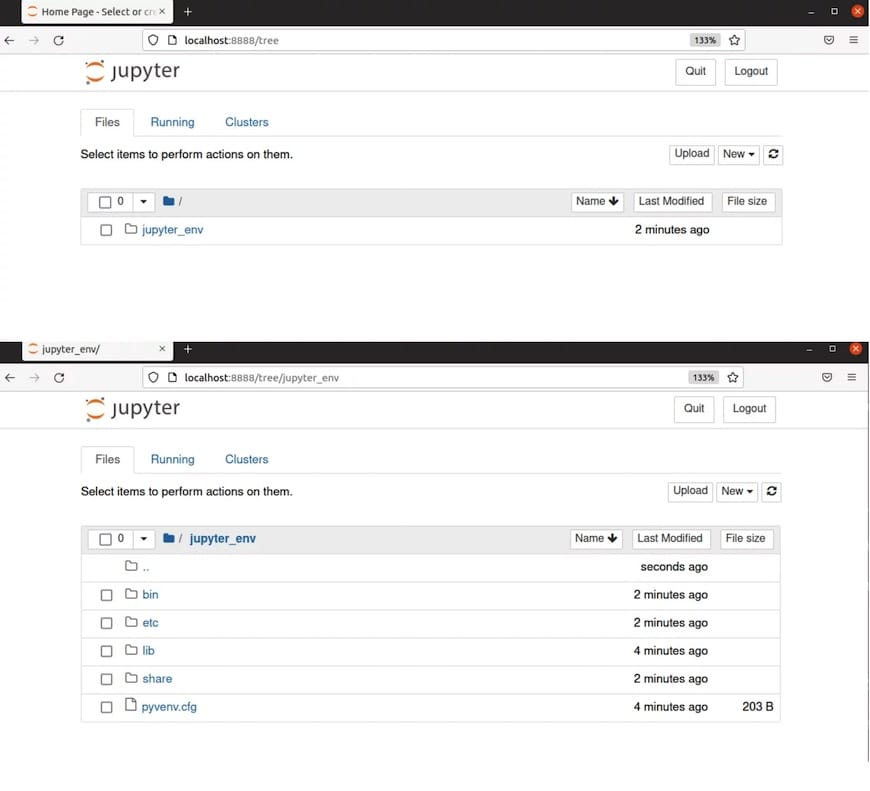
jupyter notebookThis command will launch the server and provide you with a URL (usually http://localhost:8888/) where you can access the notebook interface.
Accessing the Interface
Open your web browser and navigate to the URL provided in the terminal output. If prompted, enter the password you set earlier. You should now see the Jupyter Notebook dashboard where you can create new notebooks or open existing ones.

Troubleshooting Common Issues
Installation Errors
If you encounter errors during installation, ensure that all prerequisite packages are installed correctly. Common issues include missing dependencies or incorrect Python versions. Use pip’s verbose mode for more detailed error messages:
PIP_VERBOSE=1 pip install jupyterServer Not Starting
If the server fails to start or crashes unexpectedly, check for conflicting processes using port 8888. You can find processes using this port with:
lsof -i :8888If another application is using this port, either stop that application or configure Jupyter to use a different port by running:
jupyter notebook --port=8889Best Practices for Using Jupyter Notebook
Organizing Notebooks
A well-organized workspace enhances productivity. Create directories for different projects and keep related notebooks together. Use meaningful names for your notebooks that reflect their content.
Using Extensions
You can enhance Jupyter’s functionality with various extensions available through Jupyter Contrib Nbextensions. To install these extensions, run:
pip install jupyter_contrib_nbextensions
jupyter contrib nbextension install --user
Congratulations! You have successfully installed Jupyter. Thanks for using this tutorial for installing the Jupyter Notebook on your Fedora 41 system. For additional help or useful information, we recommend you check the official Jupyter website.