How To Install Jupyter Notebook on Ubuntu 24.04 LTS

In this tutorial, we will show you how to install Jupyter Notebook on Ubuntu 24.04 LTS. Jupyter Notebook is a powerful tool that has become a staple in the world of data science, machine learning, and scientific computing. It allows users to create and share documents that contain live code, equations, visualizations, and narrative text. Installing Jupyter Notebook on Ubuntu 24.04 LTS can enhance your productivity and streamline your workflow. This guide will walk you through the installation process step-by-step, ensuring you have everything you need to get started.
Prerequisites for Installation
System Requirements
Before diving into the installation process, it’s essential to ensure that your system meets the minimum requirements:
- Operating System: Ubuntu 24.04 LTS
- RAM: Minimum of 4 GB (8 GB recommended for larger datasets)
- Disk Space: At least 5 GB of free space for installation and data storage
- Python: Version 3.6 or higher
- Pip: Python package installer
Update Your System
Keeping your system updated is crucial for security and performance. Open your terminal and run the following commands:
sudo apt update && sudo apt upgradeThis command updates the package lists for upgrades and installs the latest versions of packages currently installed on your system.
Installing Python and Pip
Checking Python Installation
Ubuntu typically comes with Python pre-installed. To check if Python is already installed on your system, use the following command:
python3 --versionIf Python is installed, this command will return the version number. If not, you will need to install it.
Installing Python
If Python is not installed, you can easily install it along with pip by executing the following command:
sudo apt install python3 python3-pipThis command installs both Python 3 and pip, which is necessary for managing Python packages.
Verifying Pip Installation
To ensure that pip has been installed correctly, run:
pip3 --versionThis will display the pip version if it is installed successfully.
Installing Jupyter Notebook
Using Pip to Install Jupyter
The most straightforward way to install Jupyter Notebook is through pip. Run the following command in your terminal:
pip3 install jupyterThis command downloads and installs Jupyter Notebook along with its dependencies.
Verifying Jupyter Installation
After installation, verify that Jupyter Notebook is installed correctly by checking its version:
jupyter --versionIf installed correctly, this will return the version number of Jupyter Notebook.
Running Jupyter Notebook
Starting the Jupyter Notebook Server
You can start the Jupyter Notebook server by running the following command in your terminal:
jupyter notebookThis command launches the server and opens a new tab in your default web browser.
Accessing Jupyter in a Browser
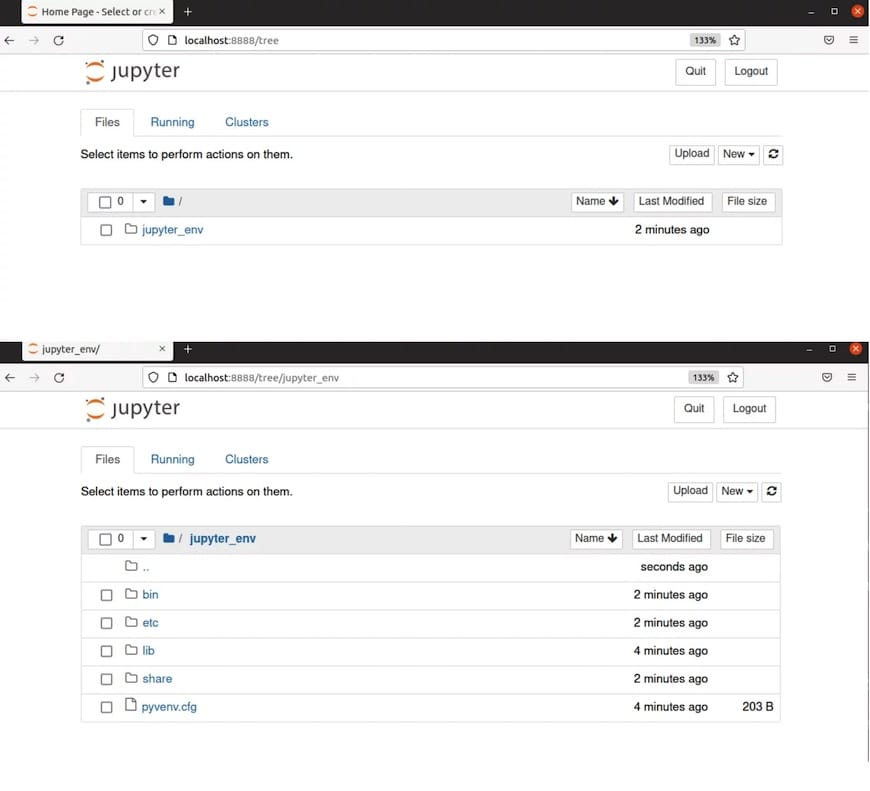
The Jupyter Notebook interface can be accessed at http://localhost:8888. This URL allows you to create new notebooks or open existing ones directly from your browser.

Configuring Jupyter Notebook
Creating a Configuration File
A configuration file allows you to customize various settings for your Jupyter environment. To generate this file, run:
jupyter notebook --generate-configThis creates a configuration file located at ~/.jupyter/jupyter_notebook_config.py.
Setting a Password for Security
If you’re concerned about security, especially if you’re running Jupyter on a remote server, setting a password is advisable. You can do this by running:
jupyter notebook passwordYou will be prompted to enter and confirm a password. This password will be required whenever you access the notebook server.
Customizing Startup Options
You can customize various startup options in the configuration file created earlier. For example, you can change the default startup directory by editing the line:
#c.NotebookApp.notebook_dir = '' # Change this to your desired path
# Uncomment and set it to your preferred directory
c.NotebookApp.notebook_dir = '/path/to/your/notebooks'
Installing Additional Kernels
The Importance of Multiple Kernels
Diverse programming languages can be used within Jupyter Notebooks through different kernels. This flexibility allows data scientists and developers to work with various languages seamlessly.
Installing an Additional Kernel Example: R
If you wish to use R alongside Python in Jupyter Notebooks, you can install the R kernel by following these steps:
-
- Install R:
sudo apt install r-base-
- Add R Kernel to Jupyter:
R -e "install.packages('IRkernel', repos='http://cran.rstudio.com/')"R -e "IRkernel::installspec(user = FALSE)"- This installs the IRkernel package which allows R to be used as a kernel in Jupyter.
Troubleshooting Common Issues
Common Installation Errors
-
- Error: Command ‘jupyter’ not found:
This error indicates that Jupyter is not installed correctly or not added to your PATH. Ensure you’ve followed all installation steps accurately.
-
- Error: Permission denied while installing packages:
This may occur if you’re trying to install packages without sufficient permissions. Use ‘sudo’ with pip commands or consider using a virtual environment.
-
- Error: Unable to connect to localhost:8888:
If you’re unable to access Jupyter via your browser, ensure that the server is running properly in your terminal without errors.
Congratulations! You have successfully installed Jupyter. Thanks for using this tutorial for installing the Jupyter Notebook on Ubuntu 24.04 LTS system. For additional help or useful information, we recommend you check the official Jupyter website.