In this tutorial, we will show you how to install Jupyter on Ubuntu 18.04 LTS. For those of you who didn’t know, Jupyter Notebook is an open-source web application used for creating and sharing documents that have live code, equations, visualizations, and explanatory text. It includes data cleaning and transformation, numerical simulation, statistical modeling, machine learning, etc.
This article assumes you have at least basic knowledge of Linux, know how to use the shell, and most importantly, you host your site on your own VPS. The installation is quite simple and assumes you are running in the root account, if not you may need to add ‘sudo‘ to the commands to get root privileges. I will show you the step-by-step installation of the Jupyter notebook on an Ubuntu 18.04 Bionic Beaver server.
Prerequisites
- A server running one of the following operating systems: Ubuntu 18.04 (Bionic Beaver).
- It’s recommended that you use a fresh OS install to prevent any potential issues.
- SSH access to the server (or just open Terminal if you’re on a desktop).
- A
non-root sudo useror access to theroot user. We recommend acting as anon-root sudo user, however, as you can harm your system if you’re not careful when acting as the root.
Install Jupyter on Ubuntu 18.04 LTS Bionic Beaver
Step 1. First, make sure that all your system packages are up-to-date by running the following apt-get commands in the terminal.
sudo apt-get update
sudo apt-get upgrade
Step 2. Installing Python 3 and Pip.
Before installing Jupyter is to add all the required dependency packages to your system:
apt install python3 python3-pip python3-dev
To verify that everything went well, let us check the Python & PIP version with these commands:
python3 --version
pip3 --version
Step 3. Installing IPython and Jupyter Notebook on Ubuntu 18.04 LTS.
Run the following commands to install IPython & Juptyr on our machine:
apt install ipython
pip3 install jupyter
Before we start the application, we will create a new user for Jupyter Notebook because it is not recommended to run the application as a user root:
useradd -M jupyter
Finally, start Jupyter Notebook in the background as the newly created ‘jupyter’ using the following command:
su - jupyter -c 'jupyter notebook --ip IP_Address --no-browser' &
You will receive an output similar to the following:
Copy/paste this URL into your browser when you connect for the first time,
to login with a token:
    http://IP_Address:8888/?token=7f928e48351e58492d1bmwe4671ff846fd87b98godetb1171f6
Step 4. Accessing Jupyter Web UI.
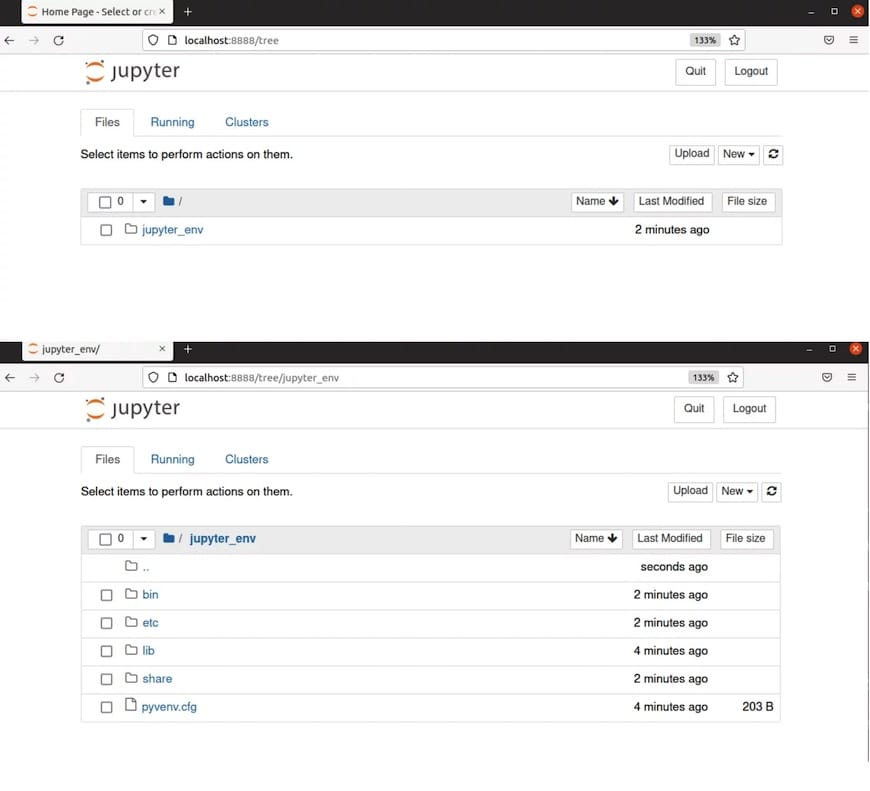
Jupyter will be available on HTTP port 8000 by default. Open your favorite browser and navigate to http://your-domain.com:8000 or http://server-ip:8000/

Congratulations! You have successfully installed Jupyter. Thanks for using this tutorial for installing the Jupyter notebook on your Ubuntu 18.04 LTS system. For additional help or useful information, we recommend you check the official Jupyter website.