How To Install Kodi Media Server on AlmaLinux 9

In this tutorial, we will show you how to install Kodi Media Server on AlmaLinux 9. Kodi, a versatile and highly acclaimed media center software, has gained a dedicated following due to its capability to transform your computer into a multimedia powerhouse. If you’re an AlmaLinux 9 user, you’re in luck because installing Kodi is a straightforward process.
This article assumes you have at least basic knowledge of Linux, know how to use the shell, and most importantly, you host your site on your own VPS. The installation is quite simple and assumes you are running in the root account, if not you may need to add ‘sudo‘ to the commands to get root privileges. I will show you the step-by-step installation of Kodi Media Server on AlmaLinux 9. You can follow the same instructions for CentOS and Rocky Linux or RHEL-based.
Prerequisites
- A server running one of the following operating systems: AlmaLinux 9.
- It’s recommended that you use a fresh OS install to prevent any potential issues.
- SSH access to the server (or just open Terminal if you’re on a desktop).
- An active internet connection. You’ll need an internet connection to download the necessary packages and dependencies for Kodi Media Server.
- A
non-root sudo useror access to theroot user. We recommend acting as anon-root sudo user, however, as you can harm your system if you’re not careful when acting as the root.
Install Kodi Media Server on AlmaLinux 9
Step 1. Before diving into the installation process, ensure your AlmaLinux 9 system is up-to-date. Run the following commands in your terminal:
sudo dnf update
Step 2. Installing Kodi Media Server on AlmaLinux 9.
- Install Kodi using the Package Manager (
dnf/yum):
Now, let’s move on to the main event installing Kodi. Use the following command:
sudo dnf install kodi
The system will prompt you for confirmation. Type ‘y‘ and hit Enter to proceed. This command will initiate the download and installation process.
- Install Kodi from Source:
Before building Kodi from the source, you need to install some dependencies. Open the terminal and run the following command to install the required dependencies:
sudo dnf install -y git make gcc-c++ cmake glibc-devel glibc-devel.i686 libstdc++-static libstdc++-static.i686 libXinerama-devel libXrandr-devel mesa-libGL-devel mesa-libEGL-devel mesa-libGLES-devel mesa-libgbm-devel mesa-libGLU-devel pulseaudio-libs-devel libcurl-devel libmicrohttpd-devel libxslt-devel libxml2-devel libcap-devel libcap-ng-devel libgcrypt-devel libass-devel libva-devel libvdpau-devel libbluray-devel libcdio-devel libdvdread-devel libmad-devel libmpeg2-devel libogg-devel libvorbis-devel libpng-devel freetype-devel fontconfig-devel libfribidi-devel libplist-devel libusb-devel libcec-devel libnfs-devel libafpclient-devel librtmp-devel libssh-devel libyajl-devel libxkbcommon-devel libinput-devel libevdev-devel libxkbcommon-x11-devel libxkbcommon-x11-devel.i686
Once the dependencies are installed, run the following command to download the Kodi source code:
git clone https://github.com/xbmc/xbmc.git
Change to the Kodi source directory:
cd xbmc
Run the following commands to configure and build Kodi:
./bootstrap
./configure
make
sudo make install
Step 3. Launch Kodi on AlmaLinux.
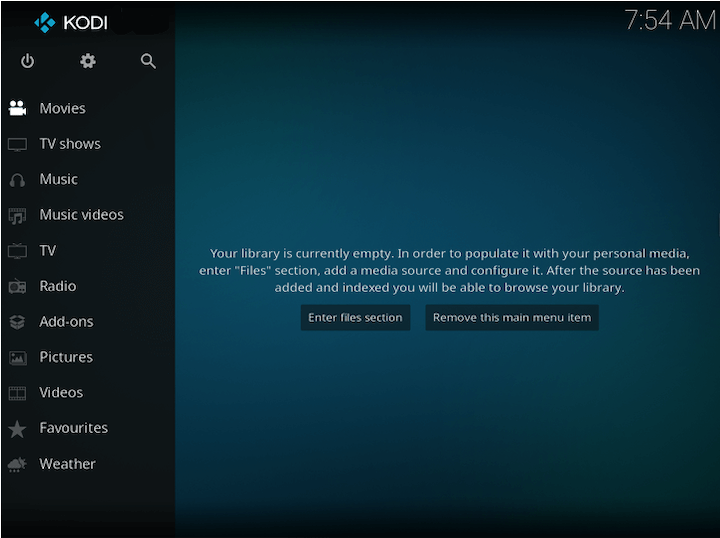
After the installation is complete, you can launch Kodi by typing kodi in the terminal or by searching for it in the applications menu.

Congratulations! You have successfully installed Kodi. Thanks for using this tutorial for installing Kodi Media Server on your AlmaLinux 9 system. For additional help or useful information, we recommend you check the official Kodi website.