In this tutorial, we will show you how to install Let’s Encrypt SSL with LEMP on AlmaLinux 8. For those of you who didn’t know, Let’s Encrypt is the free SSL option for you. Let’s Encrypt can be signed through Certbot, a free, open-source software tool for automatically issuing the SSL Certificate.
This article assumes you have at least basic knowledge of Linux, know how to use the shell, and most importantly, you host your site on your own VPS. The installation is quite simple and assumes you are running in the root account, if not you may need to add ‘sudo‘ to the commands to get root privileges. I will show you the step-by-step installation of a free SSL certificate with LEMP on an AlmaLinux 8. You can follow the same instructions for CentOS and Rocky Linux.
Prerequisites
- A server running one of the following operating systems: AlmaLinux 8, CentOS, and Rocky Linux 8.
- It’s recommended that you use a fresh OS install to prevent any potential issues.
- SSH access to the server (or just open Terminal if you’re on a desktop).
- A
non-root sudo useror access to theroot user. We recommend acting as anon-root sudo user, however, as you can harm your system if you’re not careful when acting as the root.
Install Let’s Encrypt SSL with LEMP on AlmaLinux 8
Step 1. First, let’s start by ensuring your system is up-to-date.
sudo dnf update
sudo dnf install epel-release mod_ssl
Step 2. Installing a LEMP server.
An AlmaLinux LEMP server is required. If you do not have LEMP installed, you can follow our guide here.
Step 3. Installing Certbot.
Now we install the Certbot client which is used to create Let’s Encrypt certificates:
sudo dnf install certbot python3-certbot-nginx
To verify the Certbot installation run:
certbot --version
Step 4. Installing free SSL Let’s Encrypt on AlmaLinux.
Now we use the Certbot command to issue a Let’s Encrypt certificate. Replace your-domain.com and admin@your-domain.com with your domain name and email :
certbot --nginx --agree-tos --redirect --hsts --staple-ocsp --email admin@your-domain.com -d your-domain.com
During installation, This will generate a set of prompts that you will need to answer. If all goes well, you should receive the following message:
Requesting a certificate for yourdomain.com
Performing the following challenges:
http-01 challenge for your-domain.com
Waiting for verification...
Cleaning up challenges
Subscribe to the EFF mailing list (email: admin@your-domain.com).

IMPORTANT NOTES:
 - Congratulations! Your certificate and chain have been saved at:
   /etc/letsencrypt/live/your-domain.com/fullchain.pem
   Your key file has been saved at:
   /etc/letsencrypt/live/your-domain.com/privkey.pem
   Your certificate will expire on 2021-08-25. To obtain a new or
   tweaked version of this certificate in the future, simply run
   certbot again. To non-interactively renew *all* of your
   certificates, run "certbot renew"
 - If you like Certbot, please consider supporting our work by:

   Donating to ISRG / Let's Encrypt:   https://letsencrypt.org/donate
   Donating to EFF:                    https://eff.org/donate-le
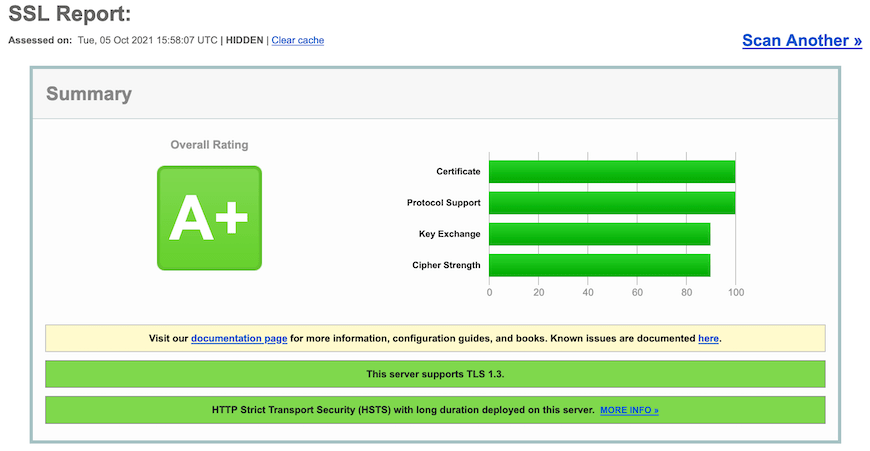
At this point, when you are finished using Certbot, you can check your SSL certificate status. Type the following link to your web browser:
https://www.ssllabs.com/ssltest/analyze.html?d=your-domian.com

Step 5. Configure Firewall.
Now add firewall rules to allow connections as well as HTTP (port 80) and HTTPS (port 443) traffic:
sudo firewall-cmd --permanent --add-port=80/tcp --zone=public
sudo firewall-cmd --permanent --add-port=443/tcp --zone=public
sudo firewall-cmd --reload
Congratulations! You have successfully installed a free SSL certificate. Thanks for using this tutorial for installing Certbot on your AlmaLinux 8 system. For additional help or useful information, we recommend you check the official Certbot website.