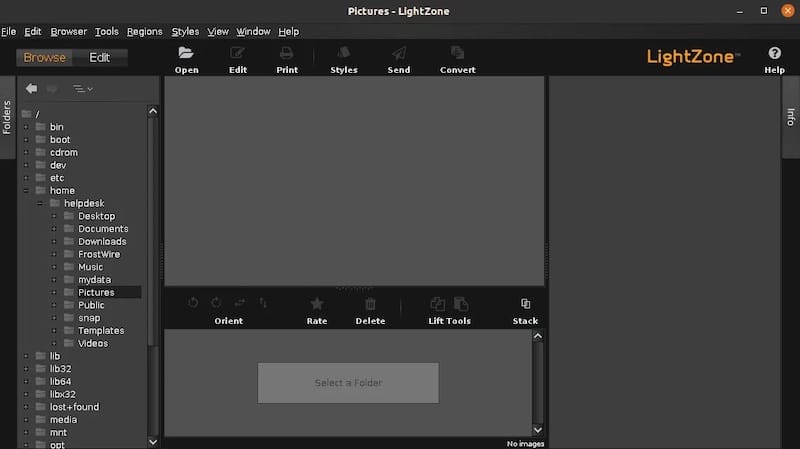
How To Install LightZone on Debian 12

In this tutorial, we will show you how to install LightZone on Debian 12. LightZone is a free, open-source digital photo editor software application. Its capabilities extend beyond simple cropping and adjustment, offering a range of tools for refining and enhancing images. As an open-source project, LightZone benefits from active development and community support, ensuring it remains up-to-date and customizable to individual needs.
This article assumes you have at least basic knowledge of Linux, know how to use the shell, and most importantly, you host your site on your own VPS. The installation is quite simple and assumes you are running in the root account, if not you may need to add ‘sudo‘ to the commands to get root privileges. I will show you the step-by-step installation of the LightZone photo editor on a Debian 12 (Bookworm).
Prerequisites
- A server running one of the following operating systems: Debian 12 (Bookworm).
- It’s recommended that you use a fresh OS install to prevent any potential issues.
- SSH access to the server (or just open Terminal if you’re on a desktop).
- You will need an active internet connection to download and install the LightZone package.
- A
non-root sudo useror access to theroot user. We recommend acting as anon-root sudo user, however, as you can harm your system if you’re not careful when acting as the root.
Install LightZone on Debian 12 Bookworm
Step 1. Before diving into the installation process, it’s important to ensure that you have a working Debian 12 system. If you haven’t already, make sure to update your system to its latest state using the following commands:
sudo apt update
sudo apt upgrade
Step 2. Installing LightZone on Debian 12.
To install LightZone on Debian distributions, you need to run the following commands in the terminal to add the LightZone repository:
sudo add-apt-repository ppa:lightzone-team/lightzone
After adding the repository, update your system’s package index. This refreshes the list of available software packages, ensuring your system recognizes the newly added LightZone repository. Use the following command to update the package index:
sudo apt update
With the package index updated, you can now install the LightZone package. This command also installs any dependencies required by LightZone. Use the following command to install the LightZone package:
sudo apt install lightzone
After the installation process is completed, verify that LightZone has been successfully installed. You can do this by checking the version number of the installed package. Use the following command to check the LightZone version:
lightzone --version
Step 3. Launching LightZone on Debian.
Once successfully installed, you can launch LightZone through the terminal with the command shown below:
lightzone

Once you’ve successfully installed LightZone, you can start editing your photos. Here’s a basic workflow to get you started:
- Open LightZone and import your photos.
- Select a photo to edit.
- Apply a pre-made style or manually adjust the light and color using the tools provided.
- Save your edited photo as a new file.
Remember, LightZone is a non-destructive editor, so your original photo will remain untouched.
Congratulations! You have successfully installed LightZone. Thanks for using this tutorial to install the latest version of the LightZone photo editor on Debian 12 Bookworm. For additional help or useful information, we recommend you check the official LightZone website.