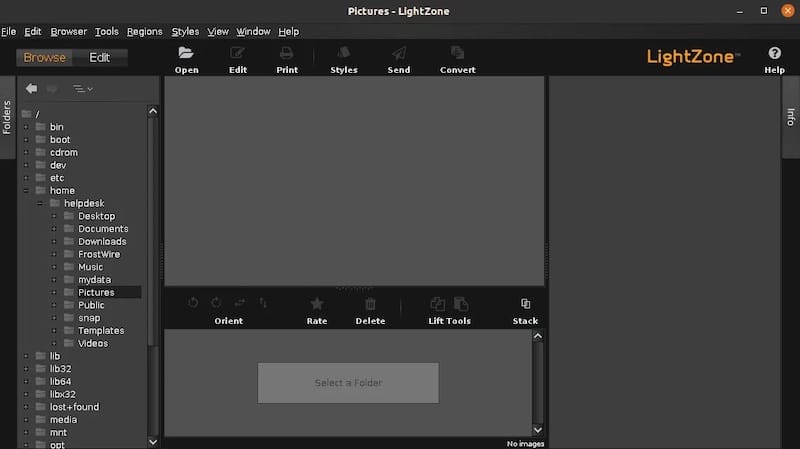
How To Install LightZone on Fedora 38

In this tutorial, we will show you how to install LightZone on Fedora 38. For those of you who didn’t know, LightZone, an open-source photo editing software, has emerged as a versatile and robust solution. This guide will walk you through the step-by-step process of installing LightZone on Fedora 38 using the Command Line Interface (CLI). Whether you’re a professional photographer or just a hobbyist, this installation guide will help you harness the full potential of LightZone for your photo editing needs.
This article assumes you have at least basic knowledge of Linux, know how to use the shell, and most importantly, you host your site on your own VPS. The installation is quite simple and assumes you are running in the root account, if not you may need to add ‘sudo‘ to the commands to get root privileges. I will show you the step-by-step installation of the LightZone on a Fedora 38.
Prerequisites
- A server running one of the following operating systems: Fedora 38.
- It’s recommended that you use a fresh OS install to prevent any potential issues.
- SSH access to the server (or just open Terminal if you’re on a desktop).
- An active internet connection. You’ll need an internet connection to download the necessary packages and dependencies for LightZone.
- A
non-root sudo useror access to theroot user. We recommend acting as anon-root sudo user, however, as you can harm your system if you’re not careful when acting as the root.
Install LightZone on Fedora 38
Step 1. Before we can install LightZone on Fedora 38, it’s important to ensure that our system is up-to-date with the latest packages. This will ensure that we have access to the latest features and bug fixes and that we can install LightZone without any issues:
sudo dnf update
Step 2. Installing LightZone on Fedora 38.
- Method 1: Use the Add repository and install manually
You can obtain the LightZone package from the official website or its GitHub repository. Use the following command to download LightZone:
dnf config-manager --add-repo https://download.opensuse.org/repositories/home:ktgw0316:LightZone/Fedora_38/home:ktgw0316:LightZone.repo
With the repository added, it’s time to install LightZone. Follow these commands:
sudo dnf install lightzone
Wait for the installation to complete.
- Method 2: Using binary packages directly
You can obtain the LightZone package from the official website or its GitHub repository. Use the following command to download LightZone:
wget https://download.opensuse.org/repositories/home:/ktgw0316:/LightZone/Fedora_38/x86_64/lightzone-5.0.0.beta2-210.1.x86_64.rpm
With the package downloaded, it’s time to install LightZone. Follow these commands:
sudo dnf install lightzone-5.0.0.beta2-210.1.x86_64.rpm
This command will install LightZone on your Fedora 38 system.
To make LightZone easily accessible, create a desktop launcher. Follow these steps:
cd /usr/share/applications
Create a new desktop file for LightZone:
sudo nano lightzone.desktop
Add the following content to the desktop file:
[Desktop Entry]
Name=LightZone
Exec=/usr/bin/lightzone
Icon=/usr/share/icons/hicolor/256x256/apps/lightzone.png
Type=Application
Categories=Graphics;Photography;
Save the file and exit the text editor. Now, you should be able to find LightZone in your applications menu and launch it with ease.
Step 3. Accessing LightZone on Fedora.
Once it’s done, you can launch LightZone from the applications menu or by running the following command in the terminal:
lightzone

Congratulations! You have successfully installed LightZone. Thanks for using this tutorial for installing the LightZone on your Fedora 38 system. For additional help or useful information, we recommend you check the official LightZone website.