How To Install MongoDB Compass on Fedora 40

In this tutorial, we will show you how to install MongoDB Compass on Fedora 40. MongoDB Compass is a powerful graphical user interface (GUI) tool designed to interact with MongoDB databases. It provides a user-friendly environment for querying, visualizing, and managing data stored in MongoDB. Whether you’re a developer, database administrator, or data analyst, MongoDB Compass simplifies the process of working with MongoDB databases.
This article assumes you have at least basic knowledge of Linux, know how to use the shell, and most importantly, you host your site on your own VPS. The installation is quite simple and assumes you are running in the root account, if not you may need to add ‘sudo‘ to the commands to get root privileges. I will show you the step-by-step installation of the MongoDB Compass on Fedora 40.
Prerequisites
Before we dive into the installation process, ensure that you have the following prerequisites in place:
- A server running one of the following operating systems: Fedora 40.
- It’s recommended that you use a fresh OS install to prevent any potential issues.
- You will need access to the terminal to execute commands. Fedora provides the Terminal application for this purpose. It can be found in your Applications menu.
- A stable internet connection to download the necessary packages.
- Allocate at least 500MB of free disk space for the installation and additional space for data storage.
- A non-root sudo user or access to the root user. We recommend acting as a non-root sudo user, however, as you can harm your system if you’re not careful when acting as the root.
Install MongoDB Compass on Fedora 40
Step 1. Update the System.
Before proceeding with the installation, it’s crucial to ensure that your system packages are up to date. This step helps prevent potential conflicts and ensures compatibility with the latest software versions. Open a terminal and run the following command:
sudo dnf clean all
sudo dnf update
This command will update all installed packages on your Fedora system to their latest versions. It’s a good practice to keep your system updated regularly to benefit from security patches and bug fixes.
Step 2. Installing MongoDB Compass on Fedora 40.
Next, you’ll need to download the MongoDB Compass RPM (RPM Package Manager) package from the official MongoDB website.
wget https://downloads.mongodb.com/compass/mongodb-compass-1.43.1.x86_64.rpm
This command will download the MongoDB Compass RPM package to your current working directory.
With the RPM package downloaded, you can now proceed with the installation. In the terminal, navigate to the directory where you downloaded the package and run the following command:
sudo dnf localinstall mongodb-compass-1.43.1.x86_64.rpm
During the installation process, the package manager will resolve and install any missing dependencies automatically. If prompted, review and confirm the installation of additional packages.
Step 3. Launch MongoDB Compass on Fedora.
After a successful installation, you can launch MongoDB Compass in several ways:
-
- Application Menu: Look for the MongoDB Compass icon in your desktop environment’s application menu and click on it to launch the application.
- Terminal: Alternatively, you can launch MongoDB Compass from the terminal by running the following command:
mongodb-compass

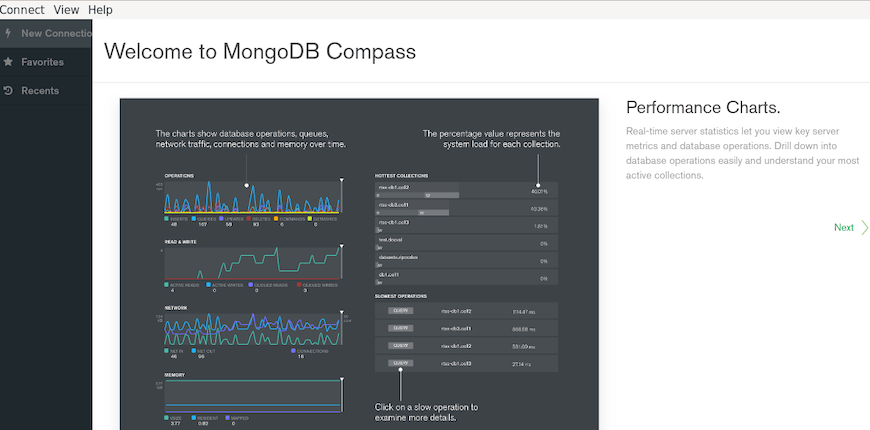
Congratulations! You have successfully installed MongoDB Compass. Thanks for using this tutorial for installing the MongoDB Compass on Fedora 40 system. For additional help or useful information, we recommend you check the MongoDB website.