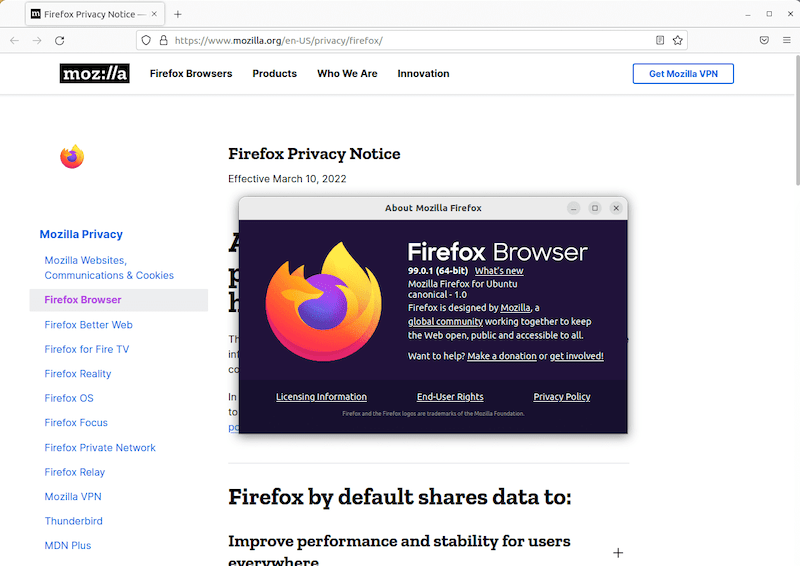
In this tutorial, we will show you how to install Mozilla Firefox on Ubuntu 18.04 LTS. For those of you who didn’t know, Mozilla Firefox is one of the most popular and widely-used open-source web browsers available today. Known for its speed, security, and customizability, Firefox has garnered a loyal user base across various operating systems, including Ubuntu Linux. While Firefox comes pre-installed on Ubuntu, there may be instances where you need to install or reinstall it, whether due to a fresh installation, system upgrade, or personal preference.
This article assumes you have at least basic knowledge of Linux, know how to use the shell, and most importantly, you host your site on your own VPS. The installation is quite simple and assumes you are running in the root account, if not you may need to add ‘sudo‘ to the commands to get root privileges. I will show you the step-by-step installation Firefox browser on a Ubuntu 18.04 Bionic Beaver server.
Prerequisites
- A server running one of the following operating systems: Ubuntu 18.04, 16.04, and any other Debian-based distribution like Linux Mint.
- It’s recommended that you use a fresh OS install to prevent any potential issues.
- A
non-root sudo useror access to theroot user. We recommend acting as anon-root sudo user, however, as you can harm your system if you’re not careful when acting as the root.
Install Mozilla Firefox on Ubuntu 18.04 LTS Bionic Beaver
Step 1. Before installing any software, it’s always a good practice to update the package index to ensure you have access to the latest available packages. Open the terminal and run:
sudo apt update
sudo apt upgrade
sudo apt install snapd snapd-xdg-open
Step 2. Installing Mozilla Firefox on Ubuntu 18.04.
- Method 1: Install Firefox from Ubuntu Repository
One of the simplest and most straightforward ways to install Mozilla Firefox on Ubuntu 18.04 is through the default Ubuntu repositories. This method ensures you get a stable and well-tested version of Firefox, although it may not be the absolute latest release.
To install Firefox on Ubuntu OS, run the following command:
sudo apt install firefox
After the installation is complete, you can verify the installed version of Firefox by running:
firefox --version
- Method 2: Install Firefox from Mozilla PPA
Mozilla maintains an official Personal Package Archive (PPA) for Ubuntu, which provides more up-to-date versions of Firefox compared to the default Ubuntu repositories. This method is suitable for users who want to stay on the cutting edge while still benefiting from the convenience of package management.
Before adding the PPA, you need to import the Mozilla signing key to ensure package authenticity. Run the following command:
sudo apt-key adv --keyserver keyserver.ubuntu.com --recv-keys A6DCF7707EBC886F
Next, add the Mozilla PPA to your system’s sources list by running:
sudo add-apt-repository "deb http://ppa.launchpad.net/mozillateam/firefox-next/ubuntu bionic main"
After adding the PPA, update the package index to make the new packages available:
sudo apt update
Now you can install the latest version of Firefox from the Mozilla PPA by running:
sudo apt install firefox
Step 3. Accessing Firefox on Ubuntu 18.04 LTS.
Once successfully installed to your system, now launch the firefox browser by visiting Activities -> type “mozilla firefox” or run the following command in the terminal:
firefox

Congratulations! You have successfully installed Firefox. Thanks for using this tutorial for installing the Mozilla Firefox browser on Ubuntu 18.04 LTS (Bionic Beaver) system. For additional help or useful information, we recommend you check the official Firefox website.