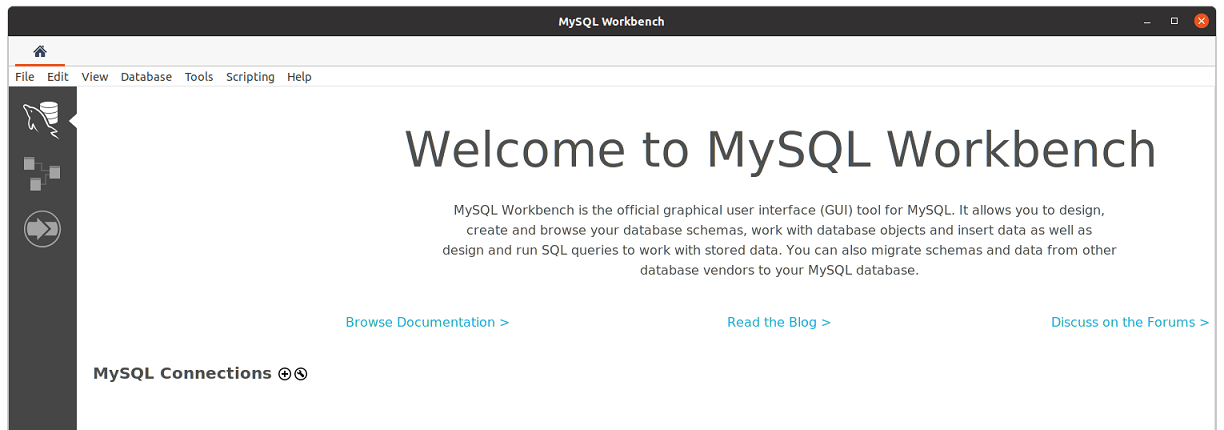
In this tutorial, we will show you how to install MySQL Workbench on Debian 10. For those of you who didn’t know, MySQL Workbench is a GUI tool to manage MySQL servers. You can use this tool to manage your MySQL Server installed locally or remotely. It has many important tools you need to create, edit, delete databases, create and edit users, tables, and many more.
This article assumes you have at least basic knowledge of Linux, know how to use the shell, and most importantly, you host your site on your own VPS. The installation is quite simple and assumes you are running in the root account, if not you may need to add ‘sudo‘ to the commands to get root privileges. I will show you the step-by-step installation of the MySQL Workbench on a Debian 10 (Buster).
Prerequisites
- A server running one of the following operating systems: Debian 10.
- It’s recommended that you use a fresh OS install to prevent any potential issues.
- SSH access to the server (or just open Terminal if you’re on a desktop).
- A
non-root sudo useror access to theroot user. We recommend acting as anon-root sudo user, however, as you can harm your system if you’re not careful when acting as the root.
Install MySQL Workbench on Debian 10 Buster
Step 1. Before running the tutorial below, it’s important to make sure your system is up to date by running the following apt commands in the terminal:
sudo apt update
sudo apt install ca-certificates
Step 2. Installing MySQL Workbench on Debian 10.
- Install MySQL Workbench from the official repository.
Now we download the repository configuration file from the given URL https://dev.mysql.com/downloads/repo/apt/. When you browse this URL, it will take you directly to the download page from where you will download ‘mysql-apt-config_0.8.15-1_all.deb’ ( You might get the latest version hence version no may be changed ):
sudo apt install ./mysql-apt-config_0.8.16-1_all.deb
Next, it’s time to install MySQL workbench using the apt repository:
sudo apt update
sudo apt install mysql-workbench-community
- Install MySQL Workbench via Snap.
Run the following command to install it:
sudo apt install snapd
snap install core
snap install mysql-workbench-community
Step 3. Accessing MySQL Workbench on Debian.
Once successfully complete installation, you can launch the application and connect your database server to begin management from a graphical interface or you can launch it using the terminal by typing the following command:
mysql-workbench

Congratulations! You have successfully installed MySQL Workbench. Thanks for using this tutorial for installing the latest version of MySQL Workbench on the Debian system. For additional help or useful information, we recommend you check the official MySQL website.