How To Install MySQL Workbench on Rocky Linux 8

In this tutorial, we will show you how to install MySQL Workbench on Rocky Linux 8. For those of you who didn’t know, MySQL Workbench is a unified visual tool developed and maintained by Oracle for database architects, developers, and database administrators (DBAs) to work with MySQL servers and databases. It serves as a comprehensive graphical interface that integrates SQL development, administration, database design, creation and maintenance into a single application.
Advanced Features
- Performance Monitoring
MySQL Workbench includes comprehensive performance monitoring tools featuring Performance Schema metrics, a MySQL instance dashboard, and query statistics. The Visual EXPLAIN feature helps developers understand how MySQL executes SQL statements, while the performance dashboard provides real-time views of key server, network, and InnoDB metrics.
- Database Migration
The migration functionality supports moving data from various database management systems including Microsoft SQL Server, Microsoft Access, Sybase ASE, SQLite, SQL Anywhere, and PostgreSQL to MySQL. It also supports migrating from earlier versions of MySQL to newer releases through a visual, point-and-click migration wizard.
This article assumes you have at least basic knowledge of Linux, know how to use the shell, and most importantly, you host your site on your own VPS. The installation is quite simple and assumes you are running in the root account, if not you may need to add ‘sudo‘ to the commands to get root privileges. I will show you the step-by-step installation of the MySQL Workbench on Rocky Linux. 8.
Prerequisites
- A server running one of the following operating systems: Rocky Linux 8.
- It’s recommended that you use a fresh OS install to prevent any potential issues.
- SSH access to the server (or just open Terminal if you’re on a desktop).
- Internet connection to download Workbench.
- A
non-root sudo useror access to theroot user. We recommend acting as anon-root sudo user, however, as you can harm your system if you’re not careful when acting as the root.
Install MySQL Workbench on Rocky Linux 8
Step 1. Update Your Rocky Linux system.
The first step is to update your system to the latest version of the package list. To do so, run the following commands:
sudo dnf check-update
sudo dnf update
Step 2. Installing MySQL Workbench on Rocky Linux 8.
By default, MySQL Workbench is not available on Rocky Linux 8 base repository. Now run the following command below to add MySQL Workbench repository with the following command:
sudo dnf install https://dev.mysql.com/get/mysql80-community-release-el8-3.noarch.rpm
After the repository was added, now install MySQL Workbench using the following command:
sudo dnf update
sudo dnf install mysql-workbench-community
Step 3. Accessing MySQL Workbench on Rocky Linux.
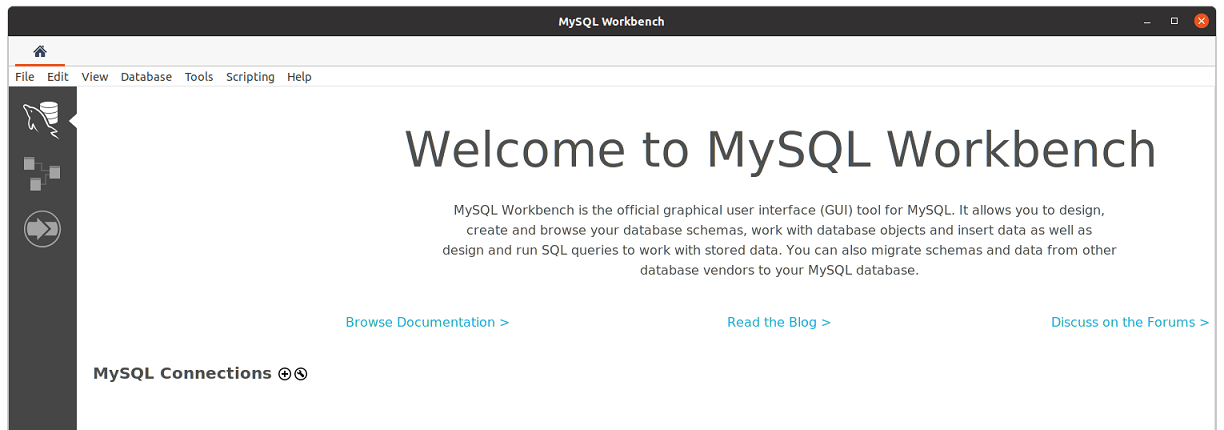
Once successfully installed, it is time to preview what it has to offer. Launch it from the system terminal with the following command or go to the Application launcher, search for it and click when its icon appears.
mysql-workbench
Output:

Congratulations! You have successfully installed MySQL Workbench. Thanks for using this tutorial for installing the MySQL Workbench ultimate solution to MySQL database management on your Rocky Linux 8 system. For additional help or useful information, we recommend you check the official MySQL Workbench website.