How To Install Nagios on Fedora 41

Nagios is a powerful open-source monitoring system that enables users to monitor system metrics, network services, and host resources. With its robust alerting capabilities, Nagios is a go-to solution for system administrators looking to ensure their infrastructure runs smoothly. This guide will walk you through the installation of Nagios on Fedora 41, providing detailed steps and troubleshooting tips to help you set up your monitoring system effectively.
Prerequisites for Installation
Before diving into the installation process, it’s essential to ensure that your system meets the necessary prerequisites. Here’s what you need:
- A machine running Fedora 41 with root access.
- Basic knowledge of Linux command-line operations.
- Internet connectivity to download packages.
Additionally, you will need to install several required packages. Open a terminal and run the following command:
sudo dnf install httpd php gcc glibc glibc-common gd gd-devel make net-snmpCreating a Nagios User and Group
For security reasons, it is crucial to create a dedicated user and group for Nagios. This step helps isolate the monitoring service from other processes on your system. Execute the following commands:
sudo useradd nagios
sudo groupadd nagcmd
sudo usermod -a -G nagcmd nagios
sudo usermod -a -G nagcmd apache
These commands create a new user named nagios, establish a group called nagcmd, and add both the Nagios user and the Apache user to this group. This configuration allows Nagios to execute commands through the web interface securely.
Downloading Nagios Core and Plugins
The next step involves downloading the latest versions of Nagios Core and its plugins. Create a directory for these downloads:
mkdir ~/nagios && cd ~/nagiosNow, use the following commands to download the necessary files:
wget https://assets.nagios.com/downloads/nagioscore/releases/nagios-4.4.9.tar.gz
wget https://nagios-plugins.org/download/nagios-plugins-2.3.3.tar.gz
Make sure to check for the latest versions on their respective websites, as they may have been updated since this writing.
Installing Nagios Core
With the files downloaded, it’s time to install Nagios Core. Start by extracting the downloaded tarball:
tar xzf nagios-4.4.9.tar.gz
cd nagios-4.4.9
Next, run the configuration script to prepare for installation:
./configure --with-command-group=nagcmdThis command configures Nagios with the appropriate command group settings. After that, compile and install Nagios using these commands:
make all
sudo make install
sudo make install-init
sudo make install-commandmode
sudo make install-config
The make all command compiles all necessary components of Nagios, while subsequent commands install various parts of the software, including initialization scripts and configuration files.
Configuring the Web Interface
Nagios comes with a web-based interface that allows users to monitor services easily. To set this up, you need to install the web configuration file and create an admin user:
sudo make install-webconf
htpasswd -s -c /usr/local/nagios/etc/htpasswd.users nagiosadmin
The first command installs the web configuration file for Apache, while the second command creates a password file for the admin user nagiosadmin. You will be prompted to enter a password; choose something secure but memorable.
After setting up the web interface, restart Apache to apply all changes:
sudo systemctl restart httpdInstalling Nagios Plugins
Nagios plugins are essential as they enable monitoring of various services and resources on your network. To install them, navigate back to your plugins directory:
cd ~/nagios/nagios-plugins-2.3.3
./configure --with-nagios-user=nagios --with-nagios-group=nagios
make && sudo make install
This process compiles and installs the plugins necessary for Nagios to function effectively. The plugins will allow you to monitor everything from CPU load to disk usage seamlessly.
Verifying Configuration
A critical step before starting Nagios is verifying your configuration files for any errors. Use this command to check your configurations:
/usr/local/nagios/bin/nagios -v /usr/local/nagios/etc/nagios.cfgIf there are any issues detected during verification, carefully read through any error messages provided and correct them accordingly. Common issues often stem from syntax errors in configuration files or missing dependencies.
Starting Nagios Service
If everything checks out without errors, you can proceed to start the Nagios service. Use these commands to enable and start it automatically on boot:
sudo systemctl enable nagios.service
sudo systemctl start nagios.service
This ensures that Nagios starts whenever your server boots up, providing continuous monitoring without manual intervention.
Accessing the Nagios Web Interface
You can now access the Nagios web interface using a web browser. Enter the following URL format in your browser’s address bar:
http://your-server-ip/nagiosReplace your-server-ip with your actual server’s IP address or hostname. Log in using the admin credentials you created earlier (username: nagiosadmin).

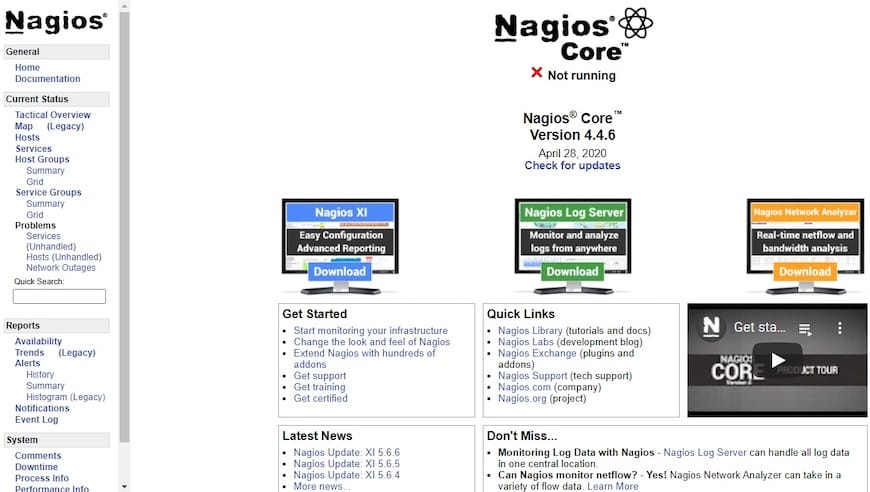
Upon successful login, you will be greeted by the Nagios dashboard where you can begin configuring your monitoring setup.

Troubleshooting Common Issues
If you encounter problems during installation or while accessing the web interface, consider these common troubleshooting tips:
- Error 403 Forbidden: Ensure that Apache has permission to access your Nagios directories by checking ownership and permissions.
- Nagios service not starting: Review logs located at
/usr/local/nagios/var/nagios.logfor any error messages that might indicate what went wrong. - No data displayed on dashboard: Check if plugins are installed correctly and verify that they are enabled in your configuration files.
- Password issues: If you forget your admin password, you can reset it using
htpasswdcommand again.
Congratulations! You have successfully installed Nagios. Thanks for using this tutorial for installing the Nagios open-source monitoring on Fedora 41 system. For additional help or useful information, we recommend you check the Nagios website.