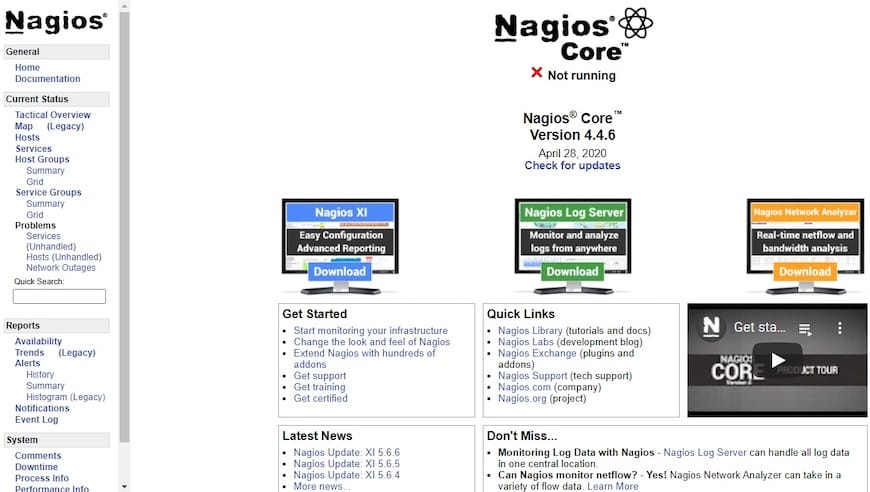
How To Install Nagios on Linux Mint 22

Nagios is a powerful open-source network monitoring tool that helps system administrators keep a watchful eye on their IT infrastructure. By continuously monitoring servers, network devices, and services, Nagios can quickly alert you to any issues, allowing for swift resolution and minimizing downtime. In this comprehensive guide, we’ll walk you through the step-by-step process of installing Nagios on Linux Mint 22, enabling you to take control of your network’s health and performance.
Prerequisites
Before diving into the installation process, ensure that your Linux Mint 22 system meets the following requirements:
- A minimum of 2GB RAM and 20GB disk space
- Root or sudo access to the system
- Basic familiarity with the Linux command line
Step 1: Prepare Your System
To begin, update your system packages to ensure you have the latest versions and security patches. Open a terminal and run the following command:
sudo apt update && sudo apt upgrade -yNext, install the required dependencies for Nagios. These packages include essential tools like wget, unzip, curl, openssl, and build-essential. Install them using the following command:
sudo apt install wget unzip curl openssl build-essential -yStep 2: Download and Extract Nagios Core
Visit the official Nagios website and download the latest stable release of Nagios Core. Alternatively, you can use wget to download the package directly from the command line. As of writing, the latest version is 4.5.5:
wget https://github.com/NagiosEnterprises/nagioscore/releases/download/nagios-4.5.5/nagios-4.5.5.tar.gzOnce the download is complete, extract the files using the following command:
tar -zxvf nagios-4.5.5.tar.gzThis will create a new directory containing the Nagios Core source files.
Step 3: Compile and Install Nagios Core
Navigate to the newly created Nagios Core directory:
cd nagios-4.5.5/Configure Nagios by running the following command:
./configure --with-command-group=nagcmdOnce the configuration is complete, compile the source code using:
make allNow, install the binaries and daemons with the following commands:
sudo make install
sudo make install-init
sudo make install-commandmode
These commands install the necessary files, set up the init script, and configure the command mode for Nagios.
Step 4: Configure Apache for Nagios
Nagios uses Apache to serve its web interface. Enable the required Apache modules with the following commands:
sudo a2enmod rewrite cgiNext, configure the Apache settings for Nagios:
sudo make install-webconfFinally, restart the Apache service to apply the changes:
sudo systemctl restart apache2Step 5: Create Nagios User and Group
Create a dedicated user and group for Nagios to enhance security. Run the following commands:
sudo useradd nagios
sudo groupadd nagcmd
sudo usermod -aG nagcmd nagios
sudo usermod -aG nagcmd www-data
These commands create the nagios user and nagcmd group, then add the nagios user and www-data user (Apache) to the nagcmd group.
Step 6: Install and Configure Plugins
Nagios plugins extend the monitoring capabilities of Nagios. Download the plugins package from the official Nagios website or using wget:
https://github.com/nagios-plugins/nagios-plugins/releases/download/release-2.4.12/nagios-plugins-2.4.12.tar.gz Extract the downloaded file:
tar -zxvf nagios-plugins-2.4.12.tar.gzNavigate to the plugins directory, then compile and install the plugins:
cd nagios-plugins-2.4.12/
./configure --with-nagios-user=nagios --with-nagios-group=nagcmd
make
sudo make install
Step 7: Start Nagios Service
With the installation and configuration complete, enable and start the Nagios service:
sudo systemctl enable nagios
sudo systemctl start nagios
Verify that Nagios is running by checking its status:
sudo systemctl status nagiosIf everything is set up correctly, you should see that the Nagios service is active and running.
Accessing the Nagios Web Interface
To access the Nagios web interface, open a web browser and navigate to:
http://<server_ip>/nagiosReplace <server_ip> with the IP address or domain name of your Linux Mint 22 server.

You will be prompted to enter login credentials. By default, the username is nagiosadmin, and the password is generated during the installation process. You can find the password in the /usr/local/nagios/etc/htpasswd.users file.

Congratulations! You have successfully installed Nagios. Thanks for using this tutorial for installing the Nagios open-source monitoring solution on the Linux Mint 22 system. For additional help or useful information, we recommend you check the Nagios website.