How To Install Nagios on Rocky Linux 9

In this tutorial, we will show you how to install Nagios on Rocky Linux 9. For those of you who didn’t know, Nagios is an open-source monitoring solution designed to run on Linux. Nagios offers monitoring and alerting services for servers, switches, applications, and services. It also provides a web interface for viewing current network status, log files, notifications, and much more.
This article assumes you have at least basic knowledge of Linux, know how to use the shell, and most importantly, you host your site on your own VPS. The installation is quite simple and assumes you are running in the root account, if not you may need to add ‘sudo‘ to the commands to get root privileges. I will show you the step-by-step installation of the Nagios monitor systems on Rocky Linux. 9.
Prerequisites
- A server running one of the following operating systems: Rocky Linux 9.
- It’s recommended that you use a fresh OS install to prevent any potential issues.
- SSH access to the server (or just open Terminal if you’re on a desktop).
- An active internet connection.
- A
non-root sudo useror access to theroot user. We recommend acting as anon-root sudo user, however, as you can harm your system if you’re not careful when acting as the root.
Install Nagios on Rocky Linux 9
Step 1. The first step is to update your system to the latest version of the package list. To do so, run the following commands:
sudo dnf check-update
sudo dnf install dnf-utils
Step 2. Installing Apache.
By default, Apache is not available on the Rocky Linux 9 base repository. Now we install the latest version of Apache using dnf the command:
sudo dnf install httpd httpd-tools
You can start the httpd service and configure it to run on startup by entering the following commands:
sudo systemctl start httpd
sudo systemctl enable httpd
sudo systemctl status httpd
For additional resources on installing Apache, read the post below:
Step 3. Installing PHP.
PHP is a popular scripting language that powers the dynamic content of millions of websites and apps. Now we run the commands below to install PHP:
sudo dnf epel-release
sudo dnf module enable php:remi-8.1
Once Remi PHP 8.1 module is enabled, you can now install PHP 8.1 and commonly used PHP extensions as follows:
sudo dnf install php php-cli php-fpm php-gd php-curl php-zip php-mbstring php-opcache php-intl php-mysqlnd
Check and verify the installed version:
php -v
For additional resources on installing PHP, read the post below:
Step 4. Download and Compile Nagios on Rocky Linux 9.
By default, Nagios is not available on the Rocky Linux 9 base repository. Now we download the latest version of Nagios using wget the command:
wget https://github.com/NagiosEnterprises/nagioscore/releases/download/nagios-4.5.1/nagios-4.5.1.tar.gz
Next, execute the following command to extract the Nagios source code:
tar xzf nagios-4.5.1.tar.gz
After that, compile the Nagios source code using the following command below:
./configure
sudo make all
Now, let’s create a Nagios user and group and also add an Apache user to the Nagios group:
sudo make install-groups-users
groupadd -r nagios
useradd -g nagios nagios
sudo usermod -a -G nagios apache
Step 4. Installing Nagios Core on Rocky Linux 9.
Now we install Nagios Core along with CGIs and HTML files:
sudo make install
Then, install the init script in the /lib/systemd/system path:
sudo make install-init
Next, install the Nagios initialization scripts:
sudo make install-daemoninit
After that, install the Nagios Sample configuration file:
sudo make install-config
Finally, install the Apache configuration files for Nagios:
sudo make install-webconf
Step 5. Create Nagios Web User.
In order to access the Nagios web dashboard, we are required to create a user account:
sudo htpasswd -c /usr/local/nagios/etc/htpasswd.users nagiosadmin
Next, set file permissions appropriately such that Apache has read-write access:
sudo chmod 640 /usr/local/nagios/etc/htpasswd.users
Finally, restart the Apache and Nagios service to apply the changes:
sudo systemctl restart httpd
sudo systemctl enable nagios --now
sudo systemctl start nagios
Step 6. Configure Firewall.
Rocky Linux 9 comes with Firewalld enabled by default, and it will block other connections from other computers that are trying to access our Nagios service. We must open the appropriate ports so that the Nagios resources can be accessed from other machines:
sudo firewall-cmd --zone=public --add-port=80/tcp --permanent
sudo firewall-cmd --zone=public --add-port=443/tcp --permanent
sudo firewall-cmd --reload
Step 7. Accessing Nagios Web Interface.
Once successfully installed, open your web browser and access the Nagios Web UI using the URL http://your-IP-address/nagios/. You will be redirected to the following page and log in using the nagiosadmin user as shown.

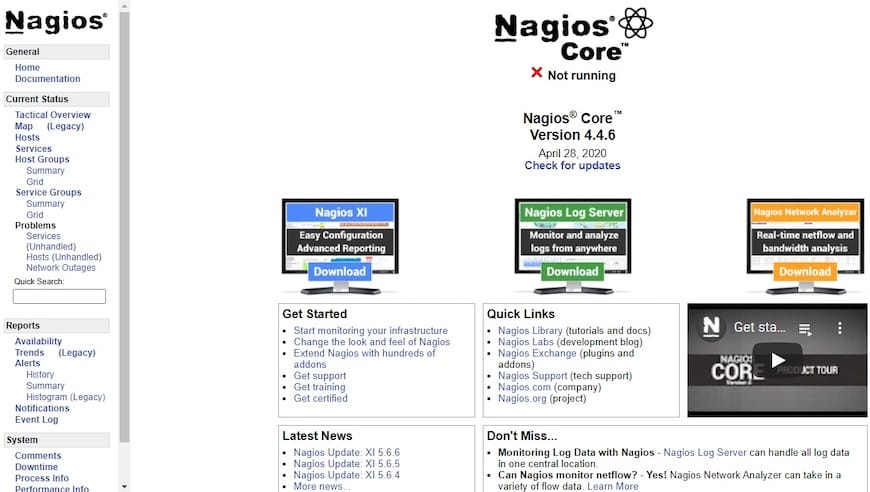
On successful login, you will see the below dashboard:

Congratulations! You have successfully installed Nagios. Thanks for using this tutorial for installing Nagios open source tool for monitoring IT on your Rocky Linux 9 system. For additional help or useful information, we recommend you check the official Nagios website.