How To Install Nessus Scanner on Rocky Linux 9

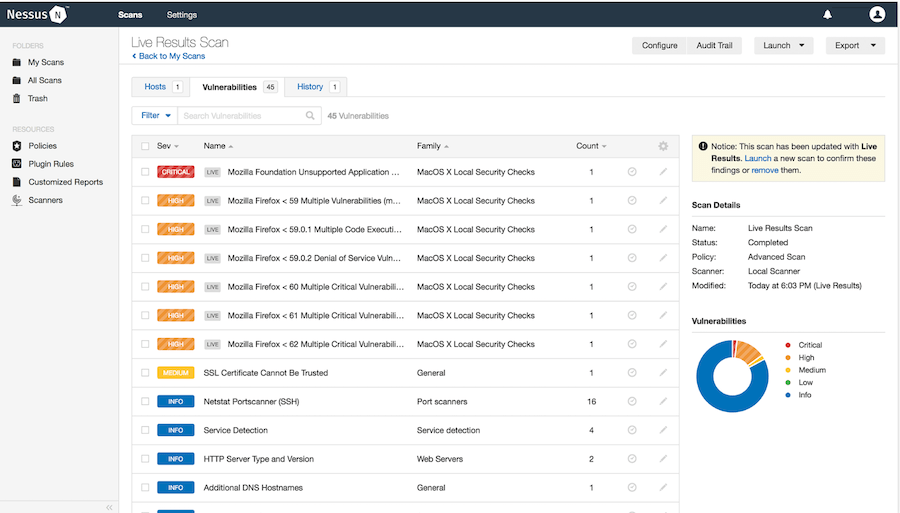
In this tutorial, we will show you how to install Nessus Scanner on Rocky Linux 9. For those of you who didn’t know, Nessus is an open-source network vulnerability scanner for vulnerability assessments and penetration testing. With the help of this web-based GUI scanner, you can stay apprised of any issues that might arise on your network servers. Nessus does a fantastic job of checking for vulnerabilities and breaches in your company’s infrastructure.
This article assumes you have at least basic knowledge of Linux, know how to use the shell, and most importantly, you host your site on your own VPS. The installation is quite simple and assumes you are running in the root account, if not you may need to add ‘sudo‘ to the commands to get root privileges. I will show you the step-by-step installation of the Nessus Security Scanner on Rocky Linux. 9.
Prerequisites
- A server running one of the following operating systems: Rocky Linux 9.
- It’s recommended that you use a fresh OS install to prevent any potential issues.
- SSH access to the server (or just open Terminal if you’re on a desktop).
- A
non-root sudo useror access to theroot user. We recommend acting as anon-root sudo user, however, as you can harm your system if you’re not careful when acting as the root.
Install Nessus Scanner on Rocky Linux 9
Step 1. The first step is to update your system to the latest version of the package list. To do so, run the following commands:
sudo dnf check-update
sudo dnf install dnf-utils
Step 2. Installing Nessus Security Scanner on Rocky Linux 9.
By default, Nessus is not available on Rocky Linux 9 base repository. Now run the following command below to download the Nessus package .rpm file from the official page to your Rocky Linux system:
curl --request GET \
  --url 'https://www.tenable.com/downloads/api/v2/pages/nessus/files/Nessus-10.4.1-es8.x86_64.rpm' \
  --output 'Nessus-10.4.1-es8.x86_64.rpm'
Next, run the following rpm command to install the Nessus package:
sudo rpm -Uvh Nessus-10.4.1-es8.x86_64.rpm
After installation is complete, start and enable the Nessus service with the command:
sudo systemctl start nessusd
sudo systemctl enable nessusd
sudo systemctl is-enabled nessusd
Step 3. Configure Firewall.
By default, Nessus listens on port 8834. If any firewall is installed and configured on your server, then you will need to allow ports via firewalld. You can allow them with the following command:
sudo firewall-cmd --add-port=8834/tcp --permanent
sudo firewall-cmd --reload
Verify the list of open ports on the firewalld via the command below:
sudo firewall-cmd --list-all
Step 4. Accessing Nessus Scanner Web UI.
Once successfully installed, now open a browser and go to https://your-IP-address:8834/ If you get an SSL certificate error then click on the Advanced button and proceed unsafely.
The initial web page of the Nessus will ask you to select the product which you want to install.
- Nessus Essentials – The free version for educators, students, and hobbyists √
- Nessus Professional– The de-facto industry standard vulnerability assessment solution of security practitioners √
- Nessus Manager – The enterprise solution for managing Nessus Agent at scale √
- Managed Scanner – Link your scanner to another Tenable solution such as Tenable.io and Tenable. sc √
For the Nessus free version, you should select ‘Nessus Essentials‘ and click ‘Continue’. Next, enter your email address to get the activation code, so that we can activate the product to use it further. The best way to get the code is to visit the Registration page and register for a Professional or free version to get an Activation one.

Congratulations! You have successfully installed Nessus. Thanks for using this tutorial for installing Nessus Security Scanner on your Rocky Linux 9 system. For additional help or useful information, we recommend you check the official Nessus website.