How To Install Netdata on Fedora 38

In this tutorial, we will show you how to install Netdata on Fedora 38. For those of you who didn’t know, Netdata is a powerful real-time monitoring and performance optimization tool that can help you gain deep insights into your Fedora 38 system’s performance.
This article assumes you have at least basic knowledge of Linux, know how to use the shell, and most importantly, you host your site on your own VPS. The installation is quite simple and assumes you are running in the root account, if not you may need to add ‘sudo‘ to the commands to get root privileges. I will show you the step-by-step installation of the Netdata monitoring tool on a Fedora 38.
Prerequisites
- A server running one of the following operating systems: Fedora 38.
- It’s recommended that you use a fresh OS install to prevent any potential issues.
- SSH access to the server (or just open Terminal if you’re on a desktop).
- An active internet connection. You’ll need an internet connection to download the necessary packages and dependencies for Netdata.
- A
non-root sudo useror access to theroot user. We recommend acting as anon-root sudo user, however, as you can harm your system if you’re not careful when acting as the root.
Install Netdata on Fedora 38
Step 1. Before we can install Netdata on Fedora 38, it’s important to ensure that our system is up-to-date with the latest packages. This will ensure that we have access to the latest features and bug fixes and that we can install Netdata without any issues:
sudo dnf update
Step 2. Installing Required Dependencies.
Netdata relies on a few dependencies to work correctly. You can install these dependencies using the following command:
sudo dnf install gcc make zlib-devel libuuid-devel
This command will install the GCC compiler and the necessary libraries required by Netdata.
Step 3. Installing Netdata on Fedora 38.
You can download the Netdata installer script using wget or curl. Here, we’ll use wget:
wget https://my-netdata.io/kickstart.sh
Before running the installer script, you need to make it executable:
chmod +x kickstart.sh
Finally, you can run the Netdata installer script with administrative privileges:
sudo ./kickstart.sh
The installer will guide you through the installation process, prompting you to make various configuration choices. Follow the on-screen instructions to set up Netdata according to your preferences.
You can control Netdata using systemd commands. Use the following commands to start and stop Netdata as needed:
### Start Netdata ###
sudo systemctl start netdata

### Stop Netdata ###
sudo systemctl stop netdata
Step 4. Accessing Netdata’s Web Interface.
Once the installation is complete, you can access Netdata’s web interface using your web browser. Simply enter your server’s IP address followed by port 19999. For example:
http://your-server-IP:19999/
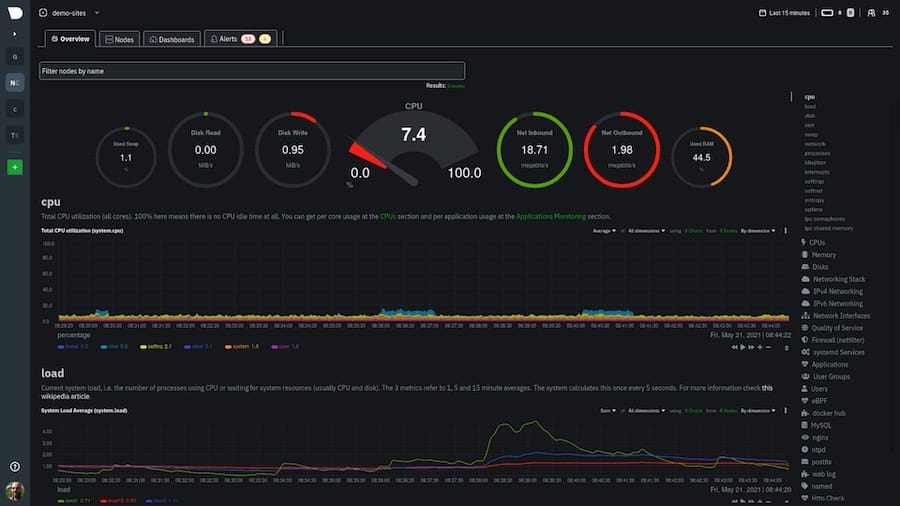
You will be greeted with the Netdata dashboard, which provides real-time performance metrics for your system.

Step 5. Troubleshooting.
- Common Issues and Solutions
While Netdata is a robust monitoring tool, you may encounter issues during installation or usage. Here are some common problems and their solutions:
- Installation Problems: If the installation fails, double-check that you’ve followed all the previous steps correctly, and review error messages for clues.
-
Performance Issues: If Netdata is causing performance problems on your system, consider adjusting the data collection frequency or disabling unnecessary plugins.
Congratulations! You have successfully installed Netdata. Thanks for using this tutorial for installing the Netdata monitoring tool on your Fedora 38 system. For additional help or useful information, we recommend you check the official Netdata website.