How To Install Next.js on Debian 12

In this tutorial, we will show you how to install Next.js on Debian 12. Next.js is a popular React framework that enables developers to build server-side rendered and statically generated web applications with ease. It offers a range of features and benefits, including automatic code splitting, optimized performance, and a great developer experience.
This article assumes you have at least basic knowledge of Linux, know how to use the shell, and most importantly, you host your site on your own VPS. The installation is quite simple and assumes you are running in the root account, if not you may need to add ‘sudo‘ to the commands to get root privileges. I will show you the step-by-step installation of the Next.js react framework on Debian 12 (Bookworm).
Prerequisites
Before proceeding with the installation of Next.js on Debian 12, ensure you meet the following requirements:
- A server running one of the following operating systems: Debian 12 (Bookworm).
- It’s recommended that you use a fresh OS install to prevent any potential issues.
- SSH access to the server (or just open Terminal if you’re on a desktop).
- An active internet connection. You’ll need an internet connection to download the necessary packages and dependencies.
- A user account with sudo privileges to execute administrative commands.
Install Next.js on Debian 12 Bookworm
Step 1. Before proceeding with the Next.js installation, it’s crucial to update your Debian 12 system to ensure you have the latest security patches and software versions. Open a terminal and run the following commands:
sudo apt update
sudo apt upgrade
Step 2. Installing Node.js on Debian 12.
Next.js is built on top of Node.js, so you’ll need to install Node.js on your Debian 12 server before you can use Next.js.
First, add the Node.js repository to your system by running the following command:
curl -fsSL https://deb.nodesource.com/setup_20.x | sudo bash -
Install Node.js by running:
sudo apt install nodejs
Verify the Node.js installation by checking the installed version:
node --version
Step 3. Setting up a Next.js Project
With Node.js installed, you’re ready to create a new Next.js project. Now create a new directory for your project and navigate into it:
mkdir my-next-app
cd my-next-app
Initialize a new Next.js project using the create-next-app command:
npx create-next-app@latest
Follow the prompts and choose the default options for your project setup:
What is your project named? my-app
Would you like to use TypeScript? No / Yes
Would you like to use ESLint? No / Yes
Would you like to use Tailwind CSS? No / Yes
Would you like to use `src/` directory? No / Yes
Would you like to use App Router? (recommended) No / Yes
Would you like to customize the default import alias (@/*)? No / Yes
What import alias would you like configured? @/*
Once the project is created, explore the generated project structure:
- pages: Contains your Next.js pages and API routes.
- public: Stores static assets like images and fonts.
- styles: Houses your CSS files.
- package.json: Defines your project’s dependencies and scripts.
Start the development server to see your Next.js app in action:
npm run dev
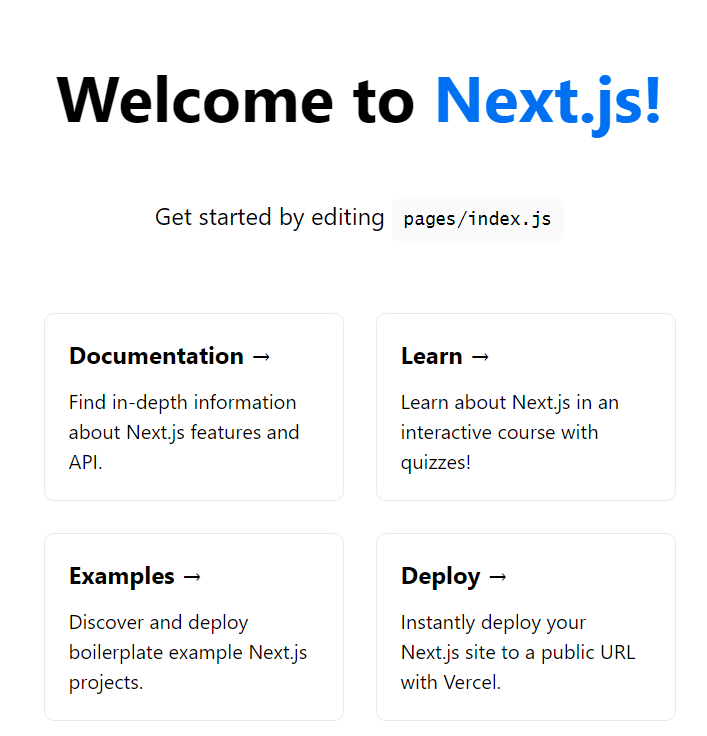
This command starts the development server, and you can view your app by navigating to http://localhost:3000 in your web browser.

Step 4. Configuring Next.js.
Next.js provides a configuration file called next.config.js that allows you to customize various settings for your application. Create a next.config.js file in the root of your project if it doesn’t already exist.
Open the file and add your desired configuration options. For example:
module.exports = {
  env: {
    API_URL: process.env.API_URL,
  },
  basePath: '/my-app',
  target: 'server',
  webpack: (config, { isServer }) => {
    // Custom webpack configuration
    return config;
  },
};
In this example, we set an environment variable, specify a base path for the application, set the build target to a server, and provide a custom webpack configuration.
Step 5. Deploying to Production.
When you’re ready to deploy your Next.js application to production, follow these steps:
npm run build
Choose a production process manager to run your Next.js app. Two popular options are PM2 and SystemD.
- Using PM2:
Install PM2 globally:
sudo npm install -g pm2
Start your app with PM2:
pm2 start npm --name "my-next-app" -- start
- Using SystemD:
Create a SystemD service file for your Next.js app:
sudo nano /etc/systemd/system/my-next-app.service
Add the following configuration to the service file:
[Unit]
Description=My Next.js App
After=network.target

[Service]
Type=simple
User=your-user
WorkingDirectory=/path/to/my-next-app
ExecStart=/usr/bin/npm start
Restart=on-failure

[Install]
WantedBy=multi-user.target
Replace your-user and /path/to/my-next-app with the appropriate values for your setup.
Save the file and reload the SystemD configuration:
sudo systemctl daemon-reload
Start and enable the service:
sudo systemctl start my-next-app
sudo systemctl enable my-next-app
Congratulations! You have successfully installed Next.js. Thanks for using this tutorial to install the latest version of the Next.js react framework on Debian 12 Bookworm. For additional help or useful information, we recommend you check the official Next.js website.