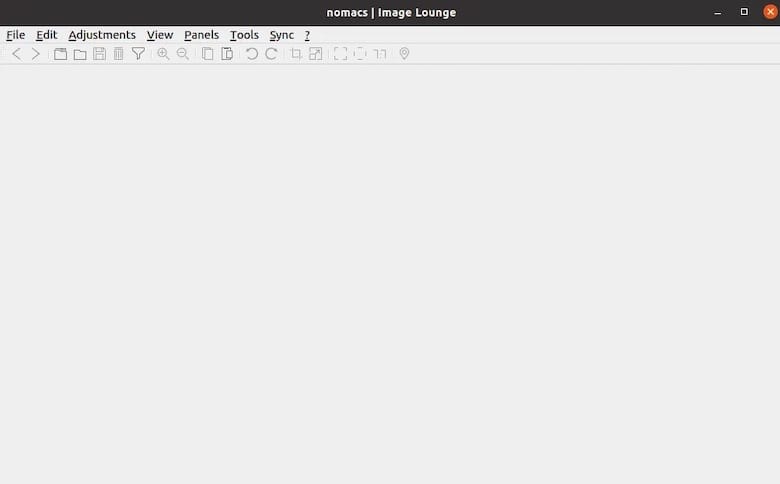
How To Install Nomacs on Debian 12

In this tutorial, we will show you how to install Nomacs on Debian 12. Nomacs is renowned for its versatility, enabling users to view, edit, and manage images seamlessly. Debian 12, a robust Linux distribution, serves as an ideal platform for Nomacs. By leveraging the terminal, a command-line powerhouse, you can streamline the installation process and ensure that you have the latest version of this image viewer at your disposal.
This article assumes you have at least basic knowledge of Linux, know how to use the shell, and most importantly, you host your site on your own VPS. The installation is quite simple and assumes you are running in the root account, if not you may need to add ‘sudo‘ to the commands to get root privileges. I will show you the step-by-step installation of the Nomacs image viewer on a Debian 12 (Bookworm).
Prerequisites
- A server running one of the following operating systems: Debian 12 (Bookworm).
- It’s recommended that you use a fresh OS install to prevent any potential issues.
- Accessing the terminal is as simple as opening your terminal emulator. You can usually find it in your application menu or by using a keyboard shortcut, such as
Ctrl + Alt + T. - Make sure your Debian 12 system is connected to the internet. An active connection is essential for downloading the required packages and updates during the installation.
- You can either log in as a superuser (root) or use the
sudocommand before running any administrative tasks. This ensures you have the necessary permissions.
Install Nomacs on Debian 12 Bookworm
Step 1. Updating the package repository is a fundamental step before installing any software. It ensures that you have access to the latest information about available packages. To do this, execute the following command in your terminal:
sudo apt update
sudo apt upgrade
This simple command refreshes the repository, ensuring you have the most up-to-date package information.
Step 2. Installing Nomacs on Debian 12.
Nomacs can be found in the official Debian repositories, making it easy to acquire using the APT package manager. Here’s the command to download and install Nomacs:
sudo apt install nomacs
This command fetches the Nomacs package from the official Debian repository and installs it, along with its necessary dependencies.
Step 3. Accessing Nomacs on Debian.
With Nomacs successfully installed on your Debian 12 system, it’s time to explore how to run and use this powerful image viewer. You can start Nomacs from the terminal simply by typing:
nomacs

Nomacs also offers various command-line options and shortcuts for advanced usage. You can access these by running:
nomacs --help
This command provides a list of available options and shortcuts that can enhance your experience with Nomacs. It’s worth exploring these features to make the most of this versatile tool.
Congratulations! You have successfully installed Nomacs. Thanks for using this tutorial to install the latest version of Nomacs open-source image viewer on Debian 12 Bookworm. For additional help or useful information, we recommend you check the official Nomacs website.