In this tutorial, we will show you how to install Odoo on Ubuntu 18.04 LTS. For those of you who didn’t know, Odoo is one of the most popular and most powerful Open Source ERP business software based on the Python programming language. It is a web-based fully-featured application and comes with Open Source CRM, Point of Sales, Human Resource Management, Point of Sales, Billing and Accounting, Event Management, Email Marketing, Order Tracking, etc. This application is helpful to maintain ERP in any business.
This article assumes you have at least basic knowledge of Linux, know how to use the shell, and most importantly, you host your site on your own VPS. The installation is quite simple and assumes you are running in the root account, if not you may need to add ‘sudo‘ to the commands to get root privileges. I will show you the step-by-step installation of Odoo on a Ubuntu 18.04 (Bionic Beaver) server.
Odoo Features
- Odoo comes with a Website Builder, which supports WYSIWYG editor, version control, form builder, and Multi Website with an option to add blogs, forums, and slide shows.
- Odoo comes with multiple themes and inbuilt e-commerce software.
- Odoo has contract management as well as subscription management features.
- Odoo comes with customizable project management and timesheets options, it has inbuilt Invoicing and Project management features.
- Odoo comes with full-featured Accounting software which includes VoIP integration including an option to send mass emails and link tracking.
- Odoo comes with inbuilt CRM which does accurate forecasting and shows a real-time overview.
Install Odoo on Ubuntu 18.04 LTS Bionic Beaver
Step 1. First, make sure that all your system packages are up-to-date by running the following apt-get commands in the terminal.
sudo apt-get update
sudo apt-get upgrade
Step 2. Installing and configuring PostgreSQL.
Install the Postgres package from Ubuntu’s default repositories:
sudo apt-get install postgresql
Once it is installed, enable the PostgreSQL server to start automatically upon server reboot:
systemctl enable postgresql
systemctl start postgresql
Step 3. Installing Odoo on Ubuntu 18.04 LTS.
In the first step, add the Odoo repository to the server. In order to do it, run the following commands:
wget -O - https://nightly.odoo.com/odoo.key | apt-key add -
echo "deb http://nightly.odoo.com/11.0/nightly/deb/ ./" >> /etc/apt/sources.list.d/odoo.list
Next, install Odoo using the apt package manager:
apt install odoo
After the installation completes, you can check the status of the Odoo service:
systemctl status odoo
Then, edit Odoo’s configuration file and set the master admin password:
nano /etc/odoo/odoo.conf
Uncomment the ‘admin_passwd’ line, and set a password as shown below:
admin_passwd = MASTER_PASSWORD
Restart the Odoo instance for the changes to take effect:
systemctl restart odoo
Step 4. Accessing Odoo.
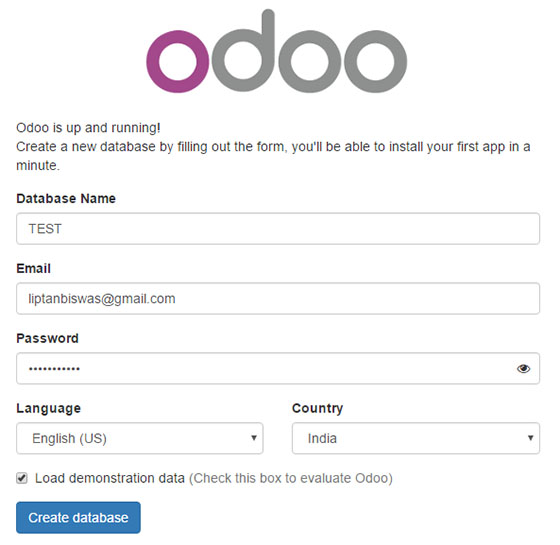
Odoo will be available on HTTP port 8069 by default. Open your favorite browser and navigate to http://your-domain.com:8069 or http://your-server-ip:8069.

Congratulations! You have successfully installed Odoo. Thanks for using this tutorial for installing Odoo Open Source ERP on Ubuntu 18.04 LTS (Bionic Beaver) system. For additional help or useful information, we recommend you check the official Odoo website.