How To Install Passbolt on Fedora 39

In this tutorial, we will show you how to install Passbolt on Fedora 39. Passbolt is a free, open-source password manager that prioritizes user privacy and security. Designed for individuals and teams, it offers a secure and convenient way to store, share, and manage passwords. With its robust encryption and user-friendly interface, Passbolt has become a go-to solution for password management.
This article assumes you have at least basic knowledge of Linux, know how to use the shell, and most importantly, you host your site on your own VPS. The installation is quite simple and assumes you are running in the root account, if not you may need to add ‘sudo‘ to the commands to get root privileges. I will show you the step-by-step installation of the Passbolt password manager on a Fedora 39.
Prerequisites
Before diving into the installation process, let’s ensure that you have everything you need:
- A server running one of the following operating systems: Fedora 39.
- It’s recommended that you use a fresh OS install to prevent any potential issues.
- While this guide is designed to be as straightforward as possible, some familiarity with the Linux command line will be beneficial.
- You will need access to the terminal to execute commands. Fedora 39 provides the Terminal application for this purpose. It can be found in your Applications menu.
- You’ll need an active internet connection to download Passbolt and its dependencies.
- You will need to have sudo privileges on your Fedora Linux system to install and configure Passbolt.
Install Passbolt on Fedora 39
Step 1. Before installing Passbolt, update your Fedora 39 system to ensure that you have the latest security patches and software versions. To update your system, open a terminal and run the following command:
sudo dnf clean all
sudo dnf update
Step 2. Configure Environment and Install Package
First, you need to download the Passbolt dependencies installation script and the SHA512SUM for the installation script. You can do this using the wget command:
wget "https://download.passbolt.com/ce/installer/passbolt-repo-setup.ce.sh"
wget "https://github.com/passbolt/passbolt-dep-scripts/releases/latest/download/passbolt-ce-SHA512SUM.txt"
Next, ensure that the script is valid and execute it:
sha512sum -c passbolt-ce-SHA512SUM.txt && sudo bash ./passbolt-repo-setup.ce.sh || echo "Bad checksum. Aborting" && rm -f passbolt-repo-setup.ce.sh
Finally, install the Passbolt official Linux package:
sudo dnf install passbolt-ce-server
During the installation, you will be asked to accept the Passbolt repository GPG key. Ensure the fingerprint matches the one provided in the installation guide:
Importing GPG key 0xC155581D:
 Userid     : "Passbolt SA package signing key <contact@passbolt.com>"
 Fingerprint: 3D1A 0346 C8E1 802F 774A EF21 DE8B 853F C155 581D
 From       : https://download.passbolt.com/pub.key
Step 3. Configure and Create First User.
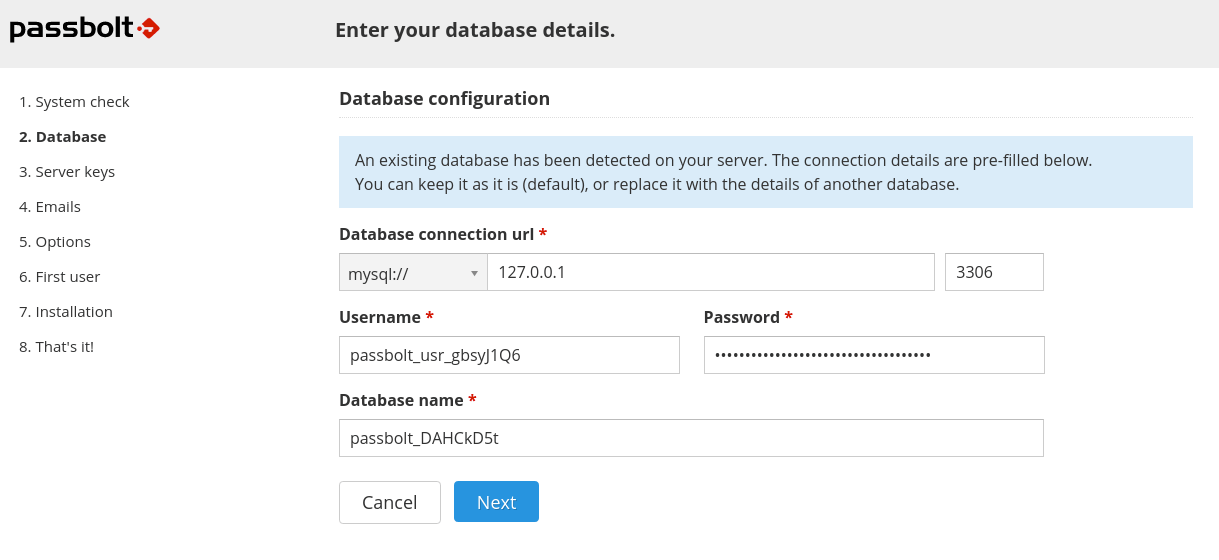
After the installation, you need to configure Passbolt and create the first admin user. Point your browser to the hostname or IP where Passbolt can be reached. You will reach a getting started page.

You will be walked through configuring the database, creating an admin user, and finishing the setup.
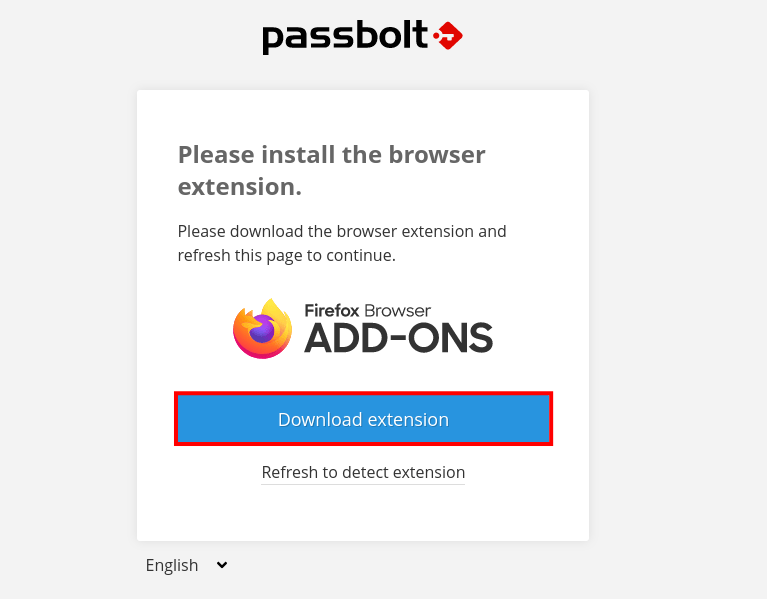
Next, download the browser extension and set up your account:

Congratulations! You have successfully installed Passbolt. Thanks for using this tutorial for installing the Passbolt password manager on your Fedora 39 system. For additional Apache or useful information, we recommend you check the official Passbolt website.