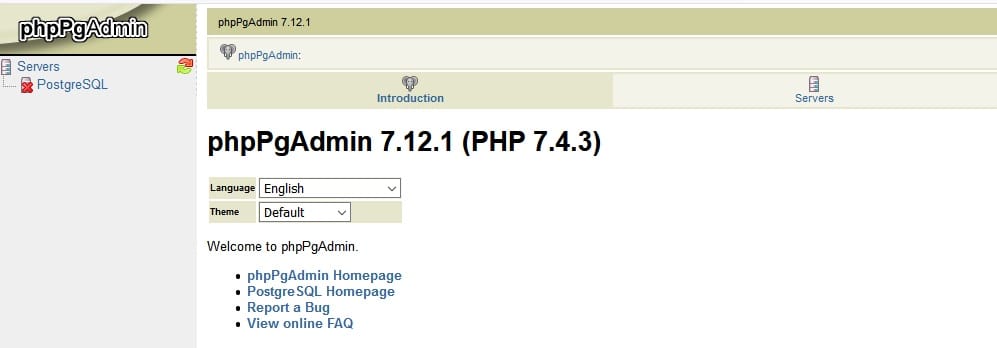
In this tutorial, we will show you how to install and configuration of phpPgAdmin on your CentOS 7. For those of you who didn’t know, PhpPgAdmin is a web application that is used to administer PostgreSQL databases. This project is an extension of PhpMyadmin and it was developed to ensure that all the features which are available to Mysql users are also available to PostgreSQL database users. It’s a very powerful open-source tool that brings ease and flexibility to PostgreSQL lovers and currently it supports all the popular operating systems
This article assumes you have at least basic knowledge of Linux, know how to use the shell, and most importantly, you host your site on your own VPS. The installation is quite simple and assumes you are running in the root account, if not you may need to add ‘sudo‘ to the commands to get root privileges. I will show you the step-by-step installation phpPgAdmin on a CentOS 7 server.
Prerequisites
- A server running one of the following operating systems: CentOS 7.
- It’s recommended that you use a fresh OS install to prevent any potential issues.
- SSH access to the server (or just open Terminal if you’re on a desktop).
- A
non-root sudo useror access to theroot user. We recommend acting as anon-root sudo user, however, as you can harm your system if you’re not careful when acting as the root.
Install phpPgAdmin on CentOS 7
Step 1. First, you need to enable the EPEL repository on your system.
## RHEL/CentOS 7 64-Bit ##
wget http://dl.fedoraproject.org/pub/epel/7/x86_64/e/epel-release-7-6.noarch.rpm
rpm -ivh epel-release-7-6.noarch.rpm
Step 2. Install the LAMP server.
A CentOS 7 LAMP server is required. If you do not have LAMP installed, you can follow our guide here. Also, install the required PHP modules:
yum install php-mysql php-gd php-ldap php-xml php-xmlrpc php-mbstring php-mcrypt curl php-pgsql
Step 3. Installing phpPgAdmin.
Install phpPgAdmin including PHP and the webserver. If the default httpd and PHP are already installed then the command will simply skip them:
yum update
yum -y install phpPgAdmin php-pgsql
Step 4. Configure the firewall phpPgAdmin.
You need to modify the default firewall configuration before you can access phpPgAdmin from a web browser:
firewall-cmd --zone=public --permanent --add-service=http
firewall-cmd --zone=public --permanent --add-port=5432/tcp
firewall-cmd --reload
If SELinux is enabled then you need to set SELinux to allow httpd to connect to your database via network sockets:
setsebool -P httpd_can_network_connect_db on
setsebool -P httpd_can_network_connect on
Step 5. Configuring Apache web server for phpPgAdmin.
phpPgAdmin by default all allowed accessing from localhost only. If you want to make it accessible from remote computers edit /etc/httpd/conf.d/phpPgAdmin.conf and update configure like below:
Alias /phpPgAdmin /usr/share/phpPgAdmin

<Directory /usr/share/phpPgAdmin>
   order deny,allow
   deny from all
   allow from 192.168.1.0/24
</Directory>
Save and close the file. Restart the apache service for the changes to take effect:
systemctl restart httpd.service
Step 6. Accessing phpPgAdmin Web UI.
phpPgAdmin will be available on HTTP port 80 by default. Open your favorite browser and navigate to http://your-domain.com/phpPgAdmin/ or http://your-server-ip/phpPgAdmin/ and complete the required steps to finish the installation. If you are using a firewall, please open port 80 to enable access to the control panel.

Congratulations! You have successfully installed phpPgAdmin. Thanks for using this tutorial for installing phpPgAdmin on your CentOS 7 system. For additional help or useful information, we recommend you check the official phpPgAdmin website.