How To Install Planka on AlmaLinux 9

In this tutorial, we will show you how to install Planka on AlmaLinux 9. Planka is an open-source, self-hosted project management tool. It gives you a Trello-like Kanban board experience. Built with React and Redux, it’s a strong and adaptable solution for managing projects and working with teams. Its easy-to-use interface and many features make it a favorite among project managers and teams of all sizes.
Planka stands out because it’s open-source and self-hosted. This lets you put Planka on your own server. You get full control over your data and setup. This is great for groups needing special security or just wanting their tools on their own servers.
Planka’s kanban board makes it easy to see and manage your project tasks. Users can make and give tasks, set deadlines, and watch their work progress. The tool also has time tracking, file sharing, and comments, making it a full project management solution.
Planka also works well with other tools and services. It supports Single-Sign-On (SSO) through OpenID Connect. This lets users log in with their current accounts easily. It makes starting for new team members smoother and improves the user experience.
This article assumes you have at least basic knowledge of Linux, know how to use the shell, and most importantly, you host your site on your own VPS. The installation is quite simple and assumes you are running in the root account, if not you may need to add ‘sudo‘ to the commands to get root privileges. I will show you the step-by-step installation of the Planka Studio on AlmaLinux 9. You can follow the same instructions for CentOS and Rocky Linux or RHEL-based.
Prerequisites
- A server running one of the following operating systems: AlmaLinux 9.
- It’s recommended that you use a fresh OS install to prevent any potential issues.
- SSH access to the server (or just open Terminal if you’re on a desktop).
- Docker installed and running.
- An active internet connection. You’ll need an internet connection to download the necessary packages and dependencies.
Install Planka on AlmaLinux 9
Step 1. Update Your System.
First, open the terminal on your AlmaLinux 9 system. You can do this by pressing Ctrl+Alt+T or by searching for “terminal” in the applications menu. Once the terminal is open, you need to update the package lists by running the command:
sudo dnf clean all
sudo dnf update
Step 2. Installing Planka.
To start with Planka, you need to set it up using Docker. It’s easy and involves a few steps. First, download the Planka Docker Compose configuration file. Run this command in your terminal:
curl -L https://raw.githubusercontent.com/plankanban/planka/master/docker-compose.yml -o docker-compose.yml
After getting the docker-compose.yml file, update some environment variables. These variables help set up Planka for your needs. They include:
BASE_URL: Change this to your server’s IP address or domain, not the defaultlocalhost.SECRET_KEY: Pick a unique, random string for security.user-avatars,project-background-images,attachments, anddb-data: Tell Docker where to store the data on your server.
Once you’ve updated the docker-compose.yml file, start the Planka Docker containers. This might take a few minutes. After it’s done, visit the BASE_URL you set, plus port 3000, to access Planka.
Remember, you need Docker and Docker Compose installed before starting Planka. If you’re on a cloud service like Shape.host, they usually have Docker and Docker Compose ready for you. This makes setting up Planka easier.
Step 3. Configuring Planka.
After editing the `docker-compose.yml` file, it’s time to set up Planka’s environment variables. These include `BASE_URL`, `SECRET_KEY`, and database connection details.
You also need to define paths for storing user avatars, project images, attachments, and database data. This helps Planka manage and access these important files.
- Set the `
BASE_URL` to the URL where people will access Planka, like `http://localhost:3000. - Choose a secure `
SECRET_KEY` for Planka’s internal use. - Enter the `
DATABASE_URL` with your PostgreSQL database’s connection details. - Define paths for storing user avatars, project backgrounds, and attachments.
By setting up these environment variables and file paths correctly, you make sure Planka works well in your setup. This is key for a secure and smooth start of the Planka project management platform.
Step 4. Starting Planka Docker.
After setting up, it’s time to start the Planka Docker container. Just run this command:
docker-compose up -d
This command pulls the needed Docker images and starts the Planka and PostgreSQL containers in the background. The -d flag means the containers run in detached mode. This lets you use your terminal while the services are running.
To check if everything is installed correctly, use the docker ps command. It shows a list of all running Docker containers on your system, including Planka and PostgreSQL.
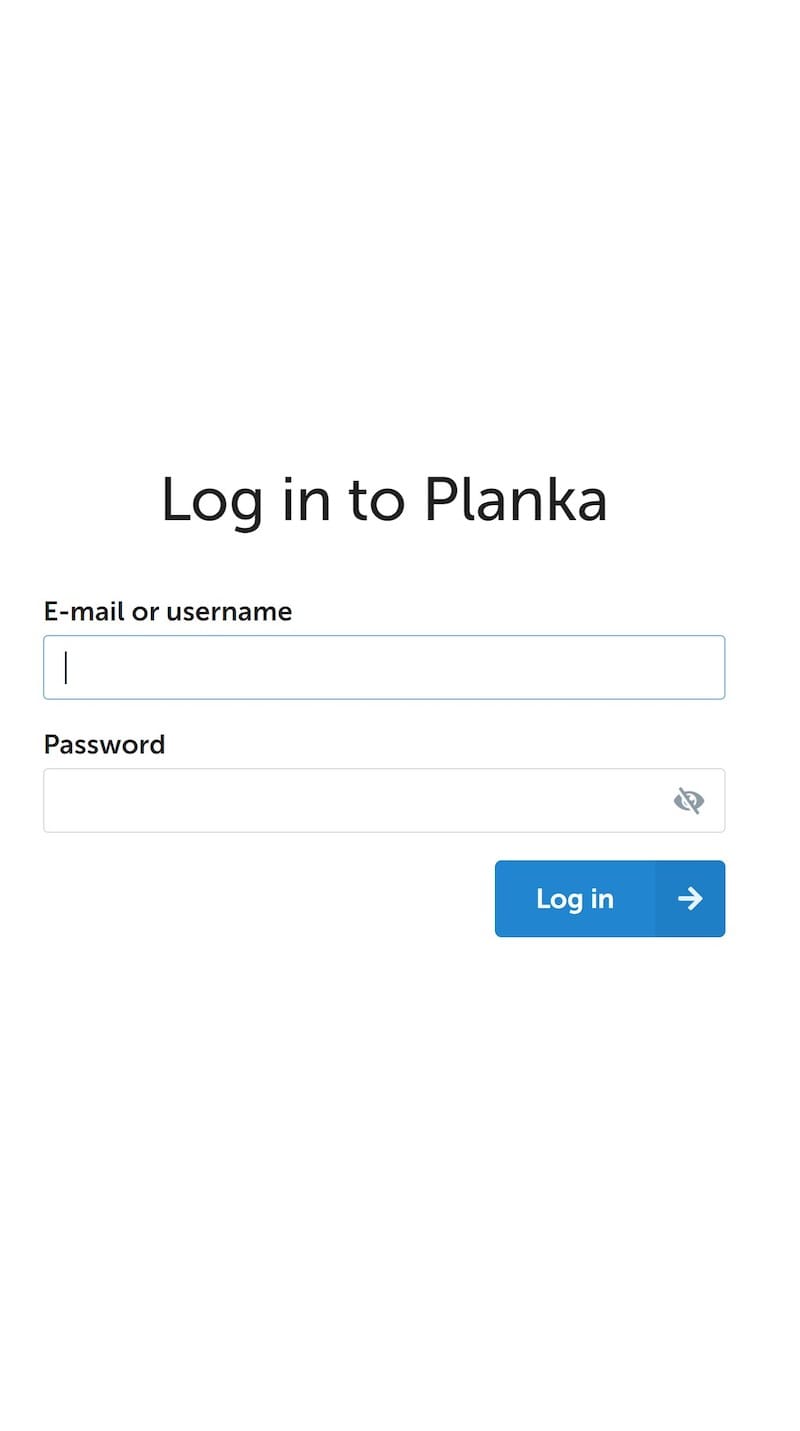
The Planka tool is now at https://planka.localhost (or your chosen domain). Use the default admin login details:
- Username:
admin - Password:
Password.1

It might take 5-10 minutes for the setup to finish. The Planka container runs certain sequences up to 30 times, pausing 5 seconds between each. After it’s done, you can use the Planka Kanban board to manage your projects and tasks.
Congratulations! You have successfully installed Planka. Thanks for using this tutorial for installing the Planka on your AlmaLinux 9 system. For additional help or useful information, we recommend you check the official Planka website.