How To Install Planka on CentOS 7

In this tutorial, we will show you how to install Planka on CentOS 7. Planka is a free, open-source project management tool that offers a simple and intuitive interface for managing tasks and projects. It’s an excellent alternative to popular tools like Trello, providing similar functionality without the associated costs.
This article assumes you have at least basic knowledge of Linux, know how to use the shell, and most importantly, you host your site on your own VPS. The installation is quite simple and assumes you are running in the root account, if not you may need to add ‘sudo‘ to the commands to get root privileges. I will show you the step-by-step installation of the Planka Studio on CentOS Linux. You can follow the same instructions for CentOS and Rocky Linux or RHEL-based.
Prerequisites
- A server running one of the following operating systems: CentOS Linux.
- It’s recommended that you use a fresh OS install to prevent any potential issues.
- SSH access to the server (or just open Terminal if you’re on a desktop).
- Minimum 2 GB RAM and 20 GB storage.
- Docker and Docker-Compose installed (refer to the official Docker documentation for installation instructions)
- An active internet connection. You’ll need an internet connection to download the necessary packages and dependencies.
Install Planka on CentOS 7
Step 1. Update Your System.
First, update your CentOS 7 system to ensure all packages are up to date. Open a terminal and run the following command:
sudo dnf clean all
sudo dnf update
Next, install the necessary tools and dependencies:
sudo yum install curl wget
These tools will be used to download the required files for Planka installation.
Step 2. Installing Docker.
If you haven’t already installed Docker on your CentOS 7 system, follow these steps:
Add the official Docker repository:
sudo yum-config-manager --add-repo https://download.docker.com/linux/centos/docker-ce.repo
Install Docker:
sudo yum install -y docker-ce docker-ce-cli containerd.io
Start and enable the Docker service:
sudo systemctl start docker
sudo systemctl enable docker
With Docker installed, you’re ready to proceed with installing Docker-Compose.
Step 3. Installing Docker-Compose.
To install Docker-Compose, follow these steps:
Download the Docker-Compose binary:
sudo curl -L "https://github.com/docker/compose/releases/download/1.29.2/docker-compose-$(uname -s)-$(uname -m)" -o /usr/local/bin/docker-compose
Set the appropriate permissions for the binary:
sudo chmod +x /usr/local/bin/docker-compose
Verify the installation by checking the Docker-Compose version:
docker-compose --version
You should see the version number displayed, confirming a successful installation.
Step 4. Installing Planka on CentOS 7.
With Docker and Docker-Compose set up, you can now proceed with installing Planka:
curl -L https://raw.githubusercontent.com/plankanban/planka/master/docker-compose.yml -o docker-compose.yml
Edit the docker-compose.yml file and make the following changes:
- Set the BASE_URL to your server’s IP address or domain name.
- Change the SECRET_KEY to a secure, random string.
- Specify the paths for user-avatars, project-background-images, attachments, and db-data to store the respective data.
Here’s an example of the modified docker-compose.yml file:
version: '3'
services:
  planka:
    image: ghcr.io/plankanban/planka:latest
    environment:
      - BASE_URL=http://your-server-ip:3000
      - SECRET_KEY=your-secret-key
    volumes:
      - ./user-avatars:/app/user-avatars
      - ./project-background-images:/app/project-background-images
      - ./attachments:/app/attachments
      - ./db-data:/var/lib/postgresql/data
    ports:
      - "3000:1337"
Start the Planka services using Docker-Compose:
sudo docker-compose up -d
This command will download the necessary Docker images and start the Planka containers in detached mode.
Verify the installation by checking the running containers:
sudo docker ps
You should see the Planka and PostgreSQL containers listed, indicating a successful installation.
Step 5. Accessing Planka Web UI.
Now that Planka is installed, you can access it through your web browser:
- Open your preferred browser and navigate to
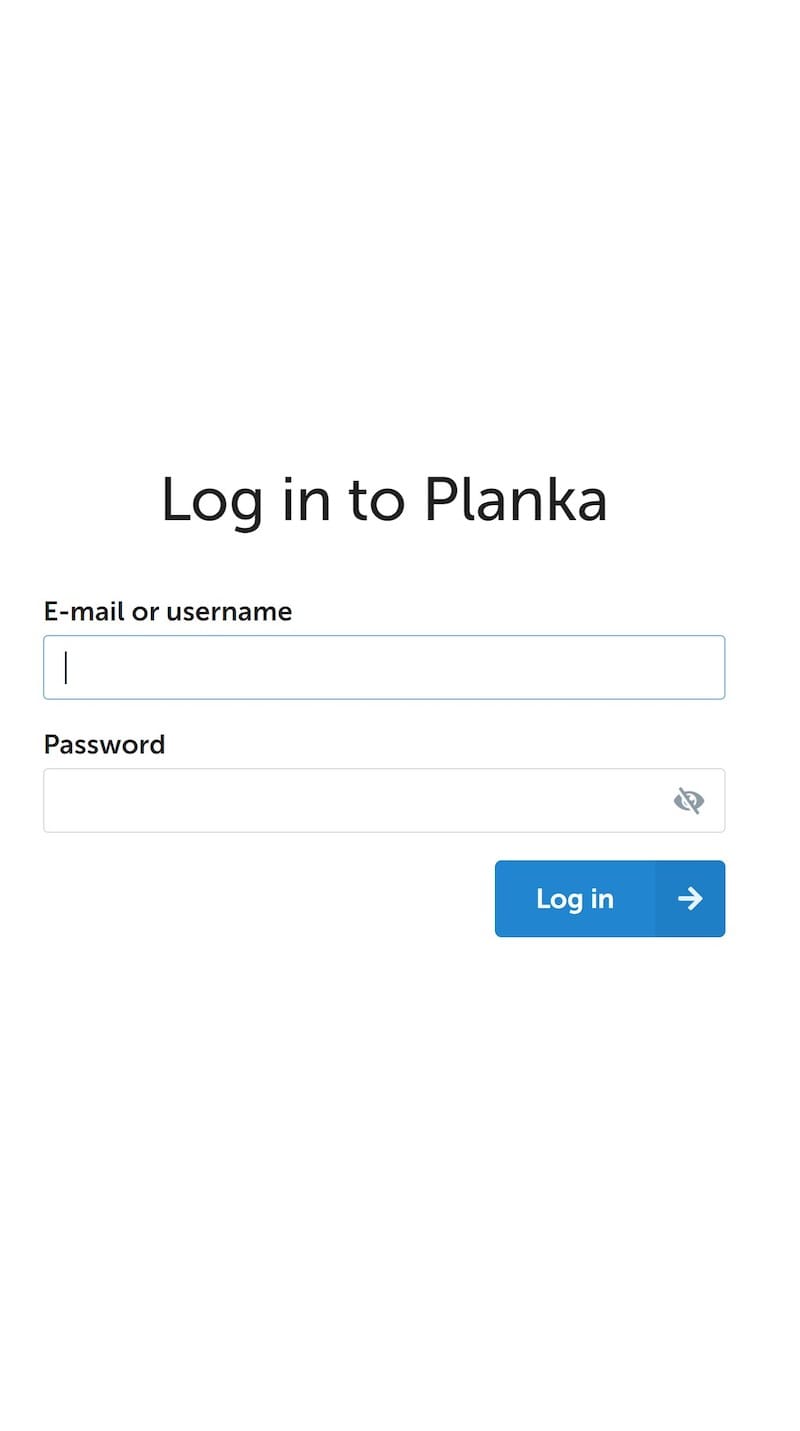
http://your-server-ip:3000. - You will be greeted with the Planka login page. Use the default credentials to log in:
-
- Username:
demo@demo.demo - Password:
demo
- Username:
Once logged in, you can start exploring Planka’s features and customizing it to suit your needs.

Congratulations! You have successfully installed Planka. Thanks for using this tutorial for installing the Planka on your CentOS 7 system. For additional help or useful information, we recommend you check the official Planka website.