How To Install Portainer on Fedora 40

Portainer is a powerful, open-source container management tool that simplifies the deployment and administration of Docker containers. It provides an intuitive web-based interface for managing containers, images, networks, and volumes, making it an essential tool for both beginners and experienced users. In this article, we will guide you through the process of installing Portainer on Fedora 40, a popular Linux distribution known for its stability and security. By the end of this tutorial, you will have a fully functional Portainer setup, enabling you to efficiently manage your containerized applications on Fedora 40.
Prerequisites
Before proceeding with the installation of Portainer on Fedora 40, ensure that your system meets the following requirements:
- A running instance of Fedora 40 with a minimum of 2 GB RAM and 20 GB disk space.
- Docker installed on your Fedora 40 system. If you haven’t installed Docker yet, we will cover the installation steps in the next section.
- Administrative privileges (sudo access) to execute commands with elevated permissions.
Step 1: Install Docker on Fedora 40
To install Portainer, you first need to have Docker up and running on your Fedora 40 system. Follow these steps to install Docker:
1. Update your system packages to ensure you have the latest versions:
sudo dnf update2. Add the official Docker repository to your system:
sudo dnf config-manager --add-repo https://download.docker.com/linux/fedora/docker-ce.repo3. Install Docker CE (Community Edition) using the DNF package manager:
sudo dnf install docker-ce docker-ce-cli containerd.io4. Start the Docker service and enable it to start automatically on system boot:
sudo systemctl start docker
sudo systemctl enable docker
5. Verify that Docker is installed correctly by running a simple container:
sudo docker run hello-worldIf the installation was successful, you should see a “Hello from Docker!” message, confirming that Docker is properly set up on your Fedora 40 system.
Step 2: Configure Docker for Non-root Access
By default, running Docker commands requires root privileges. To allow non-root users to manage Docker, you need to add your user to the “docker” group. Here’s how:
1. Create the “docker” group if it doesn’t already exist:
sudo groupadd docker2. Add your user to the “docker” group:
sudo usermod -aG docker $USER3. Log out and log back in for the group membership to take effect, or run the following command to activate the changes:
newgrp dockerNow you can run Docker commands without sudo. However, keep in mind that users added to the “docker” group have equivalent privileges to the root user within the Docker environment.
Step 3: Download and Run Portainer Container
With Docker installed and configured, you can now proceed to download and run the Portainer container. Follow these steps:
1. Pull the latest Portainer Community Edition (CE) image from Docker Hub:
docker pull portainer/portainer-ce2. Create a persistent volume for Portainer data:
docker volume create portainer_data3. Run the Portainer container with the following command:
docker run -d -p 8000:8000 -p 9443:9443 --name portainer --restart=always -v /var/run/docker.sock:/var/run/docker.sock -v portainer_data:/data portainer/portainer-ceLet’s break down the options used in the command:
-d: Runs the container in detached mode, allowing it to run in the background.-p 8000:8000and-p 9443:9443: Maps the container’s ports 8000 and 9443 to the host’s ports, allowing access to Portainer’s web interface.--name portainer: Assigns a name to the container for easy identification.--restart=always: Automatically restarts the container if it stops or the Docker daemon restarts.-v /var/run/docker.sock:/var/run/docker.sock: Mounts the Docker socket, allowing Portainer to manage the Docker daemon on the host.-v portainer_data:/data: Mounts the persistent volume created earlier to store Portainer data.
Step 4: Accessing the Portainer Web Interface
Once the Portainer container is running, you can access its web interface using a web browser. Follow these steps:
- Open a web browser and navigate to
https://your-server-ip:9443. Replaceyour-server-ipwith the IP address of your Fedora 40 server. - Since Portainer uses a self-signed SSL certificate by default, you may see a security warning. Click on “Advanced” and then “Proceed” to continue.
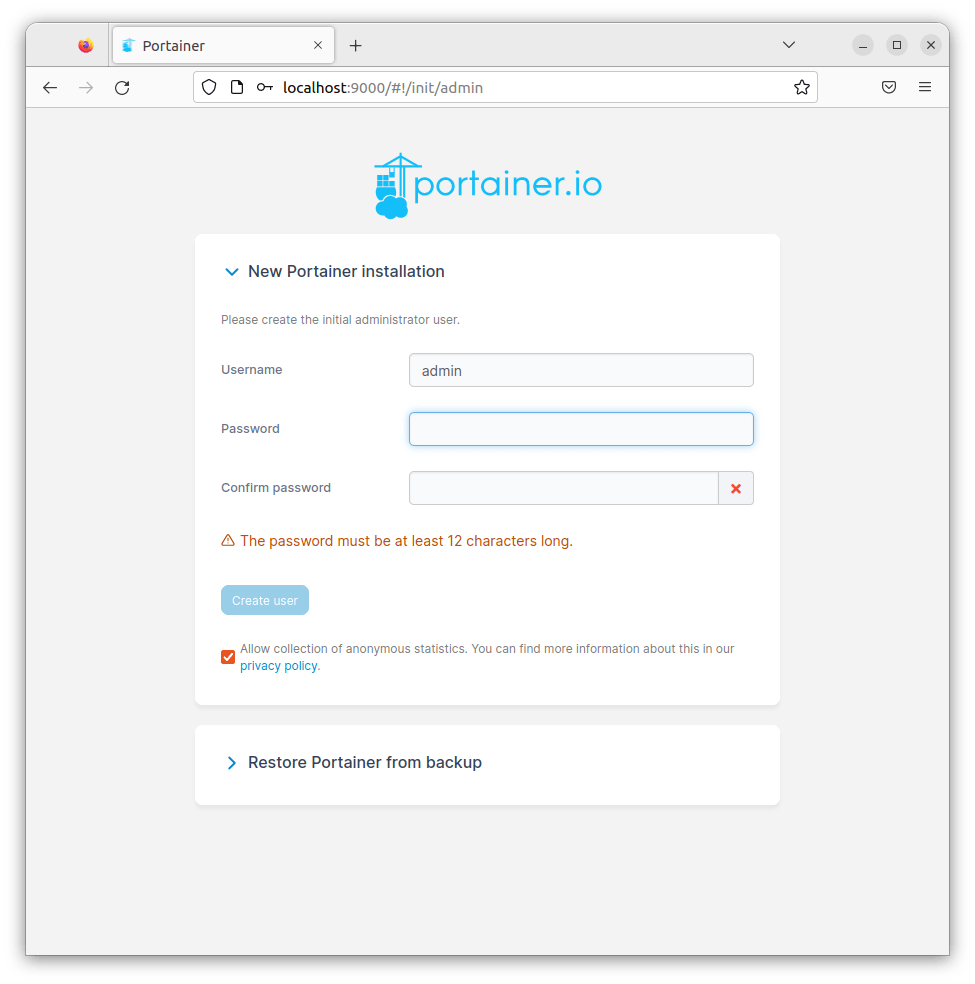
- On the initial setup page, create an admin user by providing a username and a strong password.
- Select “Local” as the environment type to manage the local Docker instance.
- Click on “Connect” to complete the setup and access the Portainer dashboard.
You can now use the Portainer web interface to manage your Docker containers, images, networks, and volumes on your Fedora 40 system.

Step 5: Securing Your Portainer Installation
To enhance the security of your Portainer installation, it is recommended to take additional measures:
1. Configure a firewall to restrict access to the Portainer ports (9443 and 8000) to trusted IP addresses only. You can use the built-in firewall-cmd utility in Fedora 40:
sudo firewall-cmd --add-port=9443/tcp --permanent
sudo firewall-cmd --add-port=8000/tcp --permanent
sudo firewall-cmd --reload
2. Enable HTTPS for secure connections by obtaining an SSL certificate from a trusted Certificate Authority (CA) and configuring Portainer to use it. Refer to the Portainer documentation for detailed instructions on setting up HTTPS.
3. Regularly update Portainer and Docker to ensure you have the latest security patches and bug fixes.
Troubleshooting Common Issues
If you encounter any issues during the installation or while using Portainer, here are a few troubleshooting tips:
- If the Portainer container fails to start, check the Docker logs for any error messages using the command:
docker logs portainer. - Ensure that the Docker daemon is running and accessible. You can restart the Docker service using:
sudo systemctl restart docker. - Double-check the port mappings and ensure that the specified ports (9443 and 8000) are not being used by other applications.
- If you face issues with accessing the Portainer web interface, verify that the server’s IP address is correct and that the firewall rules allow access to the required ports.