How To Install Portainer on Fedora 41

Portainer is a powerful open-source management tool that simplifies the process of managing Docker containers. It provides a user-friendly web interface that allows users to easily deploy, manage, and monitor their Docker environments. For those using Fedora 41, installing Portainer can significantly enhance your container management experience. This article will guide you through the detailed steps required to install Portainer on Fedora 41, ensuring you have all the necessary prerequisites and troubleshooting tips at your fingertips.
Prerequisites
Before diving into the installation process, ensure that you meet the following prerequisites:
- A system running Fedora 41.
- Basic knowledge of command-line operations.
- Administrative access to your system.
- Docker installed on your system.
- Docker Compose installed for managing multi-container Docker applications.
Having these prerequisites in place will help streamline the installation process and ensure that you can effectively use Portainer once it is set up.
Step 1: Installing Docker
The first step in installing Portainer is to ensure that Docker is installed on your Fedora 41 system. Docker is essential for running containers, and without it, Portainer cannot function. Follow these steps to install Docker:
Open a terminal and run the following command to update your system packages:
sudo dnf updateNext, install Docker by executing:
sudo dnf install dockerAfter installation, start the Docker service with:
sudo systemctl start dockerTo ensure that Docker starts automatically at boot time, run:
sudo systemctl enable dockerCheck if Docker has been installed successfully by running:
docker --versionYou should see the installed version of Docker displayed in the terminal.
Step 2: Install Docker Compose
Docker Compose is a tool that allows you to define and manage multi-container applications. It is particularly useful for running Portainer as it simplifies deployment. Here’s how to install Docker Compose on Fedora 41:
Install Docker Compose: Use the following command to install Docker Compose:
sudo dnf install docker-composeVerify Installation: Once installed, confirm that Docker Compose is working correctly by checking its version:
docker-compose --versionStep 3: Setting Up Portainer
The next step involves downloading and configuring Portainer. This process will set up the necessary files and configurations for running Portainer in your Docker environment. Follow these steps carefully:
It’s important to create a dedicated directory for storing Portainer data. Run the following commands:
mkdir portainer && cd portainerYou can create a `docker-compose.yml` file using any text editor. For example, use `nano` as follows:
nano docker-compose.ymlAdd the following configuration to the file:
version: '3'

services:
  portainer:
    image: portainer/portainer-ce
    ports:
      - "9000:9000"
    volumes:
      - /var/run/docker.sock:/var/run/docker.sock
      - portainer_data:/data
    restart: always

volumes:
  portainer_data:
This configuration sets up Portainer to run with persistent storage and maps it to port 9000 on your host machine.
Now that you have created the stack file, you can deploy Portainer with the following command:
docker-compose up -dThe `-d` flag runs the containers in detached mode, allowing them to run in the background.
To verify that Portainer is running correctly, use this command:
docker psYou should see an entry for the Portainer container in the list of running containers.
Step 4: Accessing the Portainer Web Interface
Your Portainer instance should now be up and running. The next step is accessing its web interface for configuration and management. Follow these steps:
Open a web browser and enter the following URL, replacing `your-ip-address` with your server’s IP address or `localhost` if you’re accessing it locally:
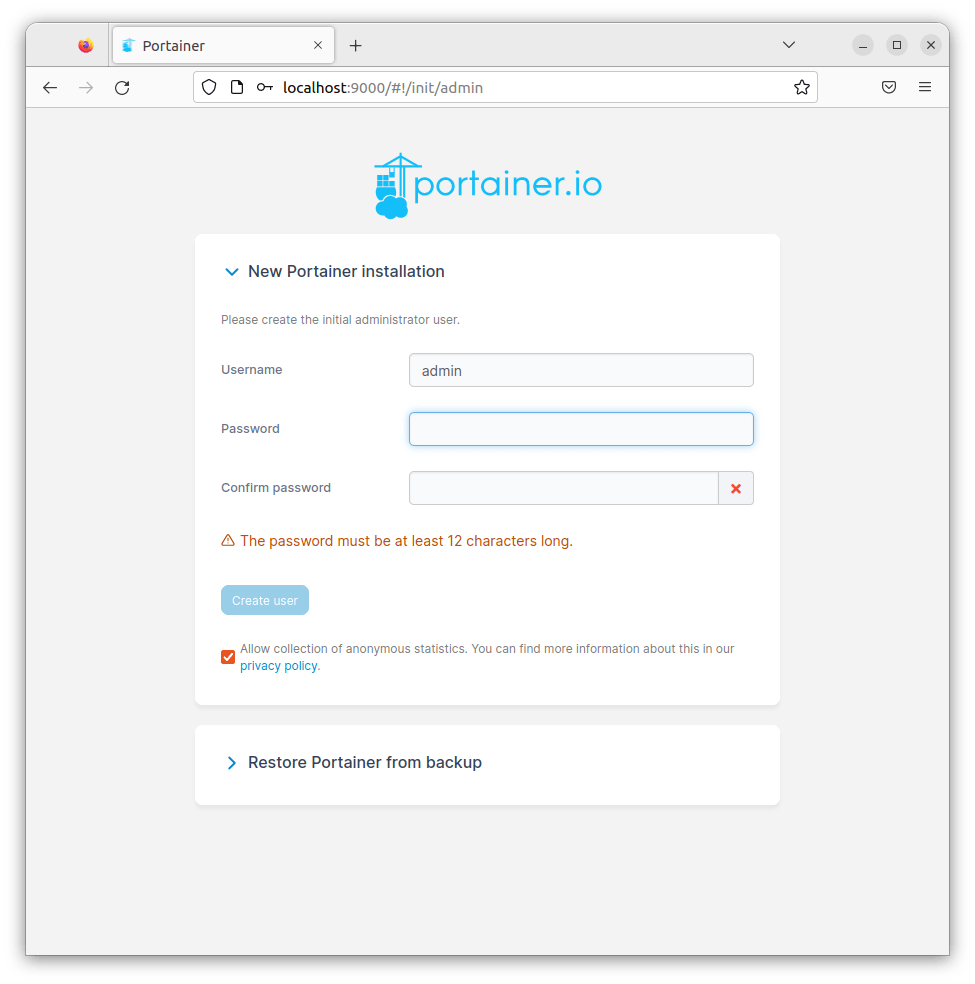
http://your-ip-address:9000Upon first access, you will be prompted to create an admin account. Fill in your desired username and password, then click “Create user” to proceed.

After creating your account, you will be asked to select an environment. Choose “Docker” since you have set up Portainer to manage Docker containers.
Troubleshooting Common Issues
If you encounter problems during installation or while using Portainer, consider these common issues and their solutions:
- Docker Not Starting:
If Docker fails to start after installation, check its status with:
sudo systemctl status dockerLook for any error messages indicating what might be wrong. Restart it using:
sudo systemctl restart docker- Cannot Access Portainer Web Interface:
If you cannot reach `http://:9000`, ensure that your firewall settings allow traffic on port 9000. You can check firewall rules with:
sudofirewall-cmd --list-allIf necessary, add a rule with:
sudofirewall-cmd --add-port=9000/tcp --permanent && sudo firewall-cmd --reload- Error Messages in Logs:
If you encounter errors within Portainer logs or while deploying containers, review logs closely for specific error codes or messages.
Use:
docker logs [container_id]This command will provide insights into what might be going wrong.