How To Install Portainer on openSUSE

In this tutorial, we will show you how to install Portainer on openSUSE. Portainer is a lightweight management UI for Docker, designed to simplify the process of deploying and managing containers. It provides an intuitive web interface that allows users.
Portainer is available in two editions: Community Edition (CE) and Business Edition (BE). Portainer CE is free and open-source, offering a comprehensive set of features suitable for most users. Portainer BE, on the other hand, is a commercial offering that includes additional features such as role-based access control, registry management, and dedicated support.
This article assumes you have at least basic knowledge of Linux, know how to use the shell, and most importantly, you host your site on your own VPS. The installation is quite simple and assumes you are running in the root account, if not you may need to add ‘sudo‘ to the commands to get root privileges. I will show you the step-by-step installation of the Portainer container management on openSUSE.
Prerequisites
- A server running one of the following operating systems: openSUSE (Leap or Tumbleweed)
- It’s recommended that you use a fresh OS install to prevent any potential issues.
- Basic familiarity with the command line interface.
- You will need access to the terminal to execute commands. openSUSE provides the Terminal application for this purpose. It can be found in your Applications menu.
- You’ll need an active internet connection.
- You’ll need administrative (root) access or a user account with sudo privileges.
Install Portainer on openSUSE
Step 1. Update System Packages.
To begin, it’s crucial to ensure your openSUSE system is up-to-date. Open a terminal and execute the following commands:
sudo zypper refresh
sudo zypper update
The zypper refresh command refreshes the repository cache, while zypper update upgrades all installed packages to their latest available versions. This process may take a few minutes, depending on the number of updates available and your internet connection speed.
Step 2. Installing Docker.
Portainer relies on Docker to function, so our next step is to install Docker on your openSUSE system. Open a terminal and run the following command to add the Docker repository:
sudo zypper addrepo https://download.docker.com/linux/opensuse/15.4/x86_64/stable/ docker
sudo zypper --gpg-auto-import-keys refresh
Install Docker:
sudo zypper install -y docker-ce docker-ce-cli containerd.io
Once the installation is complete, start the Docker service and enable it to launch automatically on system boot:
sudo systemctl start docker
sudo systemctl enable docker
Verify that Docker is running correctly by checking its status:
sudo docker version
(Optional) To allow your current user to run Docker commands without sudo, add your user to the docker group:
sudo usermod -aG docker $USER
newgrp docker
Test your Docker installation by running a simple container:
docker run hello-world
Step 3. Creating a Docker Volume for Portainer.
Portainer uses a Docker volume to store its database and configuration. Create this volume by running:
docker volume create portainer_data
This command creates a named volume that Portainer will use for persistent storage.
Step 4. Installing Portainer.
Fetch the latest Portainer image from Docker Hub:
docker pull portainer/portainer-ce:latest
Deploy the Portainer container using the following command:
docker run -d -p 8000:8000 -p 9443:9443 --name portainer \
    --restart=always \
    -v /var/run/docker.sock:/var/run/docker.sock \
    -v portainer_data:/data \
    portainer/portainer-ce:latest
Let’s break down this command:
-d: Runs the container in detached mode-p 8000:8000 -p 9443:9443: Maps container ports to host ports--name portainer: Assigns a name to the container--restart=always: Ensures the container restarts automatically-v /var/run/docker.sock:/var/run/docker.sock: Mounts the Docker socket-v portainer_data:/data: Mounts the previously created volume
Check if the Portainer container is running:
docker ps
Expected output:
CONTAINER ID   IMAGE                          COMMAND        CREATED         STATUS         PORTS                                                                 NAMES
de5b28eb2fa9   portainer/portainer-ce:latest  "/portainer"   2 minutes ago   Up 2 minutes   0.0.0.0:8000->8000/tcp, 0.0.0.0:9443->9443/tcp, 0.0.0.0:9000->9000/tcp   portainer
Step 4. Accessing the Portainer Web Interface.
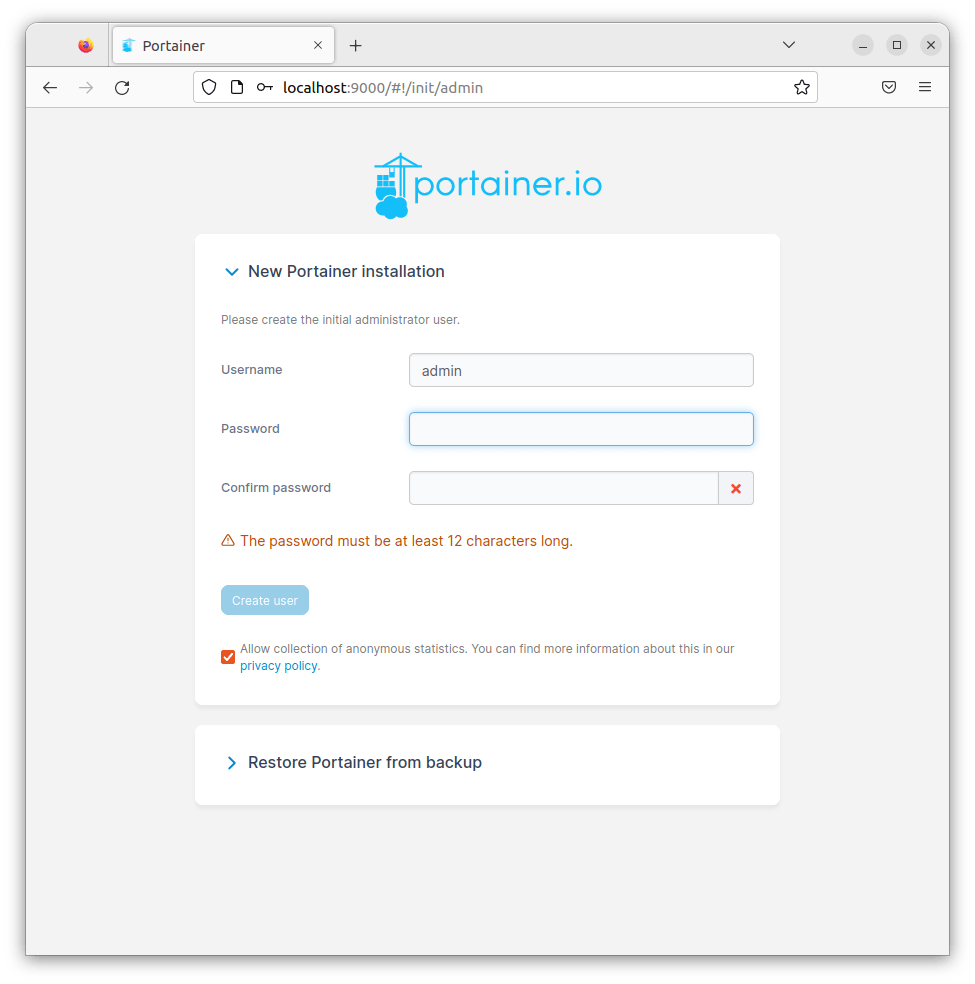
With Portainer now installed and running, you can access its web interface. Open your web browser and navigate to:
https://localhost:9443
If accessing remotely, replace localhost with your server’s IP address or FQDN.

Congratulations! You have successfully installed Portainer. Thanks for using this tutorial for installing Portainer container management software on your openSUSE system. For additional or useful information, we recommend you check the official Portainer website.