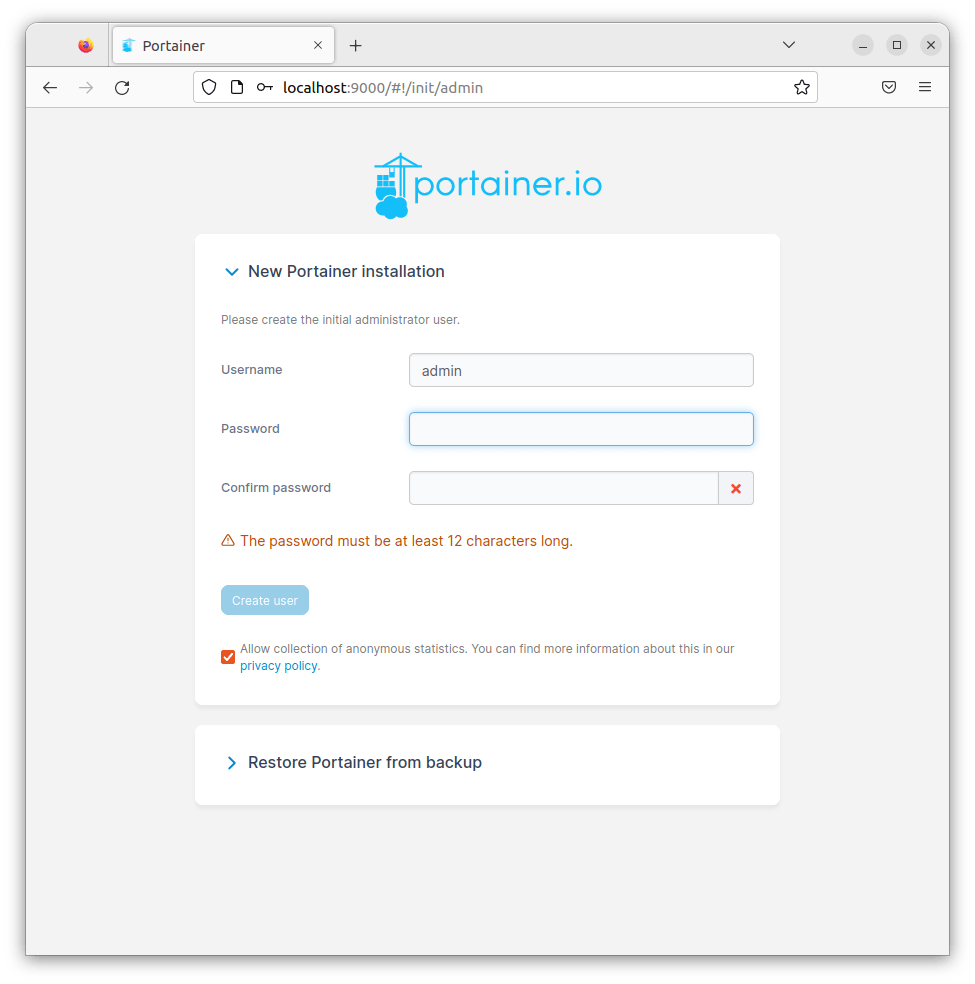
How To Install Portainer on Ubuntu 24.04 LTS

In this tutorial, we will show you how to install Portainer on Ubuntu 24.04 LTS. Portainer is a powerful, open-source Docker management tool that simplifies the process of managing Docker containers, images, networks, and volumes through an intuitive web-based interface. It provides a user-friendly way to deploy and manage containerized applications, making it an essential tool for both beginners and experienced Docker users.
This article assumes you have at least basic knowledge of Linux, know how to use the shell, and most importantly, you host your site on your own VPS. The installation is quite simple and assumes you are running in the root account, if not you may need to add ‘sudo‘ to the commands to get root privileges. I will show you the step-by-step installation of the Portainer on Ubuntu 24.04 (Noble Numbat). You can follow the same instructions for Ubuntu 22.04 and any other Debian-based distribution like Linux Mint, Elementary OS, Pop!_OS, and more as well.
Prerequisites
- A server running one of the following operating systems: Ubuntu and any other Debian-based distribution like Linux Mint.
- It’s recommended that you use a fresh OS install to prevent any potential issues.
- Basic familiarity with the terminal and command-line interface.
- SSH access to the server (or just open Terminal if you’re on a desktop).
- An active internet connection. You’ll need an internet connection to download the necessary packages and dependencies.
- An Ubuntu 24.04 system with root access or a user with sudo privileges.
Install Portainer on Ubuntu 24.04
Step 1. Updating the Package Repository.
To begin, update your Ubuntu system to ensure you have the latest package lists and security updates. Open a terminal and run the following command:
sudo apt update
sudo apt upgrade
These commands will update the package list and upgrade any existing packages to their latest versions.
Next, install the necessary tools required for adding Docker’s repository and installing Portainer. Run the following command to install ca-certificates, curl, and gnupg:
sudo apt install ca-certificates curl gnupg
These tools will be used in the subsequent steps to securely download and install Docker and Portainer.
Step 2. Installing Docker.
Before installing Portainer, you need to have Docker installed on your Ubuntu 24.04 LTS system. Follow these steps to install Docker:
First, add Docker’s official GPG key to ensure the authenticity of the packages you will be downloading. Run the following commands:
sudo install -m 0755 -d /etc/apt/keyrings
curl -fsSL https://download.docker.com/linux/ubuntu/gpg | sudo gpg --dearmor -o /etc/apt/keyrings/docker.gpg
Next, add the Docker repository to your system’s APT sources list using the command:
echo "deb [arch="$(dpkg --print-architecture)" signed-by=/etc/apt/keyrings/docker.gpg] https://download.docker.com/linux/ubuntu "$(. /etc/os-release && echo "$VERSION_CODENAME")" stable" | sudo tee /etc/apt/sources.list.d/docker.list > /dev/null
With the Docker repository set up, update the package list again to include the newly added repository:
sudo apt update
Now, install the Docker Engine, CLI, and containerd.io with the following command:
sudo apt install docker-ce docker-ce-cli containerd.io
To verify that Docker is installed correctly, run the hello-world container using the command:
sudo docker run hello-world
Step 3. Installing Portainer.
With Docker installed, you can now proceed to install Portainer. To ensure data persistence for Portainer, create a Docker volume using the command:
docker volume create portainer_data
This volume will store Portainer’s configuration and data, allowing it to persist even if the Portainer container is removed or recreated.
To download and run the Portainer container, execute the following command:
docker run -d -p 8000:8000 -p 9443:9443 --name=portainer --restart=always -v /var/run/docker.sock:/var/run/docker.sock -v portainer_data:/data portainer/portainer-ce:latest
Let’s break down the options used in this command:
-d: Runs the container in detached mode, allowing it to run in the background.-p 8000:8000 -p 9443:9443: Maps the container’s ports 8000 and 9443 to the host’s ports, enabling access to Portainer’s web interface.--name=portainer: Assigns the name “portainer” to the container for easy identification.--restart=always: Configures the container to automatically restart if it stops or the Docker daemon restarts.-v /var/run/docker.sock:/var/run/docker.sock: Mounts the Docker socket, allowing Portainer to manage the Docker daemon on the host.-v portainer_data:/data: Mounts the previously created portainer_data volume to the container’s /data directory for persistent storage.portainer/portainer-ce:latest: Specifies the image to use for the container, in this case, the latest version of Portainer Community Edition.
Step 4. Accessing the Portainer web interface
Open a web browser and navigate to the following URL:
https://[YOUR_SERVER_IP]:9443
Replace [YOUR_SERVER_IP] with the IP address or hostname of your Ubuntu server. Note that Portainer uses HTTPS on port 9443 by default for secure access.

If you are unable to access the Portainer web interface, ensure that your firewall is allowing traffic on ports 8000 and 9443. You can check the firewall rules using the command:
sudo ufw status
If necessary, allow access to the required ports using the following commands:
sudo ufw allow 9000/tcp
sudo ufw allow 9443/tcp
Congratulations! You have successfully installed Portainer. Thanks for using this tutorial for installing Portainer on the Ubuntu 24.04 LTS system. For additional help or useful information, we recommend you check the official Portainer website.