How To Install PowerShell on AlmaLinux 9

In this tutorial, we will show you how to install PowerShell on AlmaLinux 9. For those of you who didn’t know, PowerShell developed by Microsoft, is a versatile and powerful command-line shell and scripting language.
This article assumes you have at least basic knowledge of Linux, know how to use the shell, and most importantly, you host your site on your own VPS. The installation is quite simple and assumes you are running in the root account, if not you may need to add ‘sudo‘ to the commands to get root privileges. I will show you the step-by-step installation of PowerShell on AlmaLinux 9. You can follow the same instructions for CentOS and Rocky Linux or RHEL-based.
Prerequisites
- A server running one of the following operating systems: AlmaLinux 9.
- It’s recommended that you use a fresh OS install to prevent any potential issues.
- SSH access to the server (or just open Terminal if you’re on a desktop).
- An active internet connection. You’ll need an internet connection to download the necessary packages and dependencies for PowerShell.
- A
non-root sudo useror access to theroot user. We recommend acting as anon-root sudo user, however, as you can harm your system if you’re not careful when acting as the root.
Install PowerShell on AlmaLinux 9
Step 1. Before diving into the installation process, ensure your AlmaLinux 9 system is up-to-date. Run the following commands in your terminal:
sudo dnf clean all
sudo dnf update
Step 2. Installing PowerShell on AlmaLinux 9.
- Method 1: Installing PowerShell via Package Manager
Install the PowerShell package by running the following command:
sudo dnf install powershell
Wait for the installation process to complete.
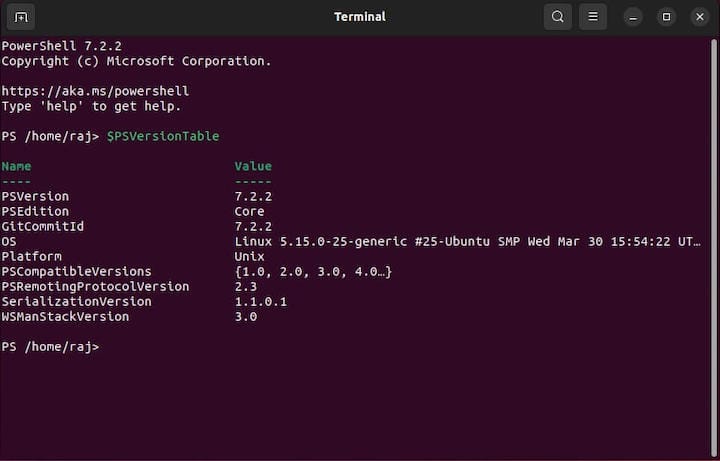
Verify that PowerShell has been installed by running the following command:
pwsh --version
This command should display the version of PowerShell that has been installed.
- Method 2: Installing PowerShell via PowerShell’s official script
First, download the PowerShell official script by running the following command:
curl -L https://aka.ms/install-powershell.sh -o install-powershell.sh
Make the script executable by running the following command:
chmod +x ./install-powershell.sh
Run the script by running the following command:
sudo ./install-powershell.sh
Wait for the installation process to complete.
Verify that PowerShell has been installed by running the following command:
pwsh --version
Step 3. Launching PowerShell.
To launch PowerShell from the terminal, simply type:
pwsh

Step 4. Basic PowerShell Commands.
Getting System Information √
- To retrieve system information, use the
Get-Hostcmdlet:
Get-Host
Managing Files and Directories √
- To list files and directories in the current directory:
Get-ChildItem
- To navigate to a different directory:
Set-Location /path/to/directory
Interacting with Services √
- To list all services:
Get-Service
- To start a service (replace ‘service-name’ with the actual service name):
Start-Service -Name 'service-name'
Step 5. Tips and Troubleshooting.
- Issue 1: PowerShell not recognized
If PowerShell is not recognized, ensure you’re running it from a terminal where it was installed.
- Issue 2: Module not found
If a required module is missing, use ‘Install-Module‘ to install it.
Congratulations! You have successfully installed PowerShell. Thanks for using this tutorial for installing PowerShell on your AlmaLinux 9 system. For additional help or useful information, we recommend you check the official PowerShell website.