How To Install PowerShell on Fedora 39

In this tutorial, we will show you how to install PowerShell on Fedora 39. PowerShell, a task automation and configuration management framework from Microsoft, has become an indispensable tool for system administrators and developers alike. With its robust scripting language and access to COM and WMI, PowerShell offers an integrated environment for managing and automating the administration of Windows systems.
This article assumes you have at least basic knowledge of Linux, know how to use the shell, and most importantly, you host your site on your own VPS. The installation is quite simple and assumes you are running in the root account, if not you may need to add ‘sudo‘ to the commands to get root privileges. I will show you the step-by-step installation of the PowerShell on a Fedora 39.
Prerequisites
Before diving into the installation process, let’s ensure that you have everything you need:
- A server running one of the following operating systems: Fedora 39.
- It’s recommended that you use a fresh OS install to prevent any potential issues.
- You will need access to the terminal to execute commands. Fedora 39 provides the Terminal application for this purpose. It can be found in your Applications menu.
- A network connection or internet access to download the PowerShell repository.
- A
non-root sudo useror access to theroot user. We recommend acting as anon-root sudo user, however, as you can harm your system if you’re not careful when acting as the root.
Install PowerShell on Fedora 39
Step 1. Before installing PhpStorm, it‘s crucial to ensure your Fedora system is prepared. Start by updating your system packages. Open your terminal and run the following command:
sudo dnf clean all
sudo dnf update
Step 2. Installing PowerShell on Fedora 39.
Microsoft provides a repository for installing PowerShell on Fedora. To add this repository, open your terminal and type the following command:
sudo dnf config-manager --add-repo https://packages.microsoft.com/config/fedora/39/prod.repo
The GPG key is used to verify the authenticity of the packages. You can import the key using the following command:
sudo rpm --import https://packages.microsoft.com/keys/microsoft.asc
With the Microsoft repository added to your system, you’re now ready to install PowerShell. The DNF package manager simplifies this process with a single command:
sudo dnf install powershell
This command will download and install PowerShell along with any required dependencies.
After the installation is complete, it’s a good practice to verify that PowerShell was installed correctly. You can do this by running the following command in your terminal:
pwsh --version
This command should display the PowerShell version information. If you see the version number, congratulations! You’ve successfully installed PowerShell on your Fedora 39 system.
Step 3. Accessing PowerShell on Fedora 39
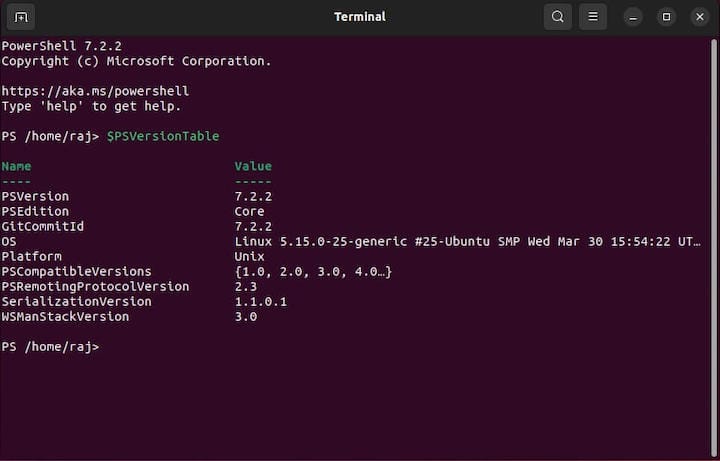
Accessing PowerShell on Fedora 39 is as simple as typing pwsh into your terminal. This command will start a new PowerShell session, and you can begin running PowerShell commands and scripts.

If you no longer need PowerShell on your Fedora 39 system, you can uninstall it by running the following command:
sudo dnf remove powershell
Congratulations! You have successfully installed PowerShell. Thanks for using this tutorial for installing PowerShell on your Fedora 39 system. For additional or useful information, we recommend you check the official PowerShell website.