How To Install Proton Pass Password Manager on Ubuntu 24.04

In this tutorial, we will show you how to install Proton Pass Password Manager on Ubuntu 24.04 LTS. Proton Pass is a password manager developed by Proton, the same company behind ProtonMail and ProtonVPN. Known for its commitment to privacy and security, Proton has designed Proton Pass to offer end-to-end encryption, ensuring that your passwords are stored securely and only accessible to you.
This article assumes you have at least basic knowledge of Linux, know how to use the shell, and most importantly, you host your site on your own VPS. The installation is quite simple and assumes you are running in the root account, if not you may need to add ‘sudo‘ to the commands to get root privileges. I will show you the step-by-step installation of Proton Pass on Ubuntu 24.04 (Noble Numbat). You can follow the same instructions for Ubuntu 22.04 and any other Debian-based distribution like Linux Mint, Elementary OS, Pop!_OS, and more as well.
Prerequisites
- A server running one of the following operating systems: Ubuntu and any other Debian-based distribution like Linux Mint.
- It’s recommended that you use a fresh OS install to prevent any potential issues.
- SSH access to the server (or just open Terminal if you’re on a desktop).
- An active internet connection. You’ll need an internet connection to download the necessary packages and dependencies.
- An Ubuntu 24.04 system with root access or a user with sudo privileges.
Install Proton Pass Password Manager on Ubuntu 24.04 LTS
Step 1. Updating the Package Repository.
It’s always a good practice to apply the latest system updates to maintain optimal performance and security. Open the Terminal and run the following commands to update your system:
sudo apt update
This command will fetch the latest package information from the Ubuntu repositories, allowing you to install the most recent version of Anaconda and its dependencies. Updating the package repository is crucial to maintaining the security and stability of your system.
Step 2. Installing Gdebi.
Gdebi is a user-friendly tool that simplifies the installation of DEB packages on Ubuntu. To install Gdebi, open your terminal and run the following commands:
sudo apt install gdebi
Step 3. Installing Proton Pass on Ubuntu 24.04.
First, you need to download the Proton Pass DEB file from the official Proton website. Follow these steps:
wget https://proton.me/download/PassDesktop/linux/x64/ProtonPass_1.17.5.deb
Next, run the following command to install Proton Pass using Gdebi:
sudo gdebi ProtonPass_1.17.5.deb
Gdebi will handle the installation process, resolving any dependencies and ensuring that Proton Pass is properly installed on your Ubuntu 24.04 system.
Step 3. Accessing Proton Pass on Ubuntu.
After the installation process is complete, you can verify that Proton Pass was successfully installed by searching for it in your application menu. Click on the Ubuntu logo in the top-left corner of your screen, then type “Proton Pass” in the search bar. The Proton Pass icon should appear, indicating that the installation was successful.

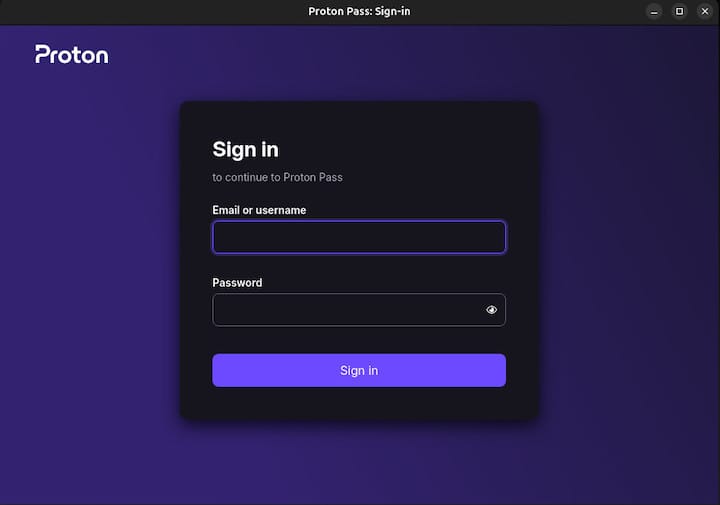
Upon launching Proton Pass for the first time, you’ll be prompted to sign in with your Proton Account. If you don’t have an account yet, you can create one directly from the app or by visiting the Proton website.
Once signed in, you can import your existing passwords from other password managers or start adding new ones. Proton Pass supports a wide range of import options, including CSV files, KeePass databases, and direct imports from popular managers like LastPass and 1Password.
Congratulations! You have successfully installed Proton Pass. Thanks for using this tutorial for installing Proton Pass Password Manager on the Ubuntu 24.04 LTS system. For additional help or useful information, we recommend you check the Proton website.