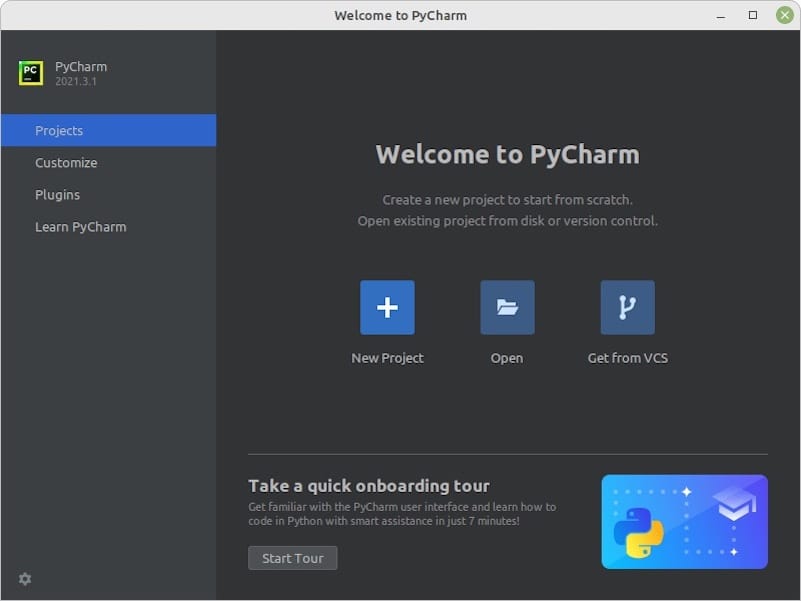
In this tutorial, we will show you how to install PyCharm on Ubuntu 18.04 LTS. For those of you who didn’t know, PyCharm is a highly acclaimed Integrated Development Environment (IDE) used by Python developers worldwide. Known for its robust features that support Python development, PyCharm offers tools for code analysis, graphical debugging, an integrated unit tester, and web development with Django.
This article assumes you have at least basic knowledge of Linux, know how to use the shell, and most importantly, you host your site on your own VPS. The installation is quite simple and assumes you are running in the root account, if not you may need to add ‘sudo‘ to the commands to get root privileges. I will show you the step-by-step installation development on an Ubuntu 18.04 (Bionic Beaver) server.
Prerequisites
- A server running one of the following operating systems: Ubuntu Linux.
- Ensure that your system meets the minimum requirements for PyCharm, which include a minimum of 4GB RAM and 2.5GB disk space, with additional space required for project files.
- It’s recommended that you use a fresh OS install to prevent any potential issues.
- A non-root sudo user or access to the root user. We recommend acting as a non-root sudo user, however, as you can harm your system if you’re not careful when acting as the root.
Install PyCharm on Ubuntu 18.04 LTS Bionic Beaver
Step 1. First, make sure that all your system packages are up-to-date by running the following apt-get commands in the terminal.
sudo apt update
sudo apt upgrade
Step 2. Installing PyCharm on Ubuntu 18.04.
- Method 1: Install PyCharm in Ubuntu using Snap.
Snap is a package management system that allows you to install applications in a sandboxed environment across different Linux distributions. It is one of the easiest methods to install PyCharm on Ubuntu 18.04.
sudo snap install pycharm-community --classic
If you require advanced features such as database tools, Django support, and full web development functionalities, you might consider the Professional Edition. It can be installed with:
sudo snap install pycharm-professional --classic
- Method 2: Install PyCharm in Ubuntu using umake.
Install PyCharm using umake, you need to have umake first, using the following commands to install unmake:
sudo add-apt-repository ppa:ubuntu-desktop/ubuntu-make
sudo apt update
sudo apt install ubuntu-make
Once you installed umake, use the command below to install PyCharm Community Edition:
umake ide pycharm
- Method 3: Install PyCharm in Ubuntu using PPA.
First, add the PPA repository, The PPA contains both the Professional and free Community versions:
sudo add-apt-repository ppa:mystic-mirage/pycharm
sudo apt update
Run the commands below one by one in the terminal to install the Professional version:
apt install pycharm
For the community version, replace the last command with:
apt install pycharm-community

Congratulations! You have successfully installed PyCharm. Thanks for using this tutorial for installing PyCharm on the Ubuntu 18.04 LTS (bionic beaver) system. For additional help or useful information, we recommend you check the official PyCharm website.