How To Install Ruby on Rails on AlmaLinux 9

Ruby on Rails, often simply referred to as Rails, is a popular web application framework built on the Ruby programming language. Known for its simplicity, convention over configuration approach, and developer-friendly ecosystem, Rails has been a go-to choice for web developers worldwide. AlmaLinux 9, a stable and community-driven Linux distribution, provides an excellent platform for running Ruby on Rails applications. In this comprehensive guide, we will walk you through the step-by-step process of installing Ruby on Rails on AlmaLinux 9, enabling you to kickstart your web development journey.
Prerequisites
Before diving into the installation process, ensure that you have the following prerequisites in place:
- AlmaLinux 9 installed on your system
- A non-root user with sudo privileges
- Internet connectivity for downloading packages
With these prerequisites met, let’s proceed to the installation steps.
Step 1: Update Your System
To ensure a smooth installation process and maintain system stability, it’s crucial to keep your AlmaLinux 9 system up to date. Open a terminal and run the following command to update your system packages:
sudo dnf update -yThis command will fetch the latest package information and upgrade any outdated packages to their latest versions.
Step 2: Install Development Tools
Ruby on Rails relies on various development tools and libraries to function properly. AlmaLinux 9 provides a convenient way to install these tools using the “Development Tools” package group. To install the necessary development tools, execute the following command:
sudo dnf groupinstall -y "Development Tools"This command will install a collection of essential development tools, including GCC (GNU Compiler Collection), make, and other required dependencies.
Step 3: Install Ruby
With the development tools in place, we can now proceed to install Ruby. AlmaLinux 9 offers multiple methods to install Ruby, such as using the AppStream repository, RVM (Ruby Version Manager), or rbenv. For simplicity and ease of use, we will focus on using the AppStream repository.
To install Ruby using the AppStream repository, run the following command:
sudo dnf install ruby ruby-develThis command will install the latest stable version of Ruby along with its development headers and libraries.
Once the installation is complete, you can verify the installed Ruby version by running:
ruby --versionMake sure the output displays the expected Ruby version.
Step 4: Install Node.js and Yarn
Ruby on Rails often utilizes JavaScript libraries and tools, such as Node.js and Yarn, for front-end development and asset management. To install Node.js on AlmaLinux 9, use the following command:
sudo dnf install nodejsNext, we’ll install Yarn, a fast and reliable package manager for JavaScript. To add the Yarn repository and install Yarn, execute the following commands:
curl --silent --location https://dl.yarnpkg.com/rpm/yarn.repo | sudo tee /etc/yum.repos.d/yarn.repo
sudo dnf install yarn
After the installation, you can verify the installed versions of Node.js and Yarn by running:
node --version
yarn --version
Ensure that the output displays the expected versions of Node.js and Yarn.
Step 5: Install Ruby on Rails
With Ruby, Node.js, and Yarn installed, we are now ready to install Ruby on Rails. Rails is distributed as a Ruby gem, which is a packaged library that can be easily installed using the gem package manager.
To install Ruby on Rails, run the following command:
gem install railsThis command will download and install the latest stable version of Ruby on Rails along with its dependencies.
Once the installation is complete, you can verify the installed Rails version by running:
rails --versionMake sure the output displays the expected Rails version.
Step 6: Set Up a New Rails Application
To ensure that your Ruby on Rails installation is working correctly, let’s create a new Rails application. Choose a directory where you want to create your application and navigate to it using the terminal.
To create a new Rails application, use the following command:
rails new myappThis command will generate a new Rails application named “myapp” with the default configuration and directory structure.
Once the application is created, navigate into the application directory:
cd myappYou are now ready to start developing your Rails application.
Step 7: Start the Rails Server
To test your newly created Rails application, you can start the Rails development server. Inside your application directory, run the following command:
rails serverThis command will start the Rails server, and you should see an output indicating that the server is running and listening on a specific port (default is 3000).
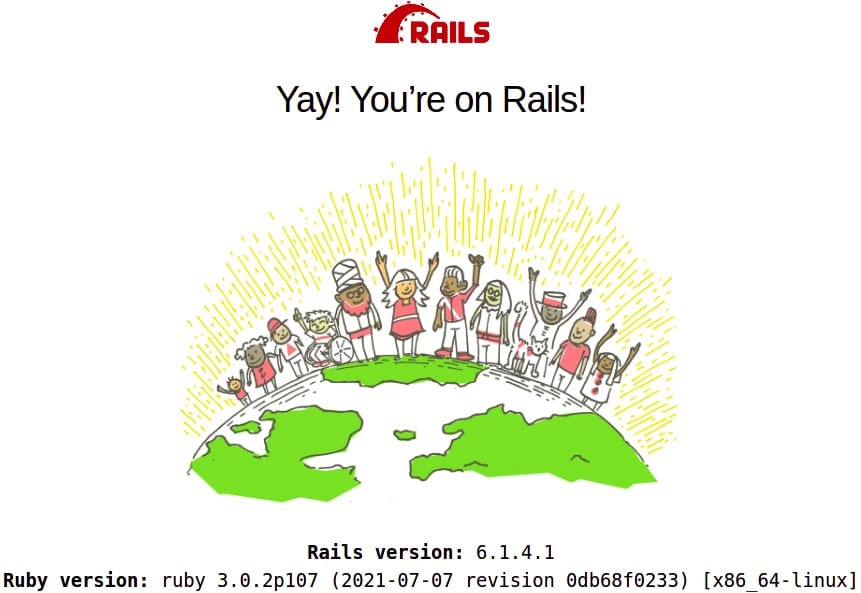
Open a web browser and visit http://localhost:3000. If everything is set up correctly, you should see the default Rails welcome page.

Troubleshooting Common Issues
While the installation process is generally straightforward, you may encounter some common issues. Here are a few troubleshooting tips:
- If you encounter permission-related errors, ensure that you are running the commands with the appropriate user permissions. Use
sudowhen necessary. - If you face issues with missing dependencies or libraries, double-check that you have installed all the required packages and development tools.
- If the Rails server fails to start, check the server logs for any error messages. Common issues include incorrect database configuration or missing dependencies.
- If you encounter issues with JavaScript or CSS assets, ensure that Node.js and Yarn are properly installed and configured.
Congratulations! You have successfully installed Ruby on Rails. Thanks for using this tutorial for installing the Ruby on Rails open-source web application framework on your AlmaLinux 9 system. For additional help or useful information, we recommend you check the official Ruby on Rails website.