How To Install Ruby on Rails on Linux Mint 21

In this tutorial, we will show you how to install Ruby on Rails on Linux Mint 21. Ruby on Rails, often simply Rails, is a server-side web application framework written in Ruby under the MIT License. It is a model-view-controller (MVC) framework, that provides default structures for a database, a web service, and web pages. Its emphasis on convention over configuration (CoC), and the rapid application development (RAD) principle, makes it a favorite among many developers.
This article assumes you have at least basic knowledge of Linux, know how to use the shell, and most importantly, you host your site on your own VPS. The installation is quite simple and assumes you are running in the root account, if not you may need to add ‘sudo‘ to the commands to get root privileges. I will show you the step-by-step installation of Ruby on Rails on a Linux Mint 21.
Prerequisites
- A server running one of the following operating systems: Linux Mint 21.
- It’s recommended that you use a fresh OS install to prevent any potential issues.
- While we’ll guide you through the process, a basic understanding of the command line will be beneficial. If you’re new to the CLI, you might want to acquaint yourself with some fundamental commands.
- An active internet connection.
- Administrative privileges are essential for installing and configuring software on your system. Ensure that you have superuser or sudo access.
Install Ruby on Rails on Linux Mint 21
Step 1. Before installing Rails, it’s crucial to update your Linux system. This ensures that you have the latest security patches and system software. Depending on your Linux distribution, you can update your system using the following commands:
sudo apt update
sudo apt upgrade
Step 2. Installing Essential Build Tools and Libraries.
Ruby on Rails requires several build tools and libraries to function correctly. Install these dependencies by running:
sudo apt install build-essential git curl libssl-dev libreadline-dev zlib1g-dev autoconf bison libyaml-dev libncurses5-dev libffi-dev libgdbm-dev
This command installs essential build tools, version control software, and necessary libraries for compiling Ruby and its gems.
Step 3. Installing Ruby.
There are several ways to install Ruby on your Linux system. You can install it directly from the apt repository, or you can use a version manager like RVM or rbenv.
- Install Ruby using APT
To install Ruby using APT, run the following command:
sudo apt install ruby
- Install Ruby using RVM
RVM (Ruby Version Manager) is a command-line tool that allows you to install, manage, and work with multiple Ruby environments. To install Ruby using RVM, follow these steps:
\curl -sSL https://get.rvm.io | bash -s stable
Load RVM into your shell sessions:
source ~/.rvm/scripts/rvm
Install Ruby:
rvm install ruby
Set the default Ruby version:
rvm use ruby --default
- Install Ruby using rbenv
rbenv is another Ruby version manager. It’s lightweight and simpler than RVM. To install Ruby using rbenv, follow these steps:
git clone https://github.com/rbenv/rbenv.git ~/.rbenv
Add rbenv to bash:
echo 'export PATH="$HOME/.rbenv/bin:$PATH"' >> ~/.bashrc
echo 'eval "$(rbenv init -)"' >> ~/.bashrc
Install ruby-build as an rbenv plugin:
git clone https://github.com/rbenv/ruby-build.git ~/.rbenv/plugins/ruby-build
Install Ruby:
rbenv install 2.6.3
Set the default Ruby version:
rbenv global 2.6.3
Step 4. Installing Rails.
After installing Ruby, you can install Rails. To install the latest version of Rails, run the following command:
gem install rails
To install a specific version of Rails, use the -v option. For example, to install Rails 5.2.0, run:
gem install rails -v 5.2.0
Step 5. Create Sample Rails Application.
With Ruby on Rails installed, you’re now ready to create your first Rails application. Here’s how you can do it:
cd /path/to/your/directory
Create a new Rails application:
rails new myapp
Navigate into your new application’s directory:
cd myapp
Start your Rails server:
rails server
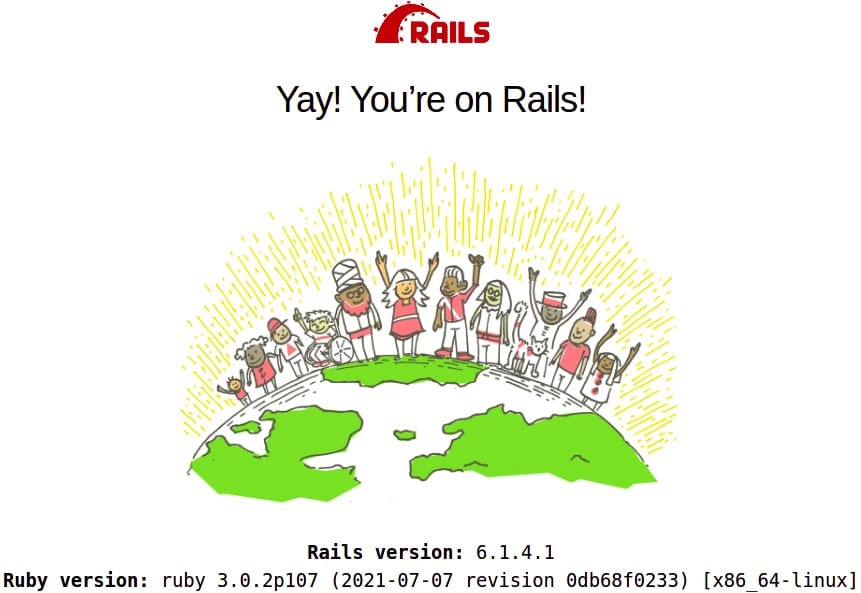
You should now have a running Rails application on your local server.

Congratulations! You have successfully installed Ruby on Rails. Thanks for using this tutorial to install the latest version of Ruby on Rails on the Linux Mint system. For additional help or useful information, we recommend you check the official Ruby on Rails website.