How To Install Ruby on Rails on Manjaro

In this tutorial, we will show you how to install Ruby on Rails on Manjaro. Web development, with its ever-evolving technologies and frameworks, is an exciting field to be a part of. Ruby on Rails, commonly known as Rails, has stood the test of time as a powerful and elegant web application framework. If you’re a Linux enthusiast and prefer Manjaro as your operating system, you’re in luck. This article will guide you through the process of installing Ruby on Rails on Manjaro.
This article assumes you have at least basic knowledge of Linux, know how to use the shell, and most importantly, you host your site on your own VPS. The installation is quite simple and assumes you are running in the root account, if not you may need to add ‘sudo‘ to the commands to get root privileges. I will show you the step-by-step installation of Ruby on Rails on a Manjaro Linux.
Prerequisites
- A server or desktop running one of the following operating systems: Manjaro, and other Arch-based distributions.
- It’s recommended that you use a fresh OS install to prevent any potential issues.
- SSH access to the server (or just open Terminal if you’re on a desktop).
- Ensure that your Manjaro system is connected to the internet. This is crucial as it allows you to download the required packages and the Ruby on Rails installation.
- A
non-root sudo useror access to theroot user. We recommend acting as anon-root sudo user, however, as you can harm your system if you’re not careful when acting as the root.
Install Ruby on Rails on Manjaro
Step 1. Before diving into the Ruby on Rails installation, it’s crucial to make sure your Manjaro system is up to date. Open a terminal and execute the following commands:
sudo pacman -Syu
Step 2. Installing Ruby on Rails on Manjaro.
- Method 1: Using RVM (Ruby Version Manager)
Install the dependencies required for Ruby and Rails:
sudo pacman -S base-devel git nodejs npm
Next, install RVM by running the following command:
gpg --keyserver hkp://pool.sks-keyservers.net --recv-keys 409B6B1796C275462A1703113804BB82D39DC0E3 7D2BAF1CF37B13E2069D6956105BD0E739499BDB \curl -sSL https://get.rvm.io | bash -s stable --rails
Once RVM is installed, you can install the latest version of Ruby by running:
rvm install ruby
Finally, install Rails by running:
gem install rails
- Method 2: Using rbenv
Install the dependencies required for Ruby and Rails:
sudo pacman -S base-devel git nodejs npm
Next, install rbenv by running the following command:
git clone https://github.com/rbenv/rbenv.git ~/.rbenv echo 'export PATH="$HOME/.rbenv/bin:$PATH"' >> ~/.bashrc echo 'eval "$(rbenv init -)"' >> ~/.bashrc source ~/.bashrc
After that, Install the ruby-build plugin for rbenv:
git clone https://github.com/rbenv/ruby-build.git ~/.rbenv/plugins/ruby-build
Install the latest version of Ruby by running:
rbenv install ruby
Finally, install Rails by running:
gem install rails
Step 3. Creating Your First Rails Application.
Now that you’ve set up your development environment, it’s time to create your first Rails application. Open your terminal, navigate to the directory where you want to create your project and run the following command:
rails new myapp
This command will create a new Rails application named ‘myapp.’ You can replace ‘myapp‘ with your desired project name.
A Rails project has a well-defined structure. Here are some essential directories and files you’ll encounter:
app: Contains your application’s code, including models, views, and controllers.config: Houses configuration files for your application.db: Stores the database schema and migrations.public: Contains static files like images and stylesheets.Gemfile: Lists the gems (libraries) your project depends on.
To run your Rails application, navigate to your project directory and execute the following command:
cd myapp
rails server
Accessing Your Application by opening your web browser and entering the following URL:
http://localhost:3000
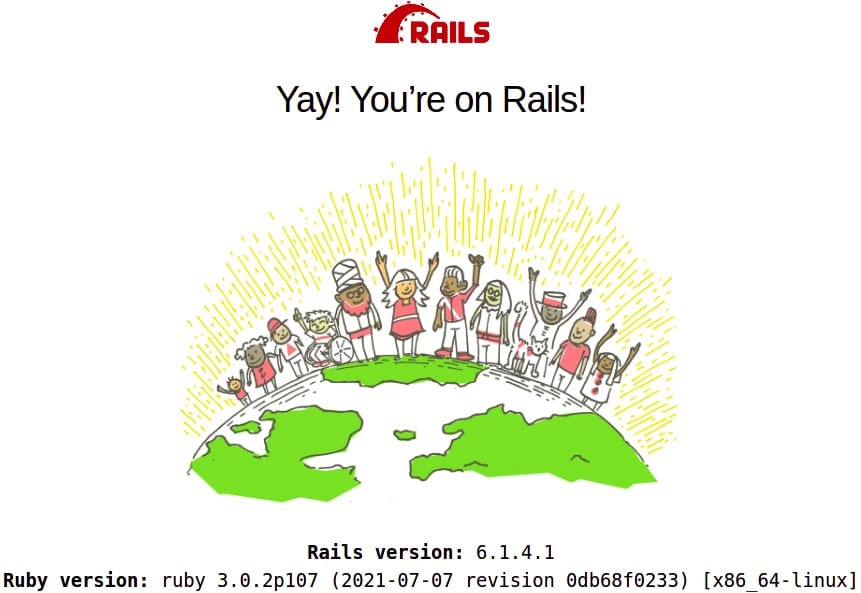
You’ll be greeted by the Rails welcome page, signifying that your application is up and running.

Congratulations! You have successfully installed Ruby on Rails. Thanks for using this tutorial to install the latest version of Ruby on Rails on the Manjaro system. For additional help or useful information, we recommend you check the official Ruby on Rails website.