How To Install Ruby on Rails on openSUSE

In this tutorial, we will show you how to install Ruby on Rails on openSUSE. In the realm of web development, Ruby on Rails stands as a beacon of efficiency and simplicity. This robust web application framework, often referred to simply as Rails, is written in the Ruby programming language. Rails has been designed with the developer in mind, making assumptions about what you need to get started, thereby simplifying the process of creating complex websites.
This article assumes you have at least basic knowledge of Linux, know how to use the shell, and most importantly, you host your site on your own VPS. The installation is quite simple and assumes you are running in the root account, if not you may need to add ‘sudo‘ to the commands to get root privileges. I will show you the step-by-step installation of Ruby on Rails on openSUSE.
Prerequisites
- A server running one of the following operating systems: openSUSE.
- It’s recommended that you use a fresh OS install to prevent any potential issues.
- You will need access to the terminal to execute commands. openSUSE provides the Terminal application for this purpose. It can be found in your Applications menu.
- You’ll need an active internet connection to download Ruby on Rails and its dependencies.
- You need access to a user account with sudo privileges. The sudo command allows you to run programs with the security privileges of another user (by default, the superuser). This is necessary for installing packages and making system-wide changes.
Install Ruby on Rails on openSUSE
Step 1. Before diving into the installation process, it’s crucial to ensure that your openSUSE system is up-to-date. This is a fundamental step in maintaining the security and stability of your system. To update your system, open your terminal and run the following commands:
sudo zypper refresh
sudo zypper update
Step 2. Installing Ruby on openSUSE.
The first step in our journey to install Ruby on Rails is, unsurprisingly, installing Ruby. openSUSE provides robust support for various Ruby versions, but it’s also possible to install Ruby from the official Ruby repositories.
To install Ruby from the openSUSE repositories, run the following command in your terminal:
sudo zypper install ruby
This command will fetch the Ruby package from the openSUSE repositories and install it on your system. Once the installation is complete, you can verify the installation by checking the Ruby version:
ruby --version
This command should return the version of Ruby that was installed.
Step 3. Installing Rails on openSUSE.
With Ruby installed, we can now proceed to install Rails. Rails is a Ruby gem, which means we can install it using the gem command. Run the following command in your terminal to install Rails:
gem install rails
This command will fetch the Rails gem from the RubyGems repository and install it on your system. Once the installation is complete, you can verify the installation by checking the Rails version:
rails --version
This command should return the version of Rails that was installed.
Step 4. Creating a Sample Rails Application.
With Ruby and Rails installed, it’s time to put them to the test by creating a sample Rails application. This will not only verify that the installation was successful but also give you a glimpse into the structure and components of a Rails application.
To create a new Rails application, run the following command in your terminal:
rails new myapp
This command will create a new Rails application called “myapp” in a directory of the same name. The command will also install the gem dependencies that are already mentioned in the Gemfile using bundle install.
Once the command completes, navigate to the myapp directory:
cd myapp
And start the Rails server:
rails server
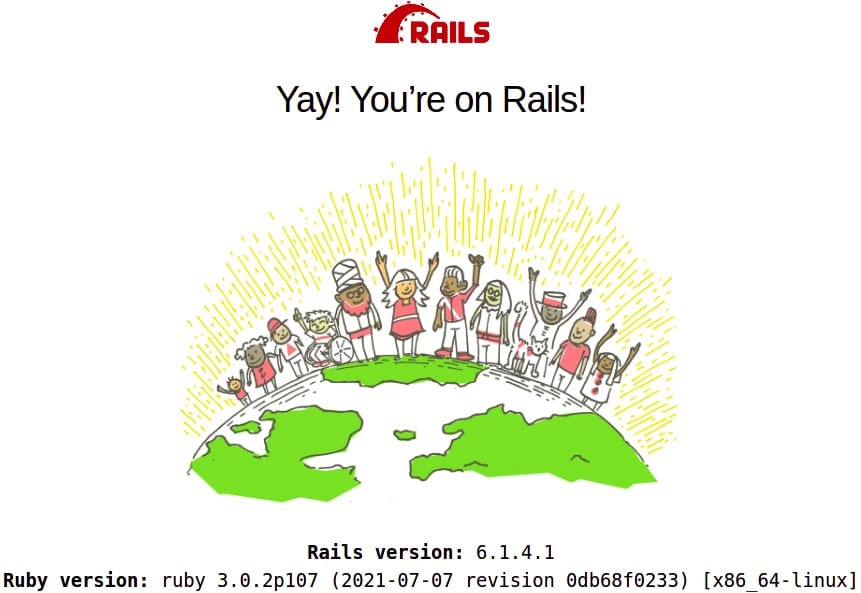
You should now be able to access your new Rails application by opening a web browser and navigating to http://your-IP-address:3000.

Congratulations! You have successfully installed Ruby on Rails. Thanks for using this tutorial for installing the Ruby on Rails on your openSUSE system. For additional or useful information, we recommend you check the official Ruby on Rails website.