How To Install Ruby on Rails on Fedora 41

In this tutorial, we will show you how to install Ruby on Rails on Fedora 41. Ruby on Rails, often simply referred to as Rails, is a powerful web application framework that allows developers to create robust and scalable applications quickly. Its convention-over-configuration philosophy and extensive libraries make it a favorite among developers. This guide will walk you through the step-by-step process of installing Ruby on Rails on Fedora 41, ensuring you have a solid foundation for your development projects.
Understanding the Prerequisites
System Requirements
Before diving into the installation process, it is essential to ensure that your system meets the necessary requirements:
- Minimum Hardware Specifications: A modern processor (Intel or AMD), at least 2 GB of RAM, and 10 GB of free disk space.
- Recommended Fedora Version: This guide focuses on Fedora 41. Ensure your system is updated to this version for optimal performance.
Software Requirements
To successfully install Ruby on Rails, you will need several software packages:
- Ruby: The core language for Rails.
- Rails: The framework itself.
- Development Tools: Essential libraries and tools for building applications.
Basic Knowledge Requirements
A basic understanding of the Linux command line and package management in Fedora is beneficial. Familiarity with terminal commands will help streamline the installation process.
Preparing Your Fedora System
Updating the System
The first step in preparing your system is to ensure it is up-to-date. This helps avoid compatibility issues during installation. Open your terminal and run the following commands:
sudo dnf clean all
sudo dnf update
This process will refresh your package manager and install any available updates. It’s a good practice to perform this step regularly to maintain system integrity.
Installing Development Tools
The next step is to install essential development tools and libraries that Ruby on Rails requires. Execute the following command in your terminal:
sudo dnf group install "C Development Tools and Libraries"This command installs a collection of development tools necessary for compiling software. It includes compilers, debuggers, and other utilities that are vital for building applications from source code.
Installing Ruby
Using DNF to Install Ruby
With your system prepared, you can now proceed to install Ruby. Fedora’s package manager, DNF, simplifies this process. Run the following command:
sudo dnf install ruby ruby-devel zlib-develThis command installs Ruby along with its development libraries and Zlib, which is required for compression functionalities in Rails applications.
Verifying the Installation
After installation, it’s crucial to verify that Ruby has been installed correctly. Check the installed version by running:
ruby -vYou should see output indicating the version of Ruby installed on your system. If you encounter any errors, revisit the previous steps to ensure everything was executed correctly.
Installing Rails
Using Gem to Install Rails
The next step is to install Rails using Ruby’s package manager, Gem. This tool allows you to install libraries (gems) easily. Execute the following command:
gem install railsThis command fetches and installs the latest version of Rails along with its dependencies. Depending on your internet speed, this may take a few moments.
Verifying the Installation
Once Rails is installed, you can verify its installation by checking its version:
rails -vIf installed correctly, this command will return the version number of Rails. If not, check for any error messages during installation that may indicate what went wrong.
Creating a New Rails Application
Generating a New Application
You are now ready to create your first Rails application! Use the following command in your terminal:
rails new myappThis command generates a new directory named “myapp” containing all necessary files and directories for a basic Rails application structure.
Navigating into the Application Directory
Change into your new application directory using:
cd myappYou can explore this directory to see various folders like /app, /config, and /db, each serving different purposes in your application architecture.
Setting Up the Database
Database Configuration
The default database used by Rails is SQLite, which is lightweight and easy to set up. However, if you prefer using PostgreSQL or MySQL, additional configuration will be required later.
Creating the Database
Create your database by running:
rake db:createThis command sets up the database specified in your application’s configuration file. You can find this file at /config/database.yml.
Starting the Rails Server
Running the Server
Your application is now ready to be run! Start the server with this command:
rails serverThis will start a local web server on port 3000 by default. You should see output indicating that your server is running successfully.
Accessing Your Application
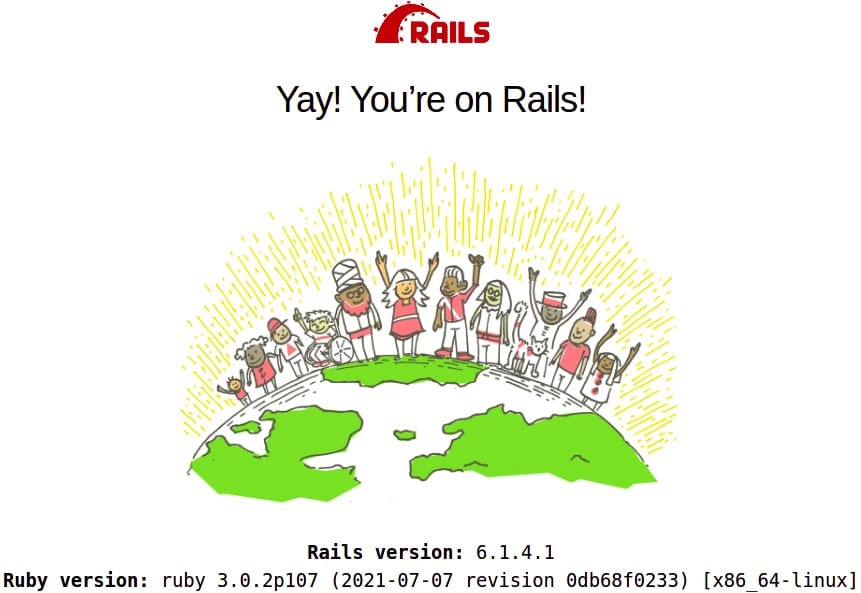
You can access your newly created application by opening a web browser and navigating to http://localhost:3000. You should see a welcome page indicating that Rails has been successfully installed!

Troubleshooting Common Issues
Common Installation Errors
- Error: “Ruby not found”: If you encounter this error when checking Ruby’s version, ensure that Ruby was installed correctly and that your PATH variable includes its directory.
- Error: “Rails not found”: This may indicate an issue with Gem installation or PATH settings. Verify that Gem is installed and accessible from your terminal.
- Error: “Database connection failed”: If you face issues connecting to the database, check your database.yml configuration file for any discrepancies in settings.
Congratulations! You have successfully installed Ruby on Rails. Thanks for using this tutorial for installing Ruby on Rails on your Fedora 41 system. For additional or useful information, we recommend you check the official Ruby on Rails website.