How To Install RustDesk on Rocky Linux 9

RustDesk is a powerful, open-source remote desktop application that offers a secure and efficient solution for remote access across multiple platforms. In this comprehensive guide, we’ll walk you through the process of installing RustDesk on Rocky Linux 9, a robust and enterprise-ready Linux distribution. Whether you’re an IT professional managing remote systems or an individual seeking a reliable remote desktop solution, this tutorial will equip you with the knowledge to set up RustDesk on your Rocky Linux 9 server.
Prerequisites for Installing RustDesk
Before we dive into the installation process, let’s ensure you have everything you need to successfully set up RustDesk on Rocky Linux 9:
- A server running Rocky Linux 9 with at least 2GB of RAM and sufficient disk space
- SSH access to your server with a non-root user having sudo privileges
- Docker and Docker Compose installed on your system
- A domain or subdomain with an A record pointing to your server’s IP address
- Basic familiarity with Linux command-line operations
If you haven’t installed Docker and Docker Compose yet, you can do so by running the following commands:
sudo dnf config-manager --add-repo https://download.docker.com/linux/centos/docker-ce.repo
sudo dnf install docker-ce docker-ce-cli containerd.io docker-compose-plugin
sudo systemctl start docker
sudo systemctl enable docker
Step-by-Step Installation of RustDesk Server
1. Update Your System
Before we begin the installation, it’s crucial to ensure your Rocky Linux 9 system is up to date. Open a terminal and run the following command:
sudo dnf update -y
2. Create a Dedicated Directory for RustDesk
To keep our RustDesk installation organized, let’s create a dedicated directory and navigate to it:
sudo mkdir -p /opt/rustdesk
cd /opt/rustdesk
3. Set Up Docker Compose Configuration
Now, we’ll create a Docker Compose configuration file for RustDesk. This file will define the services needed for RustDesk to function properly. Create and edit the file using your preferred text editor:
sudo nano docker-compose.yml
Copy and paste the following configuration into the file:
version: '3'
services:
  hbbs:
    image: rustdesk/rustdesk-server:latest
    container_name: hbbs
    ports:
      - "21115:21115"
      - "21116:21116"
      - "21116:21116/udp"
      - "21118:21118"
    command: hbbs -r rustdesk.example.com:21117
    volumes:
      - ./hbbs:/root
    networks:
      - rustdesk-net
    depends_on:
      - hbbr
    restart: unless-stopped

  hbbr:
    image: rustdesk/rustdesk-server:latest
    container_name: hbbr
    ports:
      - "21117:21117"
      - "21119:21119"
    command: hbbr
    volumes:
      - ./hbbr:/root
    networks:
      - rustdesk-net
    restart: unless-stopped

networks:
  rustdesk-net:
    driver: bridge
Make sure to replace “rustdesk.example.com” with your actual domain or subdomain. Save and close the file (Ctrl+O, Enter, Ctrl+X in nano).
4. Start RustDesk Server Using Docker Compose
With our configuration in place, we can now start the RustDesk server containers:
sudo docker-compose up -d
This command will pull the necessary images and start the containers in detached mode. To verify that the containers are running correctly, use:
sudo docker ps
You should see two containers listed: hbbs and hbbr.
5. Configure Firewall Rules
To allow incoming connections to RustDesk, we need to open the required ports in the firewall. Run the following commands:
sudo firewall-cmd --permanent --add-port=21115-21119/tcp
sudo firewall-cmd --permanent --add-port=21116/udp
sudo firewall-cmd --reload
6. Set Up Nginx as a Reverse Proxy (Optional)
For enhanced security and performance, you may want to set up Nginx as a reverse proxy for RustDesk. First, install Nginx if it’s not already present:
sudo dnf install nginx -y
Create a new Nginx configuration file for RustDesk:
sudo nano /etc/nginx/conf.d/rustdesk.conf
Add the following configuration, replacing “rustdesk.example.com” with your domain:
server {
    listen 80;
    server_name rustdesk.example.com;

    location / {
        proxy_pass http://localhost:21118;
        proxy_http_version 1.1;
        proxy_set_header Upgrade $http_upgrade;
        proxy_set_header Connection "upgrade";
        proxy_set_header Host $host;
    }
}
Save the file and exit. Test the Nginx configuration and reload it:
sudo nginx -t
sudo systemctl reload nginx
Setting Up the RustDesk Client
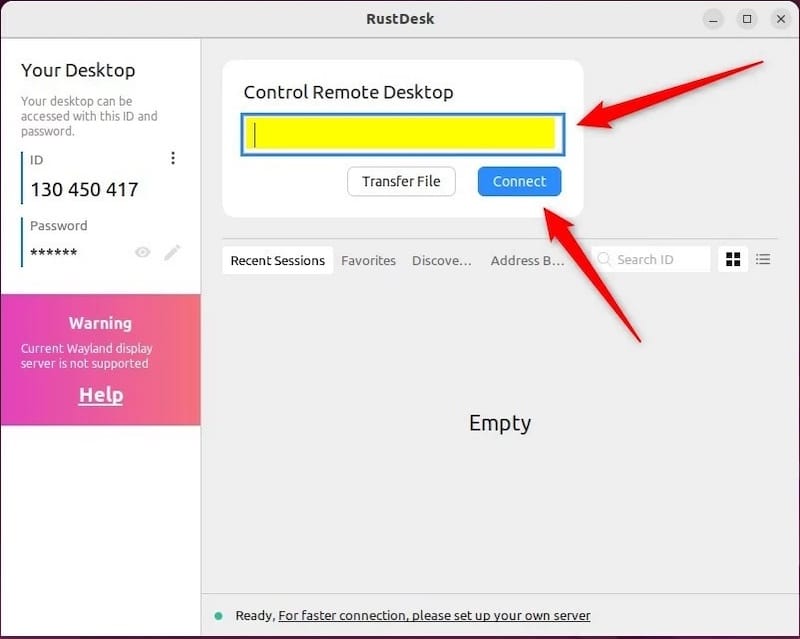
Now that we have our RustDesk server running, let’s set up the client on your local machine:
1. Download the RustDesk Client
Visit the official RustDesk website or GitHub repository to download the appropriate client for your operating system (Windows, macOS, or Linux).
2. Install and Configure the Client
Install the client application on your device. Once installed, open the settings and configure the following:
- ID Server: Enter your domain or server IP address
- Relay Server: Enter your domain or server IP address
- Key: Leave this field blank for now

3. Obtain the Public Key
To securely connect to your RustDesk server, you’ll need to obtain the public key. On your Rocky Linux 9 server, run:
sudo docker exec -it hbbs cat /root/id_ed25519.pub
Copy the output and paste it into the “Key” field in your RustDesk client settings.
4. Test Connectivity
With the client configured, you should now be able to establish remote connections using your RustDesk server. Test the functionality by connecting to another device running the RustDesk client.
Troubleshooting Common Issues
If you encounter any problems during the installation or usage of RustDesk, consider the following troubleshooting steps:
1. Docker Container Issues
If the containers fail to start or you experience connectivity problems, check the container logs:
sudo docker logs hbbs
sudo docker logs hbbr
Look for any error messages that might indicate the source of the problem.
2. Firewall Configuration
Ensure that the required ports are open and accessible. You can verify your firewall settings with:
sudo firewall-cmd --list-all
3. Nginx Configuration Errors
If you’re using Nginx and experiencing issues, double-check your configuration:
sudo nginx -t
This command will test your Nginx configuration and report any syntax errors.
4. Client Connection Problems
If the client fails to connect, verify that you’ve entered the correct server address and public key in the client settings. Also, ensure that your server is reachable from the client’s network.
Advanced Configuration and Security Considerations
To further enhance your RustDesk setup, consider implementing these advanced configurations:
1. Enable SSL/TLS Encryption
For added security, set up SSL/TLS encryption for your RustDesk server. You can use Let’s Encrypt to obtain free SSL certificates and configure Nginx to use HTTPS.
2. Implement Access Controls
RustDesk allows you to set up access controls to restrict who can connect to your devices. Explore the RustDesk documentation to learn how to implement these controls effectively.
3. Regular Updates
Keep your RustDesk server and client applications up to date to ensure you have the latest security patches and features. Regularly check for updates and apply them promptly.
Congratulations! You have successfully installed RustDesk. Thanks for using this tutorial for installing the RustDesk open-source remote desktop access on your Rocky Linux 9 system. For additional or useful information, we recommend you check the official RustDesk website.