How To Install SmartGit on Ubuntu 22.04 LTS

In this tutorial, we will show you how to install SmartGit on Ubuntu 22.04 LTS. SmartGit, a versatile and powerful Git client, has become an indispensable tool for developers worldwide. Its user-friendly interface, coupled with its robust functionality, makes managing Git repositories a breeze.
This article assumes you have at least basic knowledge of Linux, know how to use the shell, and most importantly, you host your site on your own VPS. The installation is quite simple and assumes you are running in the root account, if not you may need to add ‘sudo‘ to the commands to get root privileges. I will show you the step-by-step installation of the SmartGit on Ubuntu 22.04. You can follow the same instructions for Ubuntu 22.04 and any other Debian-based distribution like Linux Mint, Elementary OS, Pop!_OS, and more as well.
Prerequisites
- A server running one of the following operating systems: Ubuntu 22.04, 20.04, and any other Debian-based distribution like Linux Mint.
- It’s recommended that you use a fresh OS install to prevent any potential issues.
- Access the terminal on your Ubuntu system, where we’ll execute the commands for a seamless Roundcube installation.
- An active internet connection. You’ll need an internet connection to download the necessary packages and dependencies for SmartGit.
- A
non-root sudo useror access to theroot user. We recommend acting as anon-root sudo user, however, as you can harm your system if you’re not careful when acting as the root.
Install SmartGit on Ubuntu 22.04 LTS Jammy Jellyfish
Step 1. First, ensure your system is up-to-date by running the following commands:
sudo apt update
sudo apt upgrade
Step 2. Installing SmartGit on Ubuntu 22.04.
Download the latest SmartGit package. You can do this by visiting the official SmartGit website and copying the download link for the Linux version. Then, use the wget command to download it:
wget https://www.syntevo.com/downloads/smartgit/smartgit-22_1_7.deb
Once the download is complete, install SmartGit using the dpkg command:
sudo dpkg -i smartgit-22_1_7.deb
If you encounter dependency issues, use the following command to resolve them:
sudo apt-get install -f
Step 3. Accessing SmartGit on Ubuntu.
To confirm that SmartGit has been installed successfully, run the following command:
smartgit

Step 4. Configuration SmartGit.
After successful installation, it’s time to configure SmartGit for optimal use.
- Setting Up User Profile
Upon launching SmartGit for the first time, you’ll be prompted to set up your user profile. Enter your name and email address, which will be used for your commits.
- Configuring Git Repositories
Next, you’ll need to configure your Git repositories. You can clone existing repositories, create new ones, or open local repositories.
- Customizing the Interface
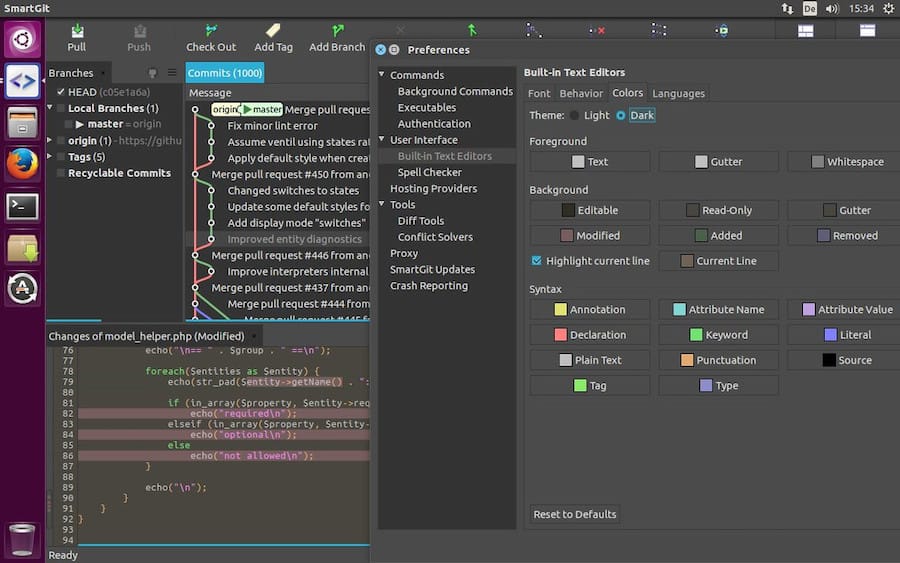
SmartGit offers a range of customization options. You can adjust the layout, theme, and other settings to suit your preferences.
Step 5. Troubleshooting
Despite careful steps, you may encounter issues during installation or configuration. Here are solutions to some common problems.
- Issues with Package Download
If you encounter issues while downloading the SmartGit package, check your internet connection. If the problem persists, try downloading the package from a different browser or device.
- Installation Errors
If you encounter errors during installation, ensure that you have sufficient disk space and that your system meets the minimum requirements. If you’re still facing issues, try reinstalling the package.
- Configuration Problems
If you’re having trouble configuring SmartGit, refer to the official SmartGit documentation or seek help from the community on forums like Stack Overflow.
Congratulations! You have successfully installed SmartGit. Thanks for using this tutorial for installing the SmartGit on the Ubuntu system. For additional help or useful information, we recommend you check the official SmartGit website.