How To Install SonarQube on AlmaLinux 9

SonarQube is a cutting-edge solution that empowers development teams to write cleaner, safer code. By providing real-time feedback on code quality, security vulnerabilities, and technical debt, SonarQube integrates seamlessly into modern development workflows. Its compatibility with AlmaLinux 9, a stable and enterprise-ready Linux distribution, makes it an excellent choice for organizations seeking a reliable environment for their code quality management needs.
In this guide, we’ll cover everything from system preparation to post-installation tasks, ensuring you have a fully functional SonarQube instance on your AlmaLinux 9 system. Whether you’re a seasoned Linux administrator or a developer looking to enhance your toolkit, this step-by-step tutorial will provide you with the knowledge and confidence to successfully deploy SonarQube.
Prerequisites
Before diving into the installation process, it’s crucial to ensure your system meets the necessary requirements. Here’s what you’ll need:
- A server running AlmaLinux 9 with root or sudo access
- Minimum of 4GB RAM (8GB recommended for production environments)
- At least 2 CPU cores (more for larger codebases)
- Minimum 2GB of free disk space
- An active internet connection for downloading packages
Additionally, make sure your system is up to date by running:
sudo dnf update -ySystem Preparation
Proper system preparation is key to a smooth SonarQube installation. Let’s start by installing essential dependencies and configuring the system for optimal performance.
Installing Java 11
SonarQube requires Java 11 to run. Install OpenJDK 11 using the following command:
sudo dnf install java-11-openjdk-devel -yVerify the installation by checking the Java version:
java -versionConfiguring System Limits
SonarQube requires specific system limits to function correctly. Edit the system configuration file:
sudo nano /etc/sysctl.confAdd the following lines:
vm.max_map_count=262144
fs.file-max=65536
Save the file and apply the changes:
sudo sysctl -pAdjusting User Limits
Modify the user limits by editing the limits.conf file:
sudo nano /etc/security/limits.confAdd these lines at the end of the file:
sonarqube   -   nofile   65536
sonarqube   -   nproc    4096
SELinux and Firewall Configuration
If SELinux is enabled, set it to permissive mode:
sudo setenforce 0
sudo sed -i 's/^SELINUX=.*/SELINUX=permissive/' /etc/selinux/config
Configure the firewall to allow SonarQube traffic:
sudo firewall-cmd --permanent --add-port=9000/tcp
sudo firewall-cmd --reload
Database Setup
SonarQube requires a database to store its data. PostgreSQL is the recommended choice for production environments.
Installing PostgreSQL
Install PostgreSQL using the following commands:
sudo dnf install postgresql postgresql-server -y
sudo postgresql-setup --initdb
sudo systemctl start postgresql
sudo systemctl enable postgresql
Creating a Database User and Database
Switch to the postgres user and create a new database and user for SonarQube:
sudo -u postgres psqlIn the PostgreSQL shell, execute these commands:
CREATE USER sonarqube WITH ENCRYPTED PASSWORD 'your_strong_password';
CREATE DATABASE sonarqube OWNER sonarqube;
\q
Configuring PostgreSQL
Edit the PostgreSQL configuration file:
sudo nano /var/lib/pgsql/data/pg_hba.confAdd the following line at the end of the file:
host sonarqube sonarqube 127.0.0.1/32 md5Restart PostgreSQL to apply the changes:
sudo systemctl restart postgresqlSonarQube Installation
With the system prepared and the database set up, we can now proceed with the SonarQube installation.
Downloading SonarQube
Download the latest LTS version of SonarQube:
wget https://binaries.sonarsource.com/Distribution/sonarqube/sonarqube-9.9.0.65466.zipCreating a Dedicated User
Create a system user for running SonarQube:
sudo useradd -r -m -U -d /opt/sonarqube -s /bin/bash sonarqubeExtracting and Organizing Files
Extract the downloaded archive and move it to the appropriate location:
sudo unzip sonarqube-9.9.0.65466.zip -d /opt
sudo mv /opt/sonarqube-9.9.0.65466 /opt/sonarqube
sudo chown -R sonarqube:sonarqube /opt/sonarqube
Configuration
Proper configuration is crucial for SonarQube to function correctly and securely.
Configuring sonar.properties
Edit the main configuration file:
sudo nano /opt/sonarqube/conf/sonar.propertiesUncomment and modify the following lines:
sonar.jdbc.username=sonarqube
sonar.jdbc.password=your_strong_password
sonar.jdbc.url=jdbc:postgresql://localhost/sonarqube
sonar.web.javaAdditionalOpts=-server
Memory Allocation
Adjust the memory settings based on your server’s available resources:
sonar.web.javaOpts=-Xmx512m -Xms128m -XX:+HeapDumpOnOutOfMemoryError
sonar.ce.javaOpts=-Xmx512m -Xms128m -XX:+HeapDumpOnOutOfMemoryError
sonar.search.javaOpts=-Xmx512m -Xms512m -XX:+HeapDumpOnOutOfMemoryError
Service Configuration
To ensure SonarQube starts automatically and can be managed easily, we’ll set it up as a systemd service.
Creating the Service File
Create a new systemd service file:
sudo nano /etc/systemd/system/sonarqube.serviceAdd the following content:
[Unit]
Description=SonarQube service
After=syslog.target network.target

[Service]
Type=forking
ExecStart=/opt/sonarqube/bin/linux-x86-64/sonar.sh start
ExecStop=/opt/sonarqube/bin/linux-x86-64/sonar.sh stop
User=sonarqube
Group=sonarqube
Restart=always

[Install]
WantedBy=multi-user.target
Enabling and Starting the Service
Enable and start the SonarQube service:
sudo systemctl daemon-reload
sudo systemctl enable sonarqube
sudo systemctl start sonarqube
Security Hardening
Securing your SonarQube installation is crucial to protect your code analysis data.
Changing Default Credentials
After the initial setup, immediately change the default admin password by logging into the web interface (http://your_server_ip:9000) and navigating to Administration > Security > Users.
Configuring SSL/TLS
For production environments, it’s highly recommended to set up SSL/TLS. You can use a reverse proxy like Nginx or Apache with Let’s Encrypt certificates to secure the connection.
Verification and Testing
Ensure SonarQube is running correctly by checking the service status:
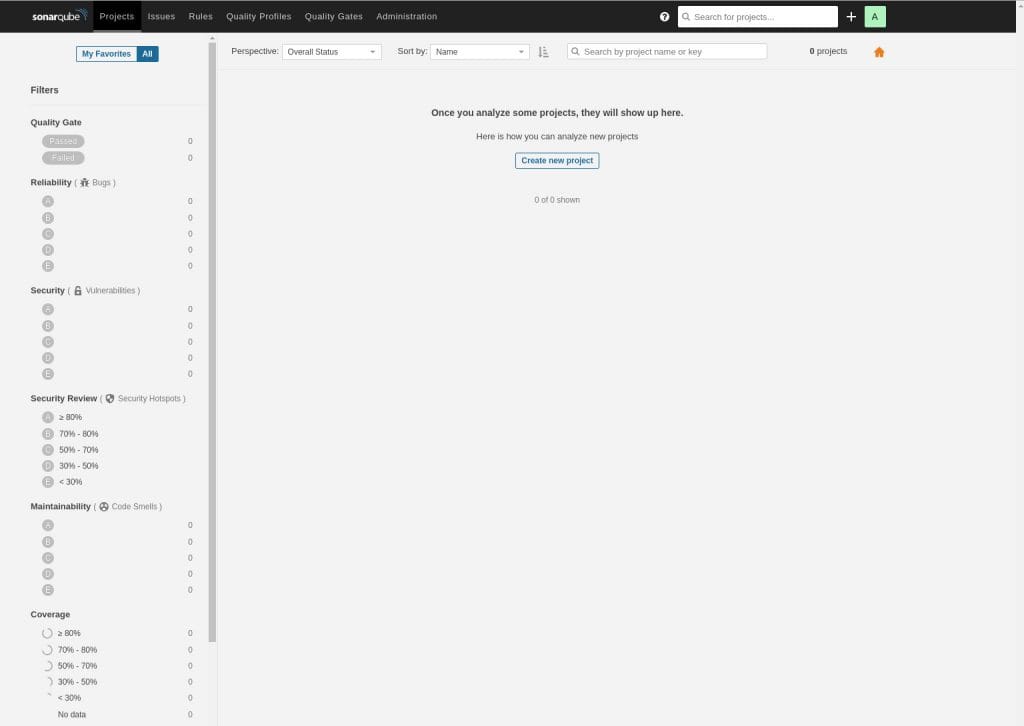
sudo systemctl status sonarqubeAccess the web interface by navigating to http://your_server_ip:9000 in your browser. You should see the SonarQube login page.

Post-Installation Tasks
After successful installation, consider the following tasks:
- Set up your first project in SonarQube
- Configure integration with your CI/CD pipeline
- Install additional plugins as needed
- Set up regular backups of your SonarQube data and configuration
Troubleshooting Guide
If you encounter issues during or after installation, consider the following troubleshooting steps:
- Check the SonarQube logs located in
/opt/sonarqube/logs/ - Verify database connectivity and permissions
- Ensure all required ports are open and accessible
- Review system requirements and adjust resources if necessary
Maintenance and Upgrades
Regular maintenance is essential for keeping your SonarQube instance healthy and up-to-date:
- Regularly backup your SonarQube database and configuration files
- Monitor system resources and adjust as needed
- Keep AlmaLinux 9 and SonarQube updated to the latest stable versions
- Periodically review and update security settings
Congratulations! You have successfully installed SonarQube. Thanks for using this tutorial for installing the SonarQube on AlmaLinux 9 system. For additional help or useful information, we recommend you check the official SonarQube website.