How To Install SonarQube on Ubuntu 24.04 LTS

Maintaining high code quality is essential for any software development project. SonarQube, a powerful open-source platform, helps developers inspect and analyze their codebase to identify and fix issues, ensuring clean, maintainable, and secure code. In this comprehensive guide, we will walk you through the step-by-step process of installing SonarQube on Ubuntu 24.04 LTS, a stable and reliable operating system for hosting your code quality management tool.
Prerequisites
System Requirements
Before installing SonarQube, ensure that your system meets the following minimum requirements:
- Hardware: At least 2GB RAM, 1 CPU core, and 30GB of free disk space.
- Software: Java (OpenJDK 17) and PostgreSQL database.
User Permissions
To install and configure SonarQube, you will need a user account with sudo privileges. This allows you to execute commands with elevated permissions when necessary.
Network Configuration
Ensure that your Ubuntu system has a stable internet connection to download the required packages and dependencies during the installation process.
Step 1: Update the System
Before proceeding with the installation, it’s crucial to update your Ubuntu system to ensure you have the latest security patches and software updates. Open a terminal and run the following commands:
sudo apt update
sudo apt upgrade -y
Step 2: Install Java
SonarQube requires Java to run, so let’s install OpenJDK 17. Execute the following command in the terminal:
sudo apt install openjdk-17-jdk -yOnce the installation is complete, verify the Java version by running:
java -versionYou should see the installed Java version displayed in the terminal output.
Step 3: Install PostgreSQL
SonarQube uses a database to store its configuration and analysis data. We will use PostgreSQL as the database for our SonarQube installation. Follow these steps to install and configure PostgreSQL:
1. Add the PostgreSQL repository to your system:
sudo sh -c 'echo "deb http://apt.postgresql.org/pub/repos/apt $(lsb_release -cs)-pgdg main" > /etc/apt/sources.list.d/pgdg.list'
wget -qO- https://www.postgresql.org/media/keys/ACCC4CF8.asc | sudo tee /etc/apt/trusted.gpg.d/pgdg.asc &>/dev/null
2. Update the package list and install PostgreSQL:
sudo apt update
sudo apt-get install postgresql postgresql-contrib -y
3. Configure PostgreSQL for SonarQube:
sudo passwd postgres
su - postgres
createuser sonar
psql
ALTER USER sonar WITH ENCRYPTED PASSWORD 'sonar';
CREATE DATABASE sonarqube OWNER sonar;
GRANT ALL PRIVILEGES ON DATABASE sonarqube TO sonar;
\q
exit
Step 4: Download and Install SonarQube
Now that we have the prerequisites in place, let’s download and install SonarQube:
1. Download the latest version of SonarQube:
wget https://binaries.sonarsource.com/Distribution/sonarqube/sonarqube-10.6.0.92116.zip2. Extract the downloaded ZIP file and move the extracted directory to /opt/sonarqube:
unzip sonarqube-10.6.0.92116.zip
sudo mv sonarqube-10.6.0.92116 /opt/sonarqube
3. Create a dedicated user for running SonarQube:
sudo adduser --system --no-create-home --group --disabled-login sonarqube
sudo chown -R sonarqube:sonarqube /opt/sonarqube
Step 5: Configure SonarQube
Before starting SonarQube, we need to configure it to use the PostgreSQL database we set up earlier:
1. Open the SonarQube configuration file:
sudo nano /opt/sonarqube/conf/sonar.properties2. Locate the following lines and uncomment them by removing the # symbol:
sonar.jdbc.username=sonar
sonar.jdbc.password=sonar
sonar.jdbc.url=jdbc:postgresql://localhost/sonarqube
3. Save the changes and exit the editor.
Step 6: Create a Systemd Service File
To manage SonarQube as a system service, we will create a systemd service file:
1. Create a new service file:
sudo nano /etc/systemd/system/sonarqube.service2. Add the following content to the file:
[Unit]
Description=SonarQube service
After=syslog.target network.target

[Service]
Type=forking
ExecStart=/opt/sonarqube/bin/linux-x86-64/sonar.sh start
ExecStop=/opt/sonarqube/bin/linux-x86-64/sonar.sh stop
User=sonarqube
Group=sonarqube
Restart=always

[Install]
WantedBy=multi-user.target
3. Save the changes and exit the editor.
Step 7: Starting SonarQube
With the configuration and service file in place, we can now start SonarQube:
1. Reload the systemd configuration:
sudo systemctl daemon-reload2. Start the SonarQube service:
sudo systemctl start sonarqube3. Enable the service to start automatically on system boot:
sudo systemctl enable sonarqubeAccessing SonarQube
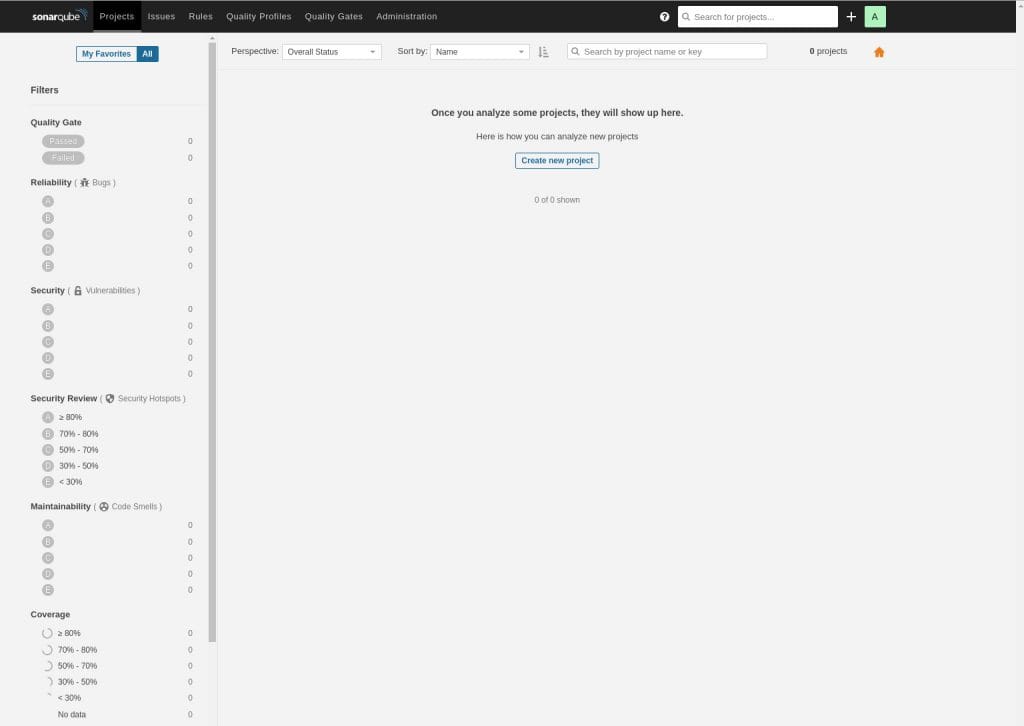
SonarQube is now installed and running on your Ubuntu 24.04 LTS system. To access the SonarQube web interface:
1. Open a web browser and navigate to http://localhost:9000.
2. Log in using the default credentials:
- Username: admin
- Password: admin
You will be prompted to change the default password after logging in for the first time.

Troubleshooting
If you encounter any issues during the installation or while running SonarQube, here are a few troubleshooting tips:
- Check the SonarQube logs located at
/opt/sonarqube/logs/sonar.logfor any error messages or warnings. - Ensure that the PostgreSQL database is running and accessible using the configured credentials.
- Verify that the SonarQube service is running by executing
sudo systemctl status sonarqube. - Make sure that the required ports (9000 for SonarQube web interface) are not being used by other applications.
Congratulations! You have successfully installed SonarQube. Thanks for using this tutorial for installing the SonarQube on Ubuntu 24.04 LTS system. For additional help or useful information, we recommend you check the official SonarQube website.