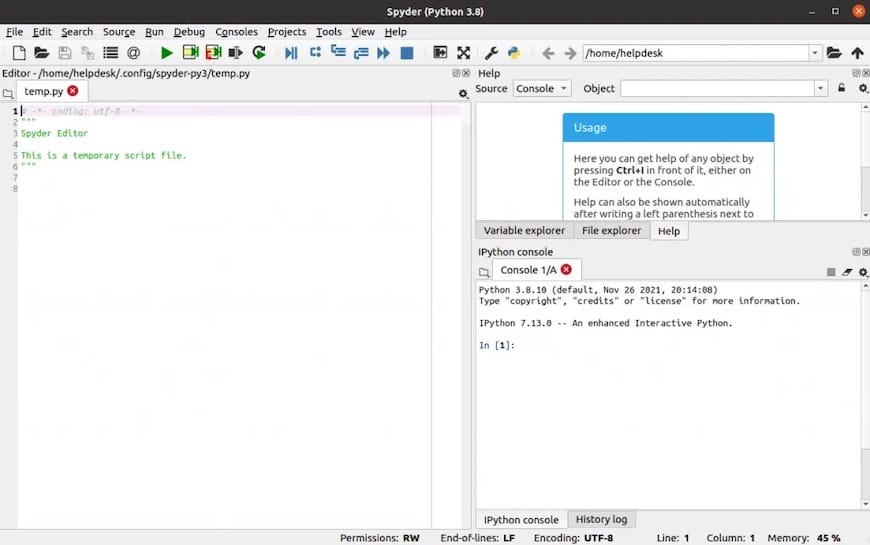
In this tutorial, we will show you how to install Spyder on Ubuntu 20.04 LTS. For those of you who didn’t know, Spyder is a free and open-source scientific integrated development environment(IDE) written in Python. It features a unique combination of the advanced editing, analysis, debugging, and profiling functionality of a comprehensive development tool with the data exploration, interactive execution, deep inspection, and beautiful visualization capabilities of a scientific package.
This article assumes you have at least basic knowledge of Linux, know how to use the shell, and most importantly, you host your site on your own VPS. The installation is quite simple and assumes you are running in the root account, if not you may need to add ‘sudo‘ to the commands to get root privileges. I will show you the step-by-step installation of the Spyder IDE on Ubuntu 20.04 (Focal Fossa). You can follow the same instructions for Ubuntu 18.04, 16.04, and any other Debian-based distribution like Linux Mint.
Prerequisites
- A server running one of the following operating systems: Ubuntu 20.04, 18.04, and any other Debian-based distribution like Linux Mint or elementary OS.
- It’s recommended that you use a fresh OS install to prevent any potential issues.
- SSH access to the server (or just open Terminal if you’re on a desktop).
- Your machine should have at least 2 GB of RAM and a dual-core processor for optimal performance.
- A
non-root sudo useror access to theroot user. We recommend acting as anon-root sudo user, however, as you can harm your system if you’re not careful when acting as the root.
Install Spyder on Ubuntu 20.04 LTS Focal Fossa
Step 1. First, make sure that all your system packages are up-to-date by running the following apt commands in the terminal.
sudo apt update
sudo apt upgrade
Step 2. Installing Python.
To install Spyder, you will need to have Python and pip installed on your machine. Ubuntu 20.04 LTS comes with Python 3.8 pre-installed, but you can check your Python version by running the following command in the terminal:
python3 --version
If Python is not installed, you can install it using the APT package manager:
sudo apt update
sudo apt install python3 python3-pip
Step 3. Installing Spyder on Ubuntu 20.04.
- Using APT Package Manager
By default, Spyder IDE is available on Ubuntu 20.04 base repository. Now run the following command below to install Spyder on your Ubuntu system:
sudo apt install spyder
Wait for the installation process to complete. APT will handle the installation of Spyder and its dependencies.
- Using pip
Installing Spyder using pip allows you to have more control over the installation process and ensures that you have the latest version. Here’s how to install Spyder using pip:
Create a virtual environment to isolate the Spyder installation:
python3 -m venv spyder-env
source spyder-env/bin/activate
Install Spyder using pip:
pip3 install spyder
Using pip provides flexibility and access to the latest Spyder releases. However, you need to manage dependencies manually, which can be more time-consuming compared to using APT.
Step 3. Accessing Spyder on Ubuntu Linux.
Once successfully installed, run the following path on your desktop to open the path: Activities -> Show Applications -> Spyderor launching it through the terminal with the command shown below:
spyder

Congratulations! You have successfully installed Spyder. Thanks for using this tutorial for installing the Spyder IDE on Ubuntu 20.04 LTS Focal Fossa system. For additional help or useful information, we recommend you check the official Spyder website.