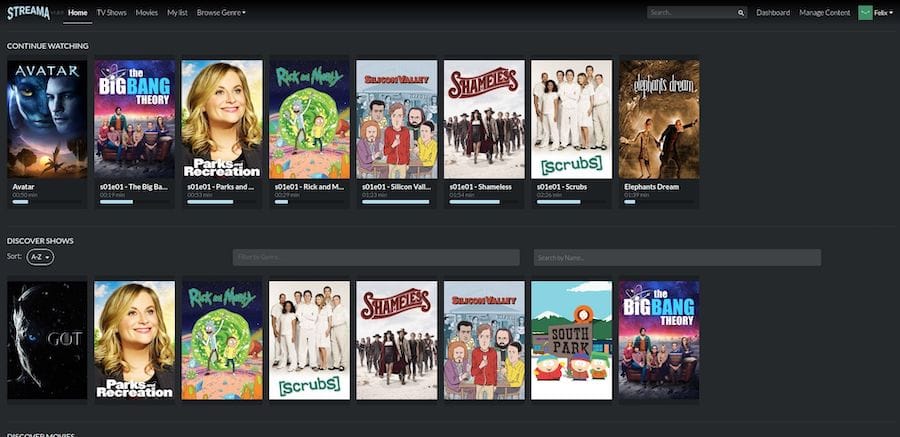
In this tutorial, we will show you how to install Streama on Ubuntu 20.04 LTS. For those of you who didn’t know, Streama is an open-source, self-hosted media streaming application that allows you to create and manage your personal media library. With Streama, you can easily organize and stream your video content, including movies and TV series, from a centralized server to various devices such as computers, smartphones, and smart TVs. One of the key advantages of Streama is its user-friendly web interface, which makes it accessible to users of all skill levels. Additionally, Streama supports multiple user accounts, enabling you to share your media library with family and friends while maintaining control over access permissions.
This article assumes you have at least basic knowledge of Linux, know how to use the shell, and most importantly, you host your site on your own VPS. The installation is quite simple and assumes you are running in the root account, if not you may need to add ‘sudo‘ to the commands to get root privileges. I will show you the step-by-step installation of the Streama self-hosted media streaming server on Ubuntu 20.04 (Focal Fossa). You can follow the same instructions for Ubuntu 18.04, 16.04, and any other Debian-based distribution like Linux Mint.
Prerequisites
- A server running one of the following operating systems: Ubuntu 22.04, 20.04, and any other Debian-based distribution like Linux Mint.
- It’s recommended that you use a fresh OS install to prevent any potential issues.
- SSH access to the server (or just open Terminal if you’re on a desktop).
- An active internet connection. You’ll need an internet connection to download the necessary packages and dependencies for Streama.
- A
non-root sudo useror access to theroot user. We recommend acting as anon-root sudo user, however, as you can harm your system if you’re not careful when acting as the root.
Install Streama on Ubuntu 20.04 LTS Focal Fossa
Step 1. Before proceeding with the installation, it’s crucial to update your system packages to ensure you have the latest security patches and software versions. Open a terminal and run the following commands:
sudo apt update
sudo apt upgrade
Step 2. Installing Java.
You need to install a Java 11 or higher version for the Streama to work. Run the following command to install Java:
sudo apt install openjdk-11-jdk
Check the installed Java version:
java -version
Step 3. Installing Streama on Ubuntu 20.04.
By default, Streama is not available on the Ubuntu 20.04 base repository. Now run the following command to download the latest Streama version from the official page:
sudo mkdir streama
cd streama/
sudo wget https://github.com/streamaserver/streama/releases/download/v1.6.1/streama-1.6.1.war
Next, make the file executable:
sudo chmod +x streama-1.6.1.war
Now, run the Streama application using the command below:
sudo ./streama-1.6.1.war
Step 4. Accessing Streama Web Interface.
Once successfully installed, open your web browser and access the Streama using the URL http://localhost:8080. You will be redirected to the Streama login page. Login with default credentials: admin/admin.

Congratulations! You have successfully installed Streama. Thanks for using this tutorial for installing the Streama free self-hosted media streaming server on the Ubuntu 20.04 LTS Focal Fossa system. For additional help or useful information, we recommend you check the official Streama website.