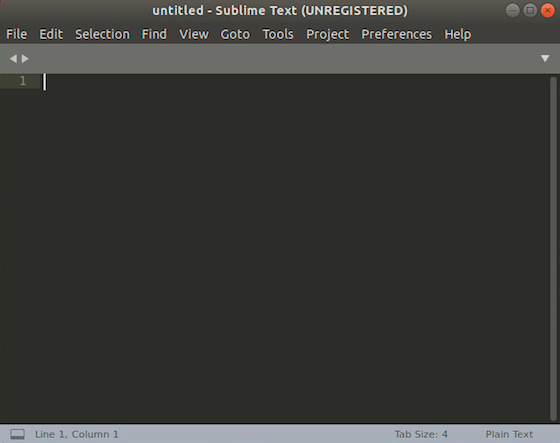
How To Install Sublime Text on CentOS Stream 10

In the world of programming and software development, having a reliable text editor is essential. Sublime Text 4 is a powerful, versatile editor that offers a range of features designed to enhance productivity and streamline coding tasks. This article will guide you through the process of installing Sublime Text 4 on CentOS Stream 10, ensuring that you can take full advantage of its capabilities.
Understanding Sublime Text 4
What is Sublime Text?
Sublime Text is a sophisticated text editor known for its speed and efficiency. It supports various programming languages and file types, making it a popular choice among developers. With features like GPU rendering, multiple selections, and a distraction-free mode, it provides an environment conducive to focused coding.
Why Choose Sublime Text 4?
- Speed: Sublime Text is optimized for performance, allowing for quick file navigation and editing.
- User Interface: Its clean, minimalistic interface helps reduce distractions while coding.
- Customization: Users can tailor the editor to their preferences with themes and plugins.
- Community Support: A robust community provides extensive resources, including documentation and forums for troubleshooting.
Preparing Your System
System Requirements
Before installing Sublime Text 4 on CentOS Stream 10, ensure that your system meets the following requirements:
- Operating System: CentOS Stream 10 (64-bit)
- RAM: Minimum of 1 GB (2 GB recommended)
- Disk Space: At least 300 MB of free space for installation
Updating Your System
Keeping your system updated is crucial for security and performance. Before proceeding with the installation, run the following command to update your system packages:
sudo dnf updateInstalling Sublime Text 4
Method 1: Using DNF Package Manager
Step-by-Step Installation
The DNF package manager simplifies the installation process. Follow these steps to install Sublime Text using DNF:
- Import the GPG Key:
To ensure the authenticity of the packages, import the GPG key with this command:sudo rpm -v --import https://download.sublimetext.com/sublimehq-rpm-pub.gpg - Add the Sublime Text Repository:
Next, add the official Sublime Text repository by executing:sudo dnf config-manager --add-repo https://download.sublimetext.com/rpm/stable/x86_64/sublime-text.repo - Install Sublime Text:
Now you can install Sublime Text with:sudo dnf install sublime-text - Verify the Installation:
After installation, verify it by checking the version:subl --version
Method 2: Manual Installation via RPM File
If you prefer manual installation or if there are issues with DNF, you can download and install the RPM file directly. Here’s how:
- Download the RPM File:
Visit the official Sublime Text website and download the latest RPM file suitable for your architecture. - Install Using RPM Command:
Use the following command to install it:sudo rpm -ivh sublime-text_build_4143_x64.rpm
Method 3: Using Snap
If you prefer using Snap as a package manager, follow these steps to install Sublime Text:
- Install Snapd:
If Snapd is not already installed on your system, install it using:sudo dnf install snapd - Create a Symbolic Link:
Enable classic snap support by creating a symbolic link:sudo ln -s /var/lib/snapd/snap /snap - Install Sublime Text via Snap:
Finally, run this command to install Sublime Text:sudo snap install sublime-text --classic
Post-Installation Setup
Launching Sublime Text
You can launch Sublime Text either from the terminal or through your desktop environment. To open it via terminal, simply type:
sublIf you’re using a GUI, search for “Sublime Text” in your applications menu.

Initial Configuration
The first time you launch Sublime Text, you may want to configure some settings to enhance your experience. Here are some initial steps to consider:
- Selecting Preferences: Navigate to Preferences > Settings to customize your editor settings according to your needs.
- Themes and Color Schemes: Change themes by going to Preferences > Color Scheme or Preferences > Theme.
- Installing Package Control:
Package Control allows you to easily manage plugins. To install it, press:⌘ + Shift + P (or Ctrl + Shift + P) → Install Package Control
Troubleshooting Common Issues
Pitfalls During Installation
- If you encounter dependency issues while installing via DNF or RPM, ensure that all required libraries are installed by running:
sudo dnf groupinstall "Development Tools" - If Snap fails to install due to missing permissions or conflicts with other package managers, consider removing conflicting packages first.
- If Sublime Text does not launch after installation, check for error messages in the terminal that could indicate missing libraries or configuration issues.
Congratulations! You have successfully installed Sublime Text. Thanks for using this tutorial for installing the Sublime Text Editor on your CentOS Stream 10 system. For additional help or useful information, we recommend you check the official Sublime Text website.