How To Install Symfony Framework on Ubuntu 24.04 LTS

In this tutorial, we will show you how to install Symfony Framework on Ubuntu 24.04 LTS. Symfony is a popular PHP web application framework known for its robustness, flexibility, and extensive feature set. It provides developers with a solid foundation for building scalable and maintainable web applications. With its modular architecture, Symfony allows developers to leverage reusable components and follow best practices in web development. Ubuntu 24.04, the latest LTS release of the Ubuntu operating system, offers a stable and secure environment for hosting Symfony applications. In this article, we will guide you through the step-by-step process of installing Symfony Framework on Ubuntu 24.04, enabling you to kickstart your web development journey with ease.
Prerequisites
Before we begin the installation process, ensure that your system meets the following requirements:
- Ubuntu 24.04 server or desktop with root or sudo privileges
- A minimum of 2GB RAM and 10GB free disk space
- Access to a terminal or command-line interface
Additionally, we will need to install some essential software packages. Update and upgrade your system packages by running the following command:
sudo apt update && sudo apt upgrade -yStep 1: Install PHP and Composer
Symfony requires PHP and Composer to function properly. Let’s start by installing PHP and the necessary extensions. Run the following command:
sudo apt install php php-json php-ctype php-curl php-mbstring php-xml php-zip php-tokenizer libpcre3 git zip unzipOnce the installation is complete, verify the PHP version by running:
php --versionNext, install Composer, the dependency manager for PHP, using the following command:
sudo apt install composerVerify the Composer installation by running:
composer --versionStep 2: Install Symfony CLI
The Symfony CLI is a powerful tool that simplifies the creation and management of Symfony projects. To install it, run the following command:
wget https://get.symfony.com/cli/installer -O - | bashOnce the installation is complete, add the Symfony CLI to your system PATH by running:
export PATH="$HOME/.symfony/bin:$PATH"Verify the Symfony CLI installation by running:
symfony --versionStep 3: Create a New Symfony Project
With the prerequisites in place, we can now create a new Symfony project. Use the Symfony CLI to create a new project by running the following command:
symfony new my_project --fullThis command will create a new directory called “my_project” and set up a fresh Symfony project with all the necessary files and configurations.
Navigate to the project directory:
cd my_projectThe project structure will look similar to this:
- bin/
- config/
- public/
- src/
- templates/
- tests/
- var/
- vendor/
Each directory serves a specific purpose in the Symfony application structure.
Step 4: Configure Symfony Project
Before running the Symfony application, we need to configure a few settings.
First, set up the necessary environment variables by creating a “.env.local” file in the project root directory. You can copy the existing “.env” file and modify it according to your needs.
Next, configure the database connection in the “.env.local” file. Uncomment the appropriate lines and provide the database details, such as the database name, username, and password.
If your application requires additional Symfony bundles or packages, you can install them using Composer. For example, to install the Doctrine ORM bundle, run:
composer require symfony/orm-packStep 5: Run Symfony Development Server
Symfony provides a built-in development server that allows you to run your application locally. To start the server, run the following command:
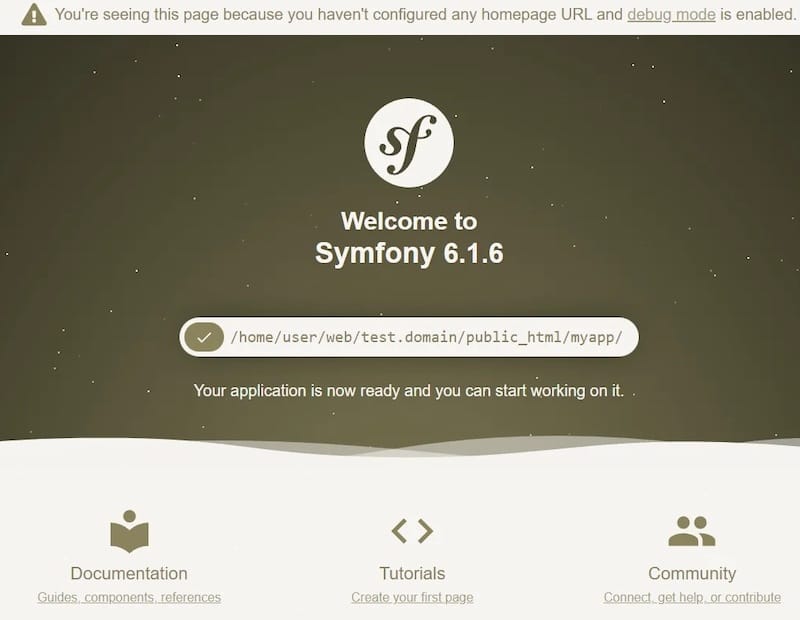
symfony server:startBy default, the server will start on http://localhost:8000. Open your web browser and visit this URL to see your Symfony application in action.

If you encounter any issues, make sure that the necessary ports are open and not being used by other applications. You can also try running the server on a different port by specifying the port number:
symfony server:start --port=8080Step 6: Deploy Symfony Application
When you’re ready to deploy your Symfony application to a production environment, there are several deployment strategies you can consider.
One popular approach is to use Docker containers. Docker allows you to package your application along with its dependencies into a containerized environment, making it easy to deploy and scale. You can create a Dockerfile that defines your application’s runtime environment and use Docker Compose to orchestrate multiple containers.
Another option is to deploy your Symfony application using traditional web servers like Apache or Nginx. You’ll need to configure the webserver to point to the public/ directory of your Symfony project and set up the necessary permissions.
When deploying to production, consider the following best practices:
- Set the
APP_ENVenvironment variable to “prod” to enable production mode. - Optimize Composer autoloader by running
composer install --no-dev --optimize-autoloader. - Clear and warmup the cache using
php bin/console cache:clearandphp bin/console cache:warmup. - Configure proper file permissions and ownership for the
var/andpublic/directories. - Enable HTTPS for secure communication.
Congratulations! You have successfully installed Symfony. Thanks for using this tutorial for installing Symfony Framework on the Ubuntu 24.04 LTS system. For additional help or useful information, we recommend you check the Symfony website.