How To Install Tabby Terminal on Rocky Linux 9

In the world of Linux, terminal emulators play a crucial role in enhancing productivity and providing users with a powerful interface to interact with the operating system. One such modern terminal emulator is Tabby Terminal, known for its versatility and rich feature set. This article serves as a comprehensive guide to installing Tabby Terminal on Rocky Linux 9, ensuring that you can leverage its capabilities effectively.
Understanding Tabby Terminal
What is Tabby Terminal?
Tabby Terminal, formerly known as Hyper, is an advanced terminal emulator built on web technologies. It offers a sleek interface and supports various plugins, making it highly customizable. Unlike traditional terminal emulators like GNOME Terminal or Terminator, Tabby provides a more modern and visually appealing user experience.
Key Features of Tabby Terminal
- Customization Options: Users can easily change themes, fonts, and layouts to suit their preferences.
- Multiple Sessions: Tabby allows users to open multiple tabs and sessions simultaneously, enhancing multitasking capabilities.
- SSH and Serial Connection Support: It simplifies remote server management through built-in SSH support.
- Plugin Ecosystem: The terminal supports a wide range of plugins to extend functionality.
Prerequisites for Installation
System Requirements
Before installing Tabby Terminal, ensure that your system meets the following minimum hardware specifications:
- Processor: 64-bit processor (x86_64)
- RAM: At least 1 GB of RAM
- Disk Space: A minimum of 200 MB free disk space
Software Dependencies
You will need some essential packages installed on your Rocky Linux system. Check if you have the following dependencies by running:
# dnf list installed | grep curl
# dnf list installed | grep wget
If any of these packages are missing, install them using:
# sudo dnf install curl wget
Step-by-Step Installation Guide
Method 1: Using RPM Package
Step 1: Add the Repository
The first step in installing Tabby Terminal is adding its official repository to your system. Open your terminal and execute the following command:
# sudo tee /etc/yum.repos.d/tabby.repo <<EOF
[tabby]
name=Tabby Terminal
baseurl=https://github.com/ElektraInitiative/tabby/releases/latest/download/
enabled=1
gpgcheck=0
EOF
Step 2: Install the Tabby Package
Once the repository is added, you can install Tabby using the package manager. Run this command:
# sudo dnf install tabby
This command will download and install the latest version of Tabby Terminal. After installation, verify that it was successful by checking the installed version:
# tabby --version
Step 3: Launching Tabby Terminal
You can start Tabby from the command line by simply typing:
# tabby
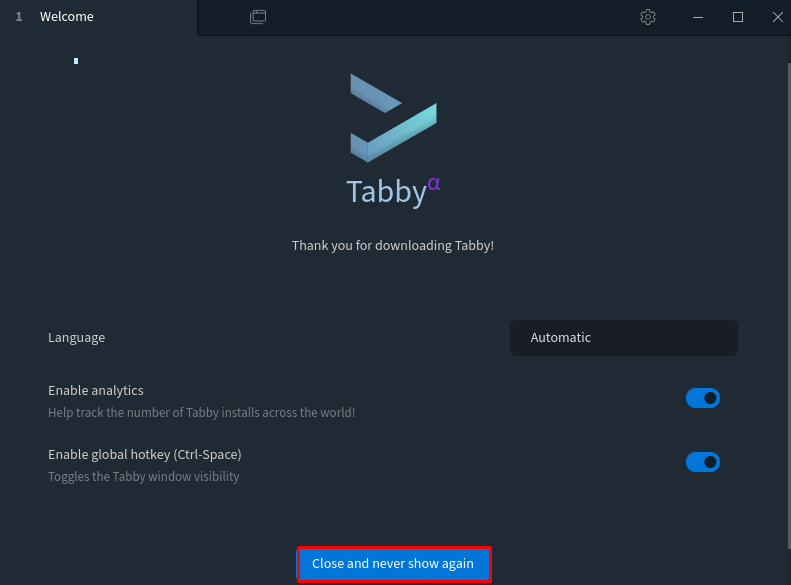
If you prefer launching it from your desktop environment, locate “Tabby” in your applications menu. The first time you launch it, you may be prompted to configure some initial settings such as themes and default shell.
Method 2: Manual Installation from Binary
Step 1: Download the Latest Release
If you prefer not to use the repository method, you can download the latest binary release directly from GitHub. Visit the official Tabby Releases page. Use the following command to download it (replace “ with the actual version number):
# wget https://github.com/Eugeny/tabby/releases/download/v1.0.215/tabby-1.0.215-linux-x64.tar.gz
Step 2: Extract and Set Permissions
After downloading, extract the tarball using:
# tar -xzf tabby-1.0.215-linux-x64.tar.gz
This will create a directory containing the executable files. Navigate into this directory and set executable permissions on the main binary:
# cd tabby-linux-x64
# chmod +x tabby
Step 3: Running Tabby Terminal
You can now run Tabby directly from this directory by executing:
# ./tabby
If you want easier access to Tabby from any location in your terminal, create a symbolic link in `/usr/local/bin`:
# sudo ln -s $(pwd)/tabby /usr/local/bin/tabby

Troubleshooting Common Issues
Installation Errors
If you encounter errors during installation, check for common issues such as:
- Mismatched architecture: Ensure you are downloading the correct version for your system architecture (x86_64).
- Missing dependencies: Install any missing dependencies as indicated in error messages.
- Purge old versions: If an older version is causing conflicts, consider removing it before attempting installation again.
Launching Issues
If Tabby does not start properly after installation, try these steps:
- Check for errors in the terminal: Run `
tabby` from another terminal session to see if any error messages appear. - User permissions: Ensure that your user has permission to execute the binary.
- Create a new configuration file: Sometimes configuration files can become corrupted. Delete or rename `
~/.config/Tabby` and restart Tabby.
Dependency Problems
If you encounter dependency issues while running Tabby, use the following command to resolve them:
# sudo dnf install -y $(dnf repoquery --requires tabby)Congratulations! You have successfully installed Tabby. Thanks for using this tutorial for installing Terminus (Tabby) on Rocky Linux 9 system. For additional help or useful information, we recommend you check the official Tabby website.