In this tutorial, we will show you how to install TeamViewer on Debian 11. For those of you who didn’t know, TeamViewer is an all-in-one remote desktop application that provides remote access to other users’ PCs and smart devices over the internet. It makes it possible to remotely access another user’s desktop and provide technical support or even stay connected with family and friends. By using remote desktops we can execute tasks remotely, thus saving on infrastructure costs such as travel. By not having to go physically, we save time and costs, something beneficial for everything.
This article assumes you have at least basic knowledge of Linux, know how to use the shell, and most importantly, you host your site on your own VPS. The installation is quite simple and assumes you are running in the root account, if not you may need to add ‘sudo‘ to the commands to get root privileges. I will show you the step-by-step installation of the TeamViewer remote desktop on a Debian 11 (Bullseye).
Prerequisites
- A server running one of the following operating systems: Debian 11 (Bullseye).
- It’s recommended that you use a fresh OS install to prevent any potential issues.
- A
non-root sudo useror access to theroot user. We recommend acting as anon-root sudo user, however, as you can harm your system if you’re not careful when acting as the root.
Install TeamViewer on Debian 11 Bullseye
Step 1. Before we install any software, it’s important to make sure your system is up to date by running the following apt commands in the terminal:
sudo apt update
sudo apt upgrade
Step 2. Installing Dependencies.
Before installing TeamViewer, you’ll need to ensure that all required dependencies are installed on your system. Open a terminal and run the following command to install the necessary packages:
sudo apt install libc6 libsm6 libxext6 libxrender1 libgl1-mesa-glx
Step 3. Installing TeamViewer on Debian 11.
First, navigate to the official TeamViewer website and locate the download section for Debian/Ubuntu. Choose the appropriate package for your system architecture (32-bit or 64-bit). Save the downloaded file to a convenient location on your Debian 11 system:
wget https://download.teamviewer.com/download/linux/teamviewer_amd64.deb
Now proceed with the TeamViewer installation. In the terminal, navigate to the directory where you downloaded the TeamViewer package and run the following command:
sudo dpkg -i teamviewer_amd64.deb
If you encounter any dependency errors during the installation, you can resolve them by running:
sudo apt install -f
After a successful installation, you can verify if TeamViewer is installed correctly by running the following command in the terminal:
teamviewer --version
Step 4. Accessing TeamViewer on Debian.
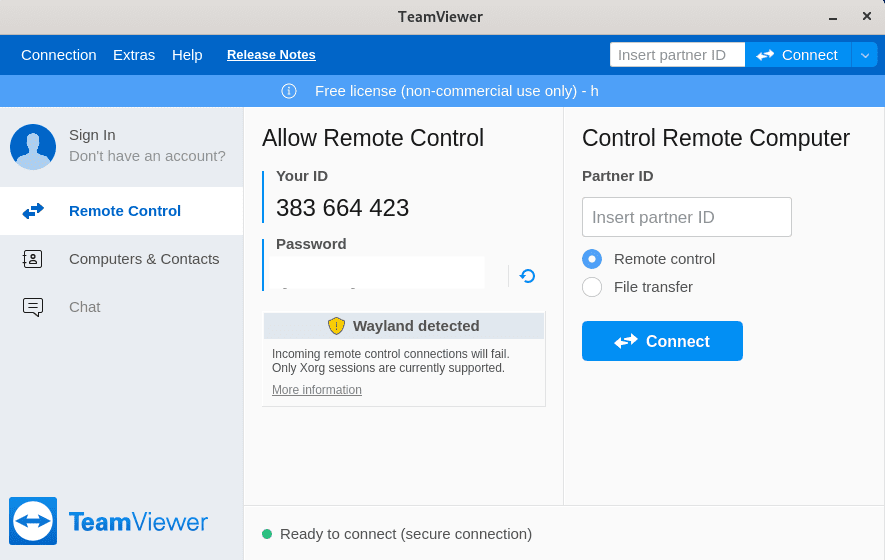
Once successfully installed, the TeamViewer application can be launched either from the command line by typing teamviewer or by clicking on its icon in the Applications menu.

In case you don’t want Teamviewer on Debian 11 Linux system anymore then you can remove this tool using the command:
sudo apt remove teamviewer
Congratulations! You have successfully installed TeamViewer. Thanks for using this tutorial for installing the latest version of the TeamViewer remote desktop on Debian 11 Bullseye. For additional help or useful information, we recommend you check the official TeamViewer website.