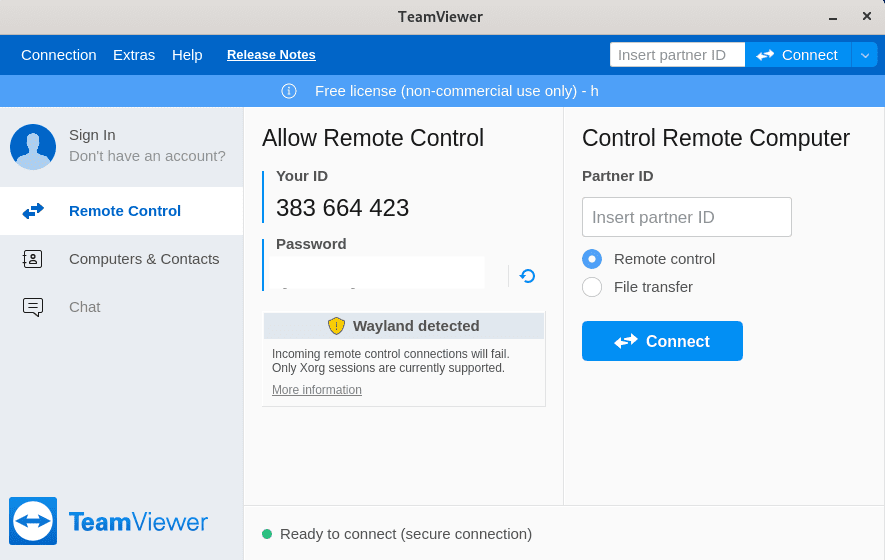
How To Install TeamViewer on Fedora 38

In this tutorial, we will show you how to install TeamViewer on Fedora 38. For those of you who didn’t know, TeamViewer is a feature-rich software that facilitates remote access, making it an invaluable tool for businesses and individuals alike. With TeamViewer, you can control remote desktops, transfer files, host online meetings, and more. Its cross-platform compatibility ensures that you can connect to different operating systems seamlessly.
This article assumes you have at least basic knowledge of Linux, know how to use the shell, and most importantly, you host your site on your own VPS. The installation is quite simple and assumes you are running in the root account, if not you may need to add ‘sudo‘ to the commands to get root privileges. I will show you the step-by-step installation of TeamViewer on a Fedora 38.
Prerequisites
- A server running one of the following operating systems: Fedora 38.
- It’s recommended that you use a fresh OS install to prevent any potential issues.
- SSH access to the server (or just open Terminal if you’re on a desktop).
- An active internet connection. You’ll need an internet connection to download the necessary packages and dependencies for TeamViewer.
- A
non-root sudo useror access to theroot user. We recommend acting as anon-root sudo user, however, as you can harm your system if you’re not careful when acting as the root.
Install TeamViewer on Fedora 38
Step 1. Before we can install TeamViewer on Fedora 38, it’s important to ensure that our system is up-to-date with the latest packages. This will ensure that we have access to the latest features and bug fixes and that we can install TeamViewer without any issues:
sudo dnf update
Step 2. Installing TeamViewer on Fedora 38.
Now download the latest version of the TeamViewer package from the official website, choose “Linux” as your operating system, and click on the download button:
wget https://download.teamviewer.com/download/linux/teamviewer.x86_64.rpm

After the download is complete, navigate to the directory where the TeamViewer package is saved and Install the TeamViewer package by running the following command:
sudo dnf install ./teamviewer.x86_64.rpm
Step 3. Configuring TeamViewer
Once successfully install TeamViewer, it’s crucial to configure it to meet your specific requirements. Here’s a step-by-step guide to help you through the configuration process:
- Launching TeamViewer:
- Open the Activities menu and search for “TeamViewer.”
- Click on the TeamViewer icon to launch the application.
- Creating or Logging in to Your Account:
- If you already have a TeamViewer account, enter your login credentials and click “Sign In.”
- If you don’t have an account, click on “Create an Account” and follow the on-screen instructions to create one.
-
Setting Up Unattended Access:
- Unattended access allows you to remotely access a device without requiring someone to be present on the other end.
- To set up unattended access, navigate to the “Computers & Contacts” tab in TeamViewer and click on “Set up unattended access.”
- Follow the prompts to assign your device to your TeamViewer account.

Step 4. Troubleshooting.
While the installation process is typically straightforward, you may encounter some challenges. Here are a few troubleshooting tips:
- If you encounter an error during installation, ensure that you have all the required dependencies installed. Check the Fedora documentation or TeamViewer support for specific package requirements.
- If TeamViewer fails to launch or connect, make sure your firewall or antivirus software is not blocking the application. Configure the necessary exceptions if needed.
- For further assistance, consult the official TeamViewer support resources, including their website’s knowledge base, community forums, and contact options.
Congratulations! You have successfully installed TeamViewer. Thanks for using this tutorial for installing TeamViewer on your Fedora 38 system. For additional help or useful information, we recommend you check the official TeamViewer website.